
Take a gander at our FTC disclosure opus here. The following article was last updated on Nov 20, 2025 ...
Retrofitting SuperBright's 7-Inch LED Headlight
In a previous post, I mention the benefits of LED bulbs in motorcycling. Drawing significantly less power, lasting far longer and activating instantaneously, LED motorcycle headlights are becoming more common in the sport touring market. SuperBrightLEDs.com is answering that demand, making a variety of shapes and sizes available. They've even provided the most basic of assemblies in the form of a 7-inch round headlamp with dimensions that are typical to UJMs and others. This particular 7-inch LED headlight is an excellent prospect for our flock's 1988 Honda Hawk GT.
“A 7-Inch LED Headlight sips power, lasts longer and lights up fast, a clean upgrade many sport touring riders now favor.”
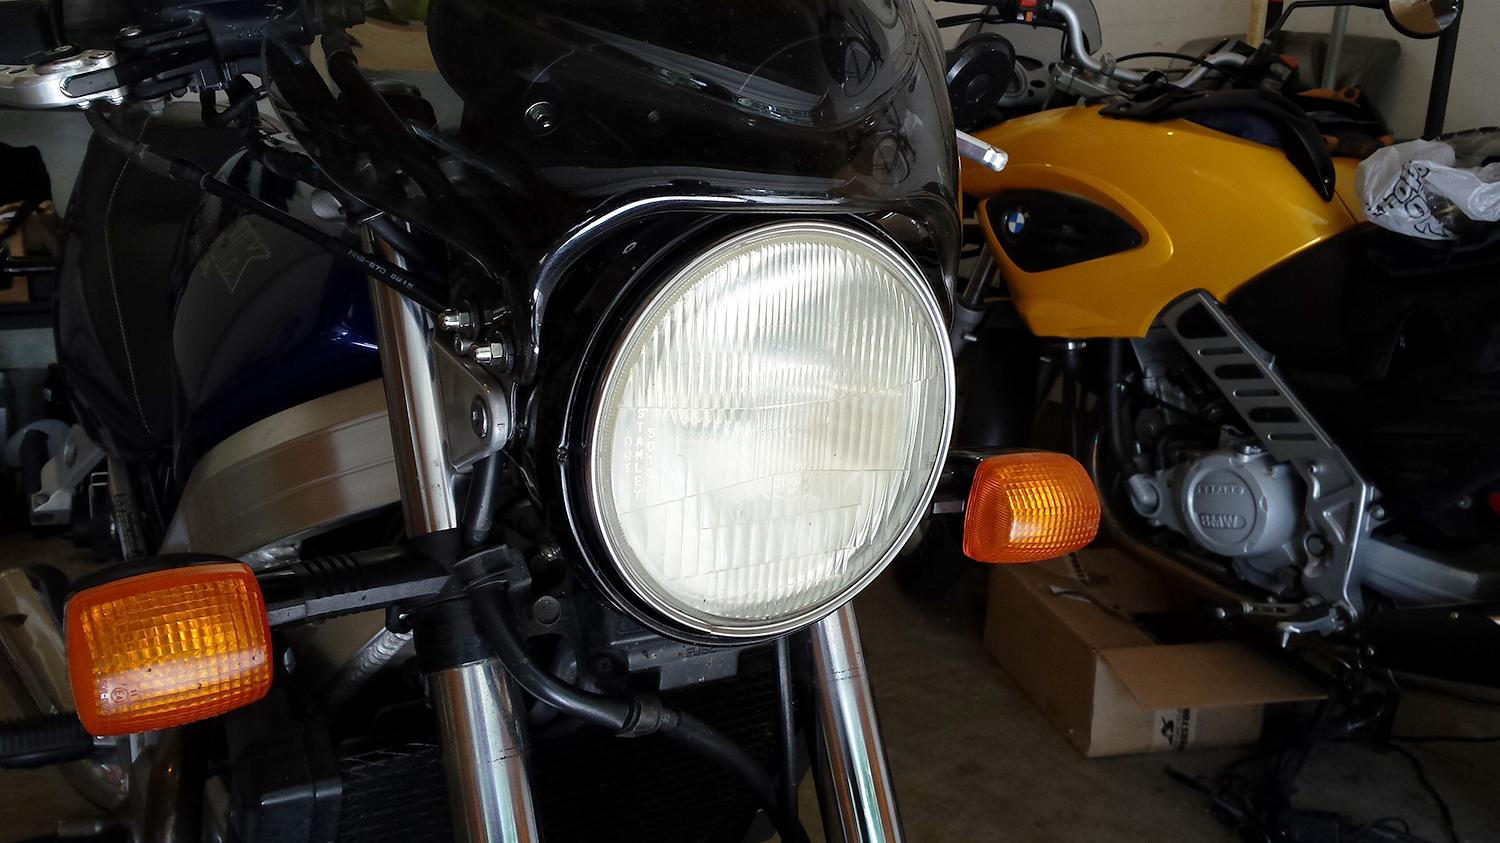
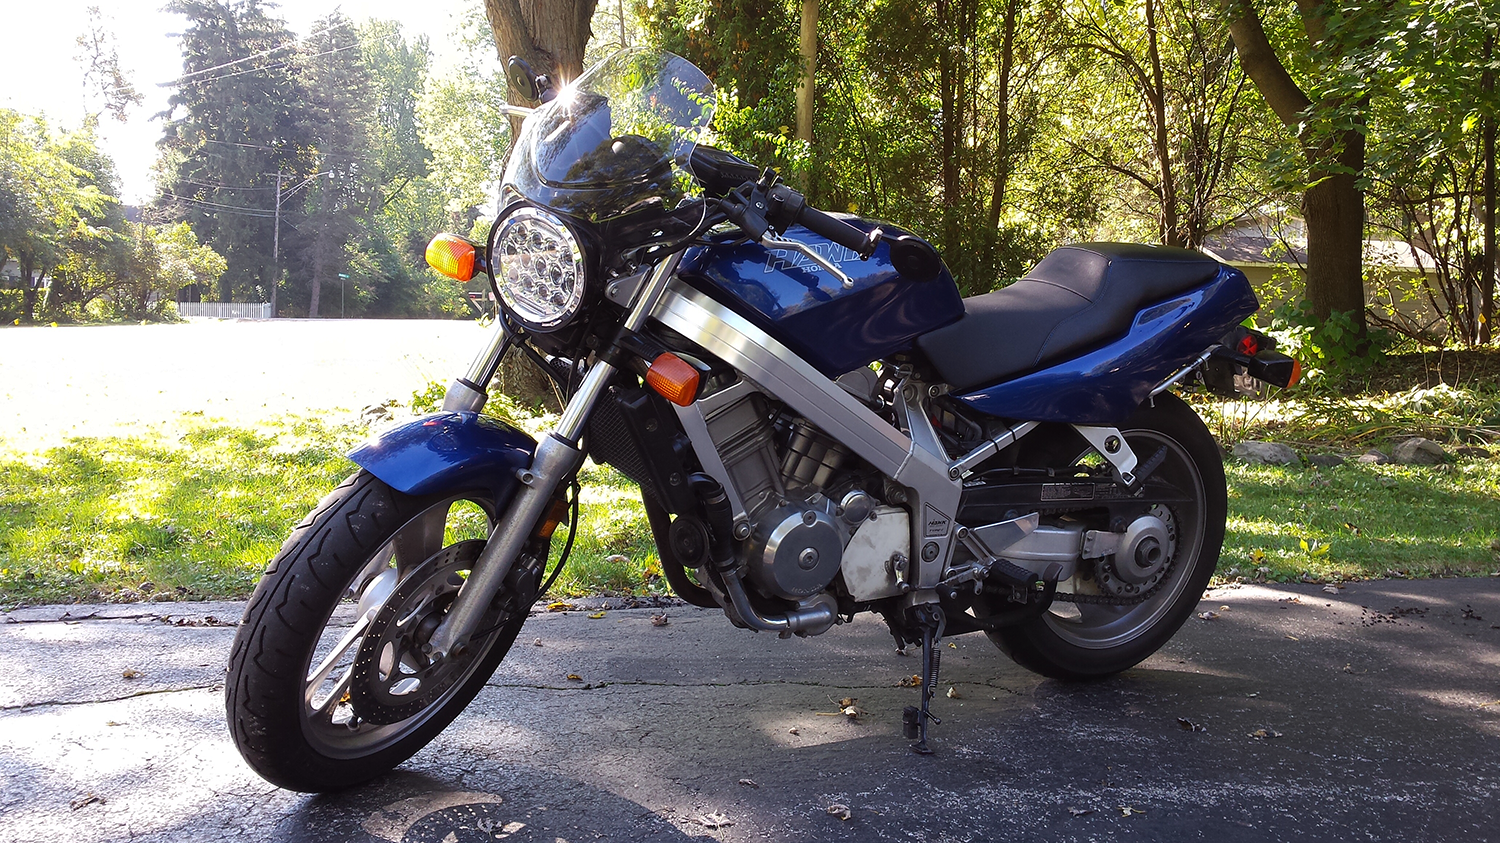
The Hawk GT, my local rider, also functions as my wife's long distance sport tourer. Unlike most ST bikes, "Big Bird" has a naked profile (no fairing) and a fork-mounted light housing. With stock-respectful modifications in mind, we don't hack, grind or repurpose any of the bike's parts. Whenever we note a change we'd like to make, we carefully remove and stow the stock part before we install whatever modern component we're focused on. Within that logic, SuperBrightLEDs' H6024 fits the bill.
Optionally intended for use as an automotive rack light, every package includes easy-install mounting hardware. Motorcycles having their model-specific differences, any attempt to use this mount with a standard light bucket overcomplicates things. Finalizing a new mounting scheme may take a few attempts, complete with the occasional mistake, especially when centering a 7-inch LED headlight in a vintage bucket.
Fortunately, I've dodged and eliminated the more obvious pitfalls, arriving at what I believe to be the most simple and sensible installation process of the lot. Let's begin! First, you'll want to have the following items on hand ...
- one t-tap connector (18/14, depending on your low beam's wiring)
- one quick disconnect
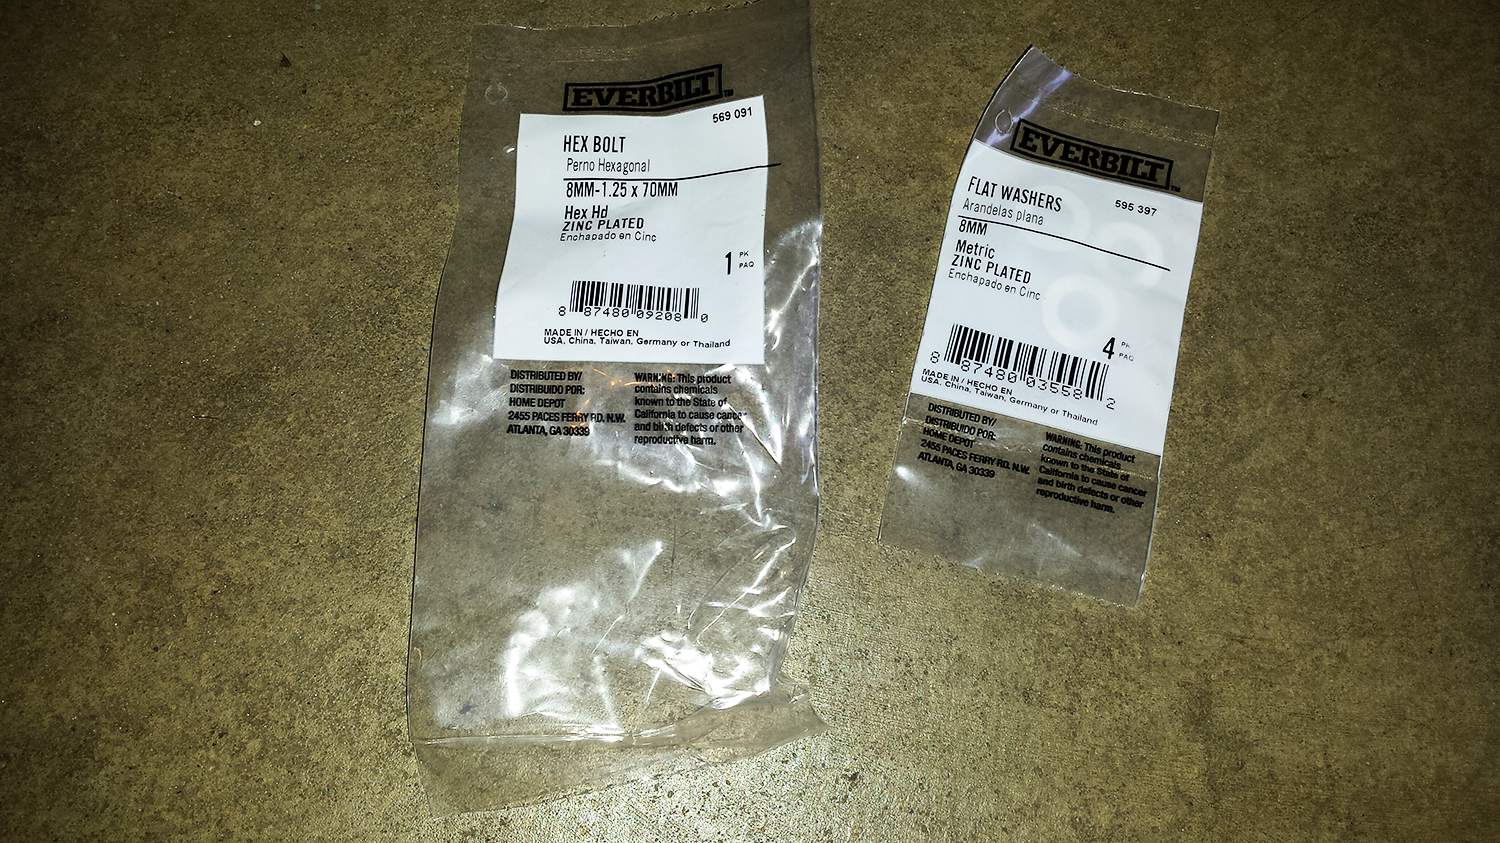
- two 8mm-1.25 x 70 mm zinc-plated metric hex bolts
- four washers (5/16ths for Hawk GT)
- 12" of 3/8" PEX pipe
7-inch LED headlight Preparation
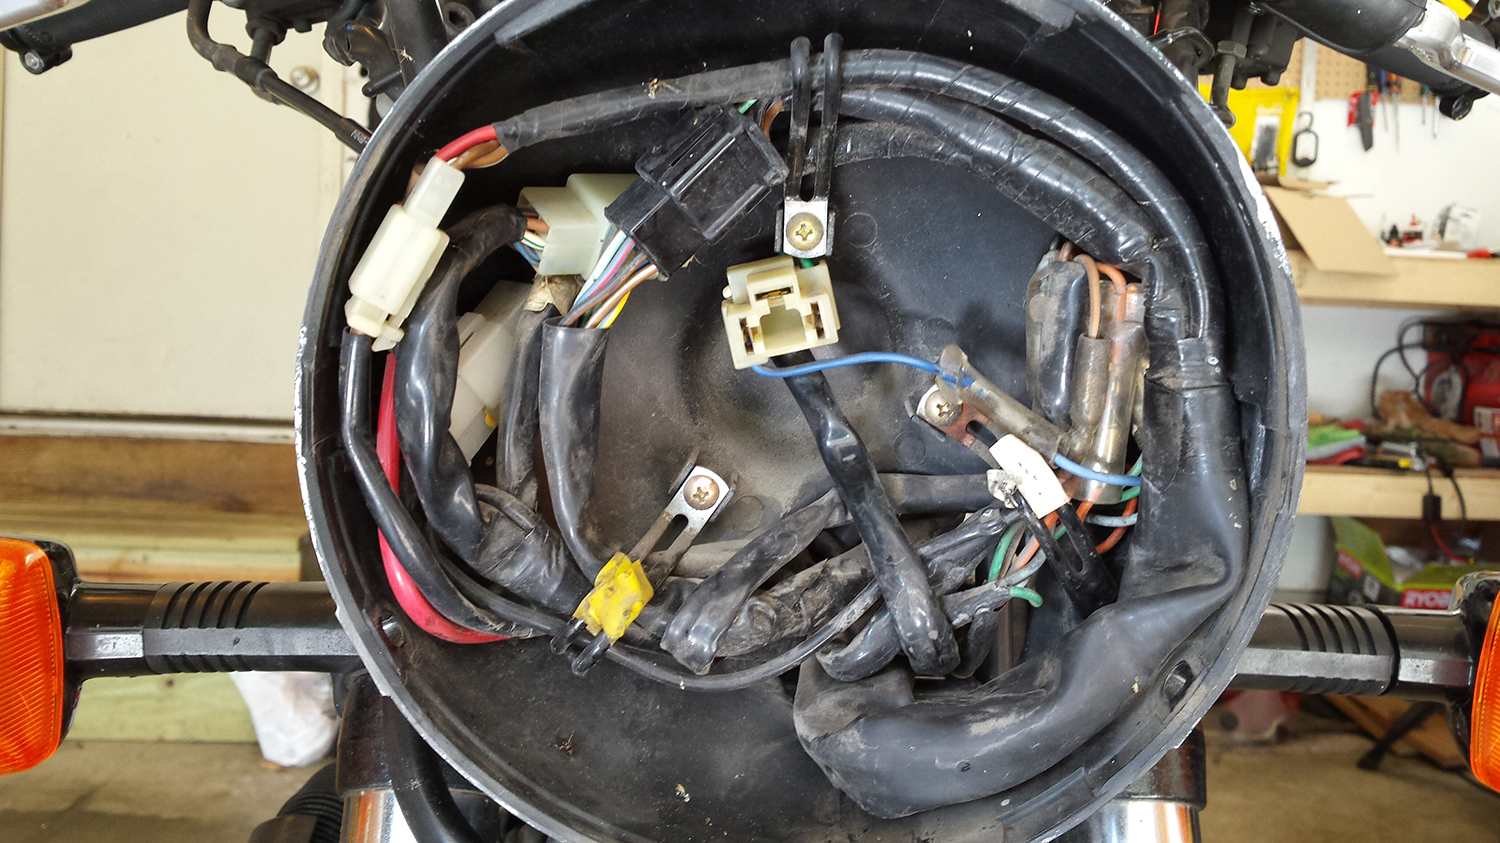

Before installing the LED headlight, consult your motorcycle owner's manual for instructions on how to remove the stock assembly. You may find it worthwhile to remove the stock headlamp bucket entirely for cleaning. When you reinstall, verify the 7-inch LED headlight seats evenly in the rim. Electronics cleaner might prove useful should the wiring be dusty.
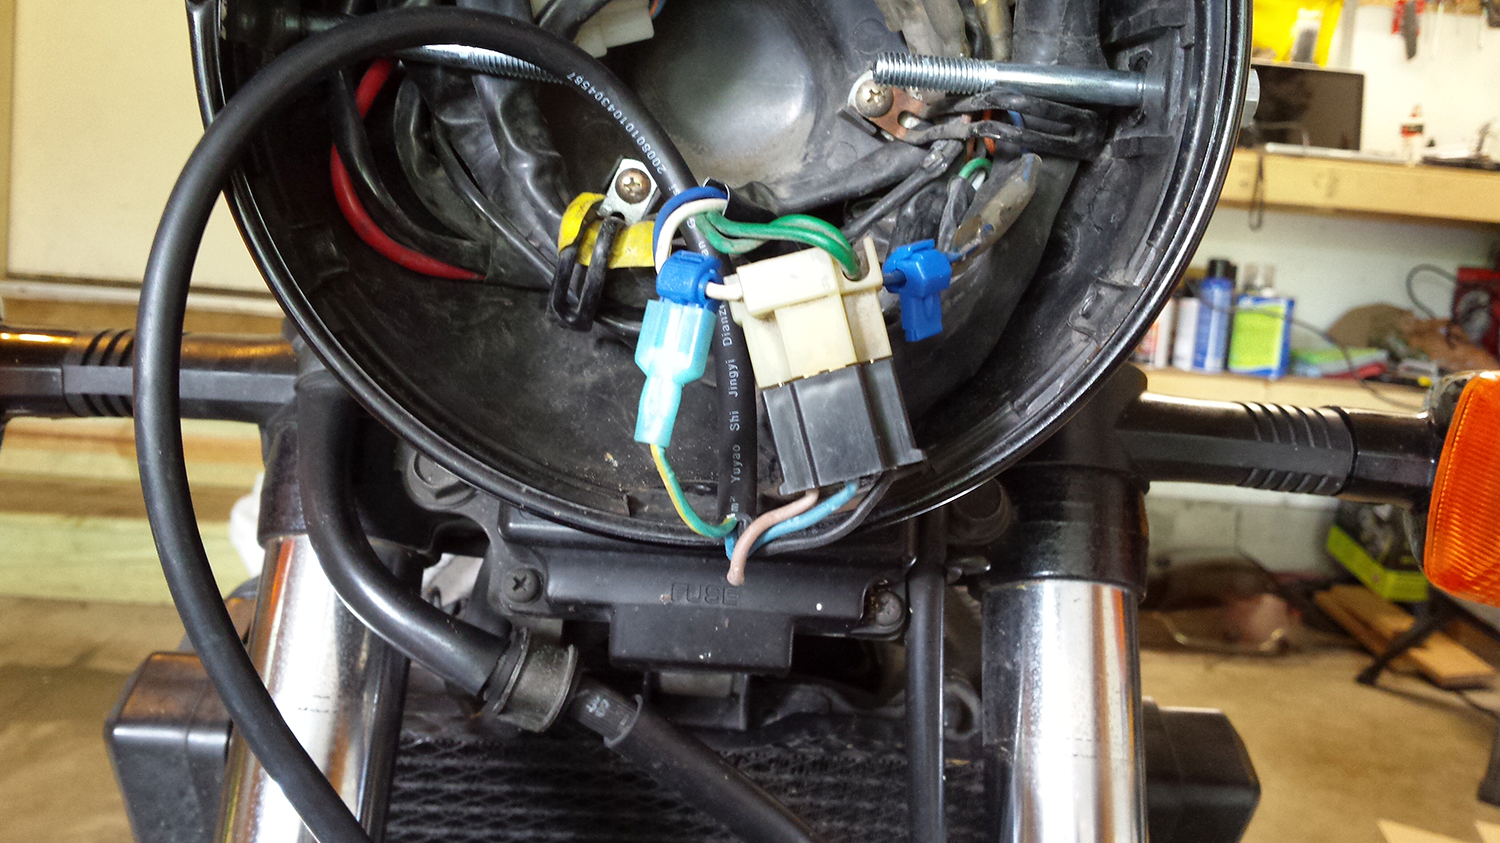
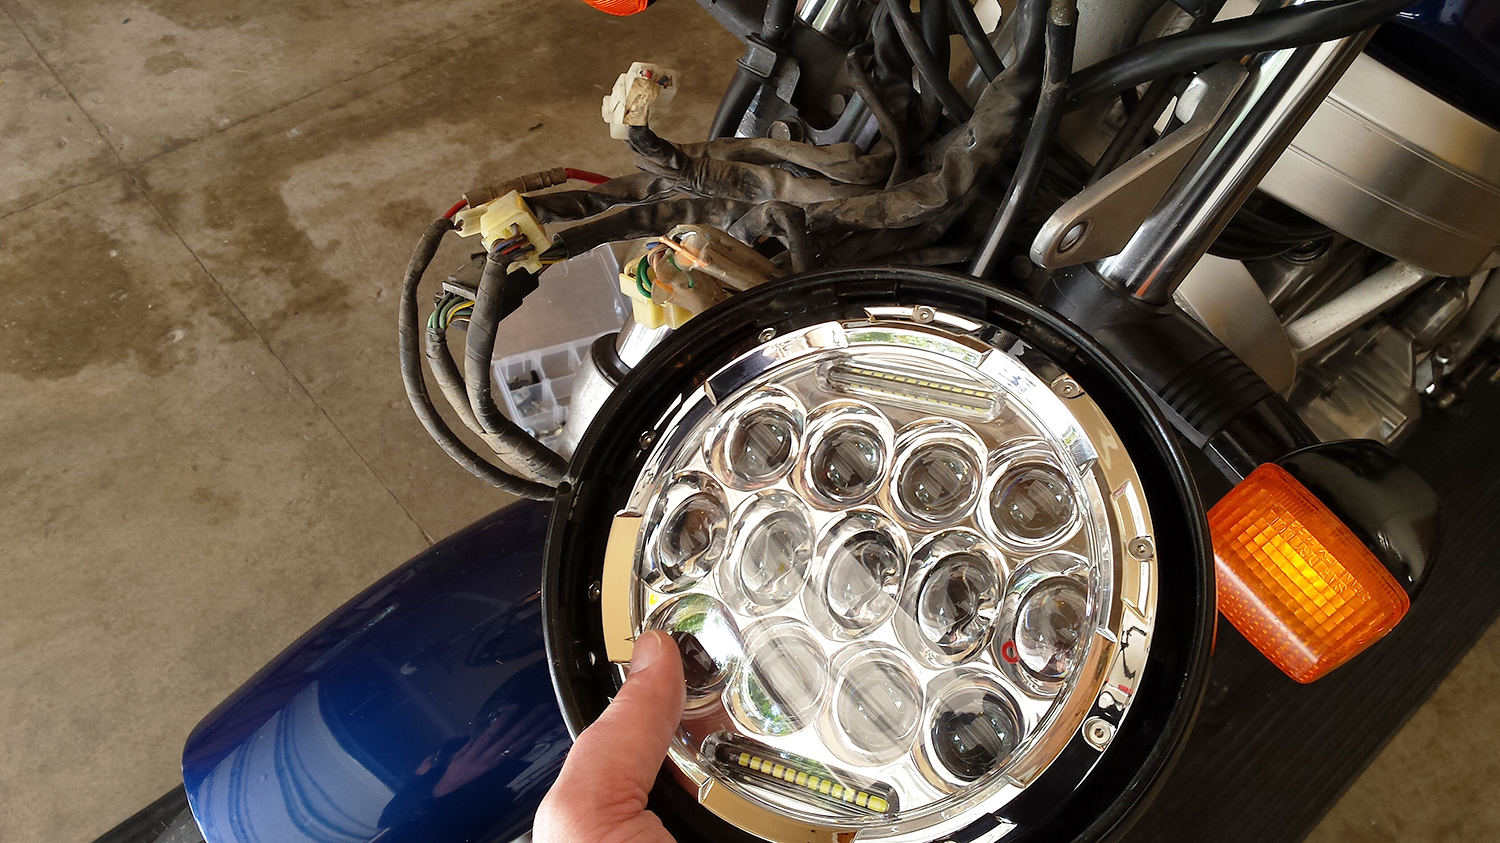
To prepare the LED headlight for installation, make one minor alteration to its wiring. First, install your t-tap connector onto the motorcycle's low beam circuit. Then, remove (cut away) the smaller blue wire connector from the LED assembly itself, replacing it with your newly purchased quick disconnect. This adaptation allows the motorcycle headlight's LED circuitry to detect whether or not your low beam is active. Because directional LEDs are less visible to oncoming traffic than the latter, LED strips above and below ensure you're more conspicuous, which matters with a bright 7-inch LED headlight.
7-inch LED headlight Installation
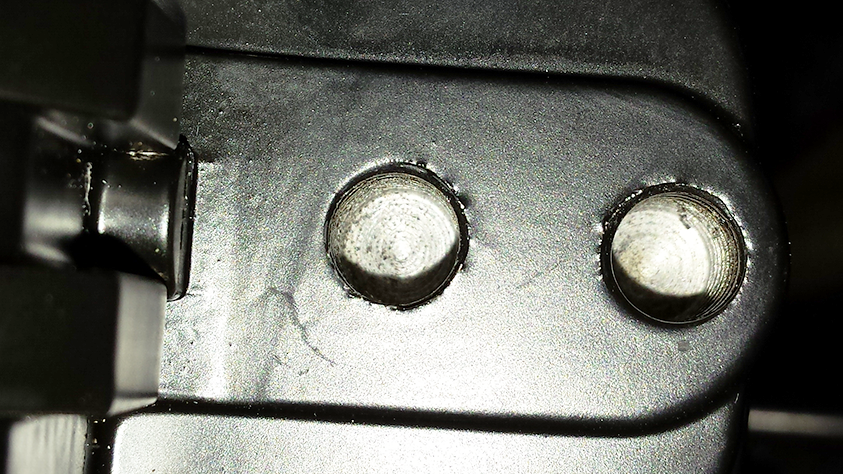
Our LED headlight sports two threaded holes on each side. One sits toward the front and the other slightly farther back. My original installation (documented during the wrenching portion of the video below) makes use of the rear set. I eventually decided the forward set to be a better choice as it bolsters stability. While they're harder to line up due to limited bucket depth, the look and feel are noticeably sturdier with a 7-inch LED headlight in a shallow bucket. As for mounting it, focus on one keyword: spacers.
PEX pipe is both strong and easy to work with ... perfect for our spacers. First, we'll need measurements. Get the interior width of your light bucket from one mounting hole to the other, writing the result down as figure "a". Next, measure the outer width of your LED assembly from one aforementioned mounting hole to the other, writing the result down as figure "b".
Figure "a" minus figure "b," divided by two, equates to your required spacer length. That's (a - b) / 2. In the case of our Hawk GT, we're looking at 47mm. Measure twice and cut once! In all honesty, you should fill the entire available space with PEX pipe and you should find it a little tough to push the spacers into their correct position even without the bucket screws in place.
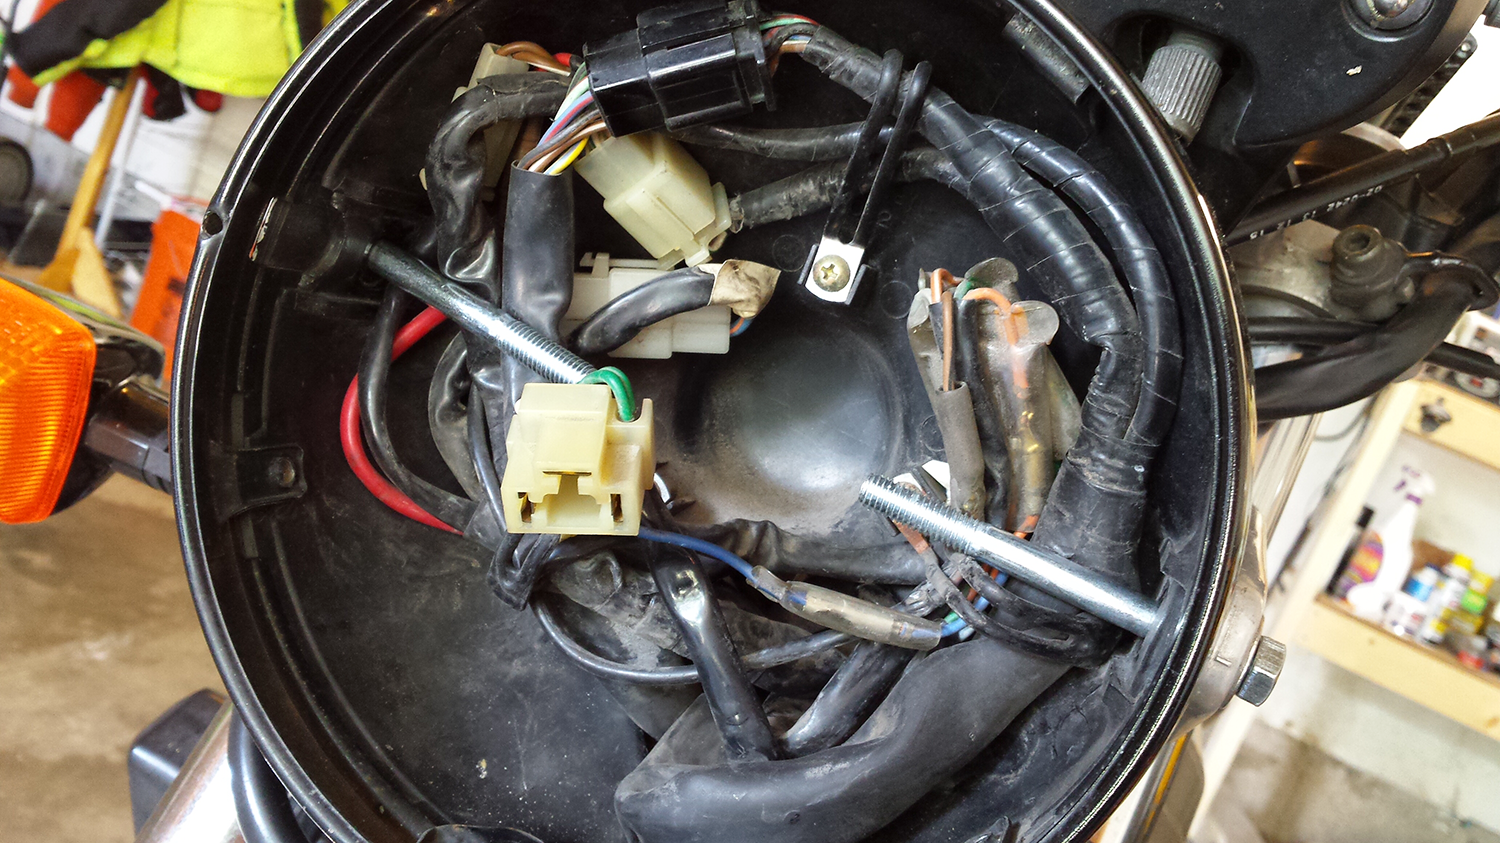
Now comes the (perhaps) "easier said than done" part. Mirrored opposite one another, the installation pattern from left-to-right | right-to-left is "bolt through washer through mount through bucket through washer through spacer into LED assembly at frontmost mounting hole". Fear not, for the video makes sense of things and, come to think of it, it's actually "easier done than said".
If (like us) you use a third-party windscreen, don't torque anything down just yet. First, position all components you plan to install. We'll secure each part soon enough.
You may notice some resistance from the LED headlight assembly's threads. This happens because the manufacturer painted them. Make sure you line everything up and then carefully dig in.
7-inch LED headlight Protection

Before we finalize things, cellular rubber weatherstripping acts as an impressively functional dust seal that's aesthetically pleasing to boot. I mention this having tried a number of other options including adhesive foam strips as well as vacuum hosing. Applying this to your headlight bucket's outer ring before gently working it over the LED bulb is a simple process, albeit a little slow going.
Torque
Now it's time to torque things with a mechanic's feel to "aluminum tight." Don't overdo it! Our LED headlight assembly has aluminum threads with limited depth, meaning that it's not through-and-through. Rather, it has a flush limit which marks the end of how far our 70mm bolts can go so support the rim of the 7-inch LED headlight as you finalize alignment.
Results
Assuming your PEX spacers are of the correct measurements, there should be no "egging" (warping or egg-like reshaping of the surrounding light bucket). When you tighten and button everything up, you eliminate any involuntary shift in our LED motorcycle headlight's y-axis and using the forwardmost mounting outlets reduces it even further. Take it around the block and see for yourself!
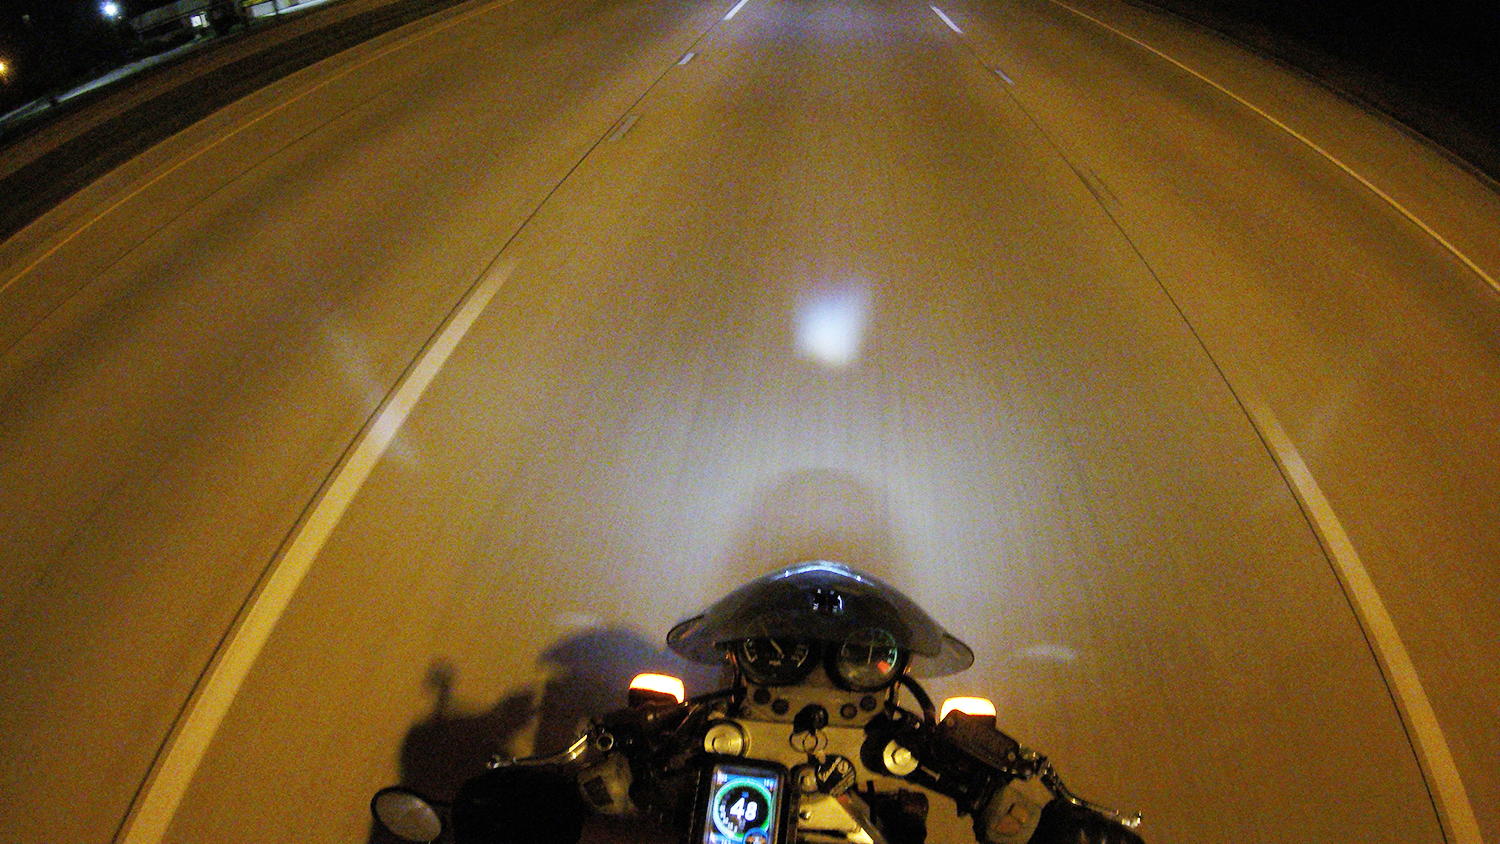


SuperBrightLEDs.com markets a 7" LED motorcycle headlight of excellent quality. Structurally durable, it projects a long range beam and somehow non-glaringly highlights street signs far better than the competition. Even our GoPro Hero4, which doesn't do well in dark conditions, proves that range of sight and oncoming visibility are both far greater with this installation than with a standard or even halogen, headlamp. Some of the reflective street signs in the video below are over a hundred yards away. In short, we're greatly impressed!


What LED Lighting Do You Use?
You must see and be seen to ride more safely. What LED installations are you familiar with? What do you like about them and why? Your input is invited. Leave a comment and/or write an article!
Share Link ...

About Robin Dean
Motorcycle advocate, enthusiast and traveler. Founder, The Riding Obsession (2014). MSF RiderCoach credentials: "loosely regarded adult supervisor, probably good enough for rock 'n' roll" ~ Tidal Playlist | Rabid Neon


Comments
Hey there guys. I really enjoyed this video. I am looking for a way to enhance the headlight on my Suzuki gs 500 ´08. Do you know if the headlight installed in this video will be suitable for my bike, and how much would it cost to order it. Either sent to Brazil, or Denmark (Europe)
Thank a bunch
Mikkel Fessel
Hi, Mikkel.
It really depends on the form/dimensions of your motorbike's headlamp bucket. Even today's modern motorcycles (be them faired or naked) tend to incorporate headlight enclosures that are unique to their make and model. Fortunately, an image search for the motorcycle you mention suggests that you do in fact have a round headlight.
Assuming that's the case, it's just a matter of measuring. The bulb above requires a 7" housing. What makes things easier is that said bulb has two threaded outlets per side (two mounting points), making the forward/rear placement semi-adjustable ... more adaptable!
If you don't have a round headlight bucket that's 7" in diameter, There are many component based LED bulbs available online. I mention one design in specific here, a pair of 9005/9006 equivalents. Unfortunately they only sell them in pairs but continuing to nag the company's management to sell them individually will hopefully pay off. ;)
As for price with shipping, you'll have to take that up with either the reseller (SuperBrightLEDs.com) or their manufacturer.
Thank you for your fast answer. I took some pictures, but I couldn't upload them, and I guess it doesn't matter :) The headlight is round, and the casing can hold a 7 inch headlight. I just wonder about wiring, which I have no clue how works, but I guess I can find someone who does, and show them your video:)
If it's not to expensive to send to Brazil or Denmark, I will get one, and let you guys know if it works on a Suzuki gs 500 :)
Regards
Mikkel
That's most excellent, Mikkel!
The attached connector for the LED headlight is fairly common and I'd imagine it will fasten to your bike's wiring configuration without issue. If there is a problem, however, it's just a matter of attaching whichever connector your bike requires via the hot/ground of the LED module. One extra hiccup is that third wire, namely the circuit wire which detects wether your brights are activated. For that, look to your manual's wiring diagrams to determine which wire is the high-beam's "hot". That's the trigger circuit ;)
I bought my '06 suzuki boulevard m50 and the previous owner had dropped it which destroyed the headlight housing. I have to get a new housing and want to use this headlight. I can mount it on the forks. Do you know which headlight housing would fit this headlight with a side fork mount? Thanks!
Hi, Nate.
Congrats on your purchase. I responded to a similar question some time ago. Click Here (jumps directly to that reply).
I connected the wires as you've instructed but the two little light strips on top/bottom glow red (not clear) when on-low beam. What might be causing this?
Those low-beam running lights you mention should be clear, not red. They're designed to come on when using the low beams so that you're more visible to oncoming traffic. Sounds like the bulb you bought is "almost the same but different than" the one we use in this article/video. Feel free to post a serial number and we'll try to compare them.
I have an easy question. I’m using an LED replacement in a 7" bucket, and the light I bought has two round beams with two rectangle strips on the side. The two round beams are different sizes. Which round one goes on top, small or large, or does it matter? I searched this online for 30 minutes. Thank you
Without a link to the product you're installing, my answer is inexact. Assuming you can get it connected for testing, consider how the built in reflectors are angled. One will most likely be a low beam and the other high. I predict the rectangles are running lights. Give us a url and I'll hunt around for more info.
Thoughts gone wild? Write an article!