
Take a gander at our FTC disclosure opus here. The following article was last updated on Oct 24, 2025 ...
Cleaning Your Motorcycle Helmet's Interior Liner And Exterior Shell
With so many large projects rising out of motorcycle ownership, it's no surprise when minor upkeep is left by the wayside. On any afternoon we might find ourselves changing oil, adjusting valves or mounting tires. Meanwhile, non-priorities such as helmet hygiene develop until we put them on and the bacterial aroma of burnt Starbucks and Nebraskan cow pastures roundhouses us. Sometimes the simple act of committing to a clean motorcycle helmet makes all the difference before a ride.
“A clean motorcycle helmet is safer, fresher and more comfortable. Learn easy, quick steps to wash it effectively.”
A clean motorcycle helmet is one of a few lesser considerations in enjoyable riding. Fortunately, the process of cleaning a helmet as well as its liner is far easier than one might expect. You need only minimal materials and disassembly/reassembly merely requires manuals and a bit of backtracking.
You can resolve safety, bacteria and general odor issues in under ten minutes by following the steps below. Clean your helmet's exterior more frequently, as it's subject to direct elements. Liners are perhaps best removed and washed on a quarterly schedule, depending. The payoff is a clean motorcycle helmet that looks better and smells neutral.
Helmet Cleaning Products We'll Be Using
Honda Spray Cleaner & Polish
microfiber towels (x2)
nitrile gloves
laundry wash bag
gentle/organic laundry detergent
I mention Honda Spray Cleaner & Polish, whereas others might prefer Plexus. I used to buy Plexus religiously but its popularity has inspired resellers to raise the price. You can often find Honda Cleaner for half the cost and it provides identical results.
Cleaning Your Motorcycle Helmet's Exterior
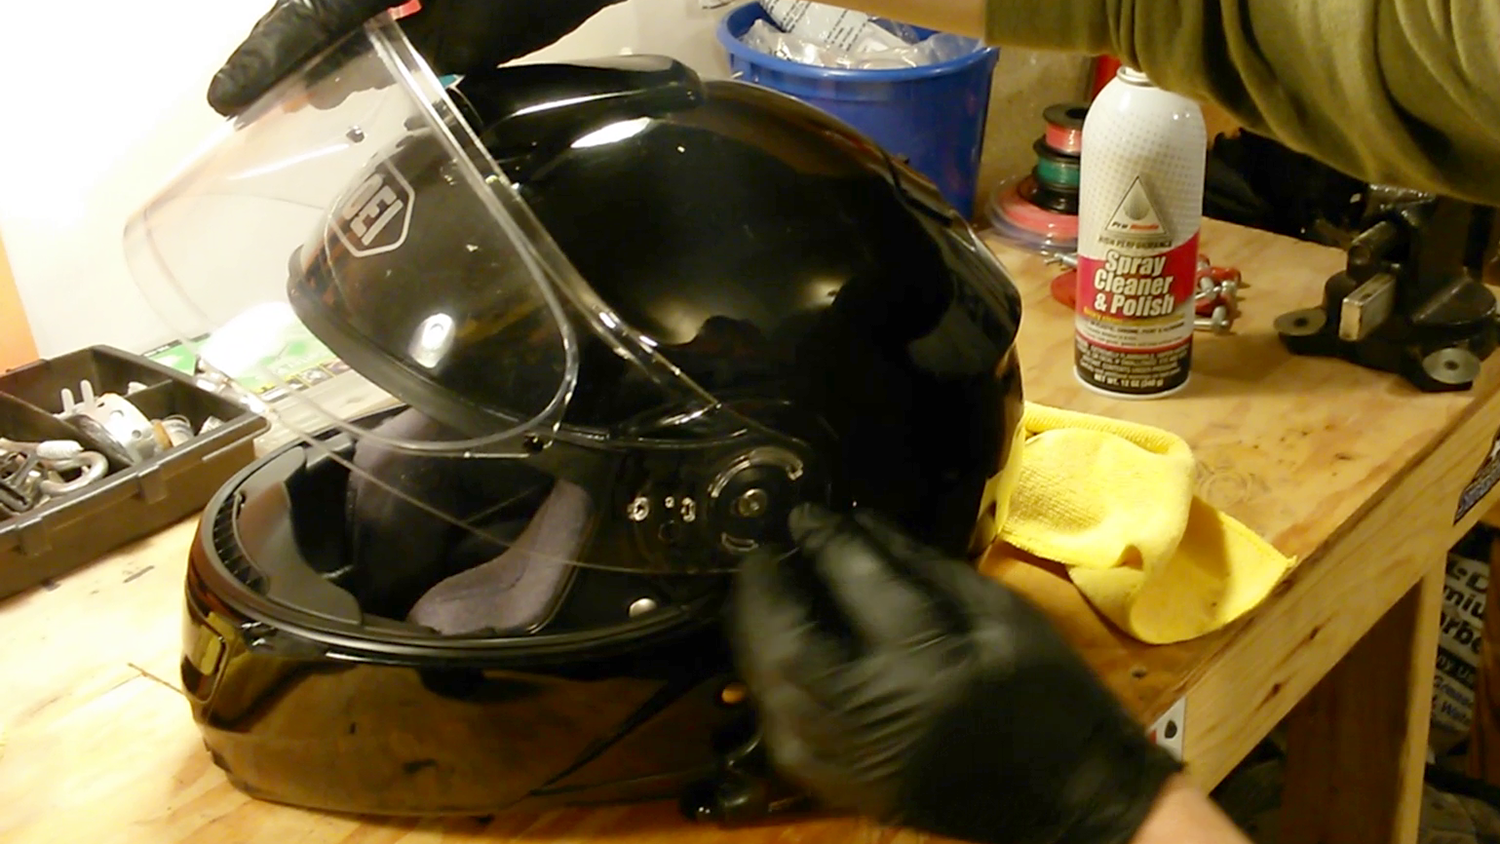
Use Honda Cleaner on plastics and other sensitive parts. With the label's instructions in mind and having removed all attached rechargeables, it's safe to apply a reasonable coat. Read your helmet manufacturer's instructions to be sure its washing procedures don't require non-solvent cleaners. Flat black paint, for example, tends to rub off when subjected to chemicals. Yes, I learned this the hard way (note the shine).
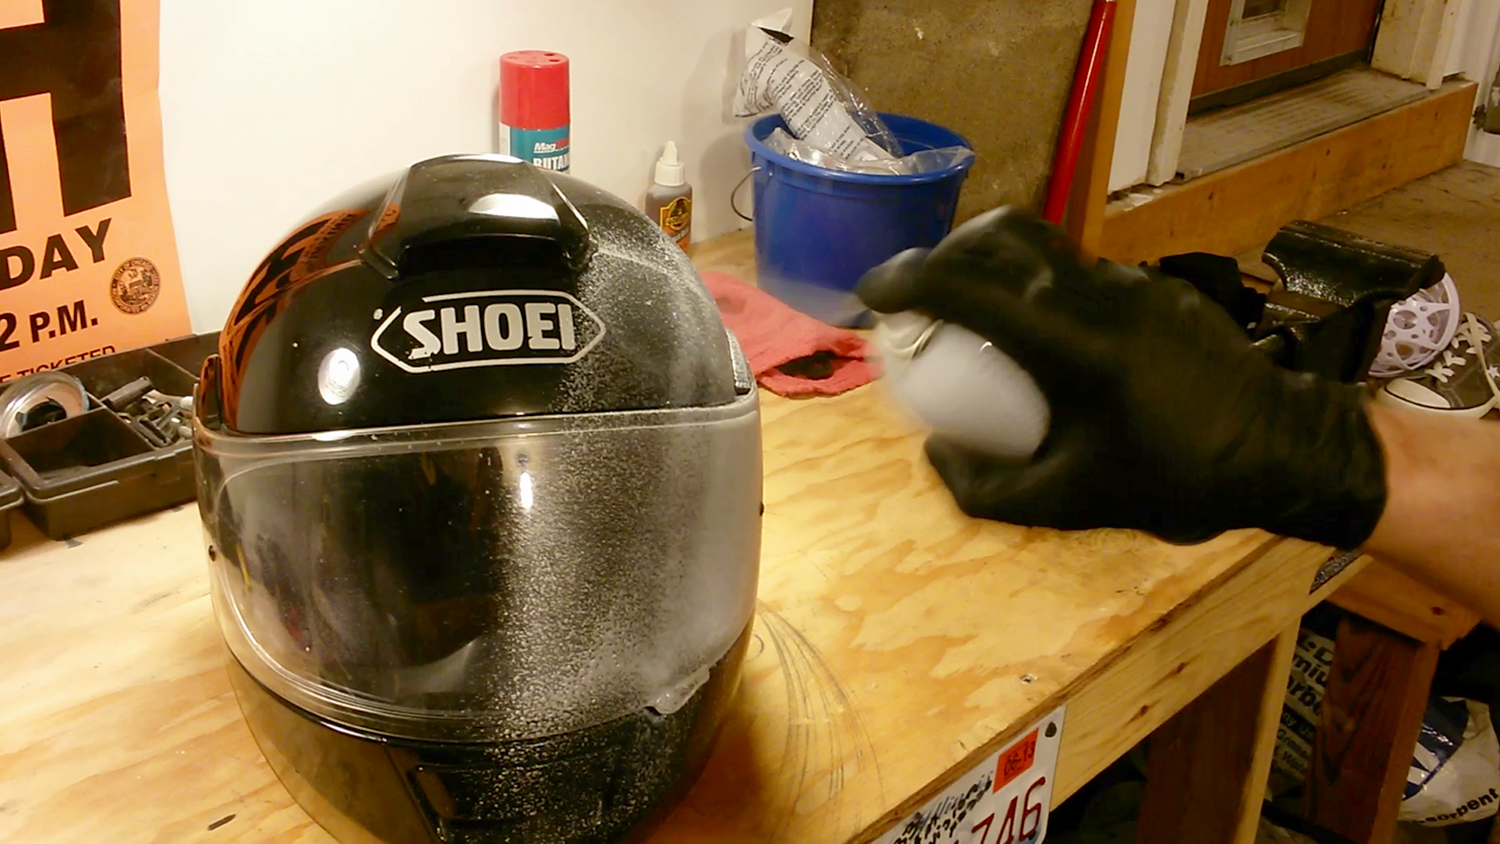
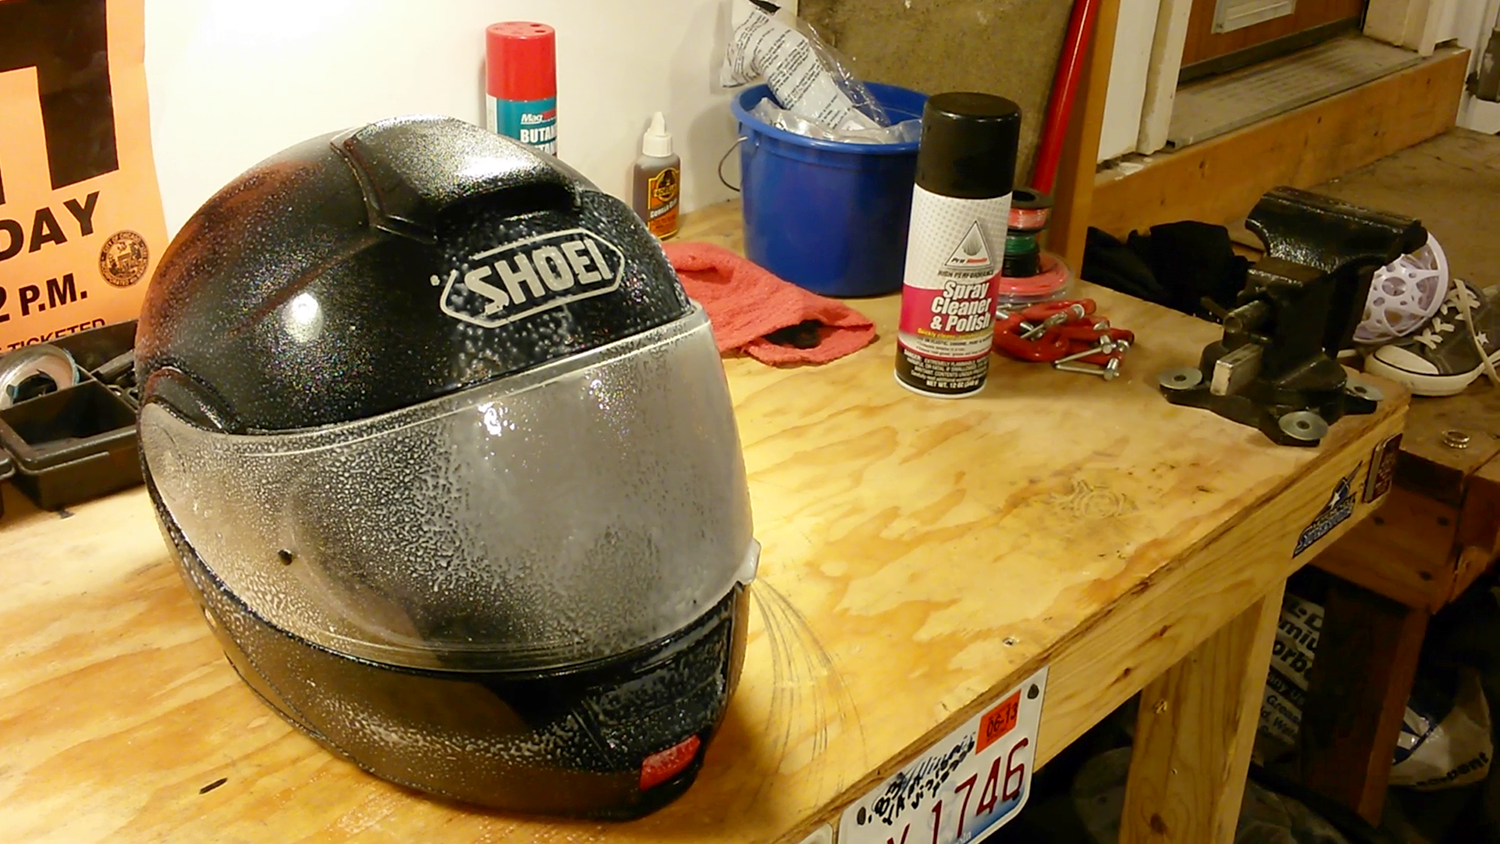
After spraying the entire exterior of your helmet, count slowly to ten. This allows the cleaner to loosen/dissolve any debris or insects that may have met their fate during a ride. Repeat the chant: "Carnuba wax low VOC exceeding current CARB and OTC standards" if it helps.
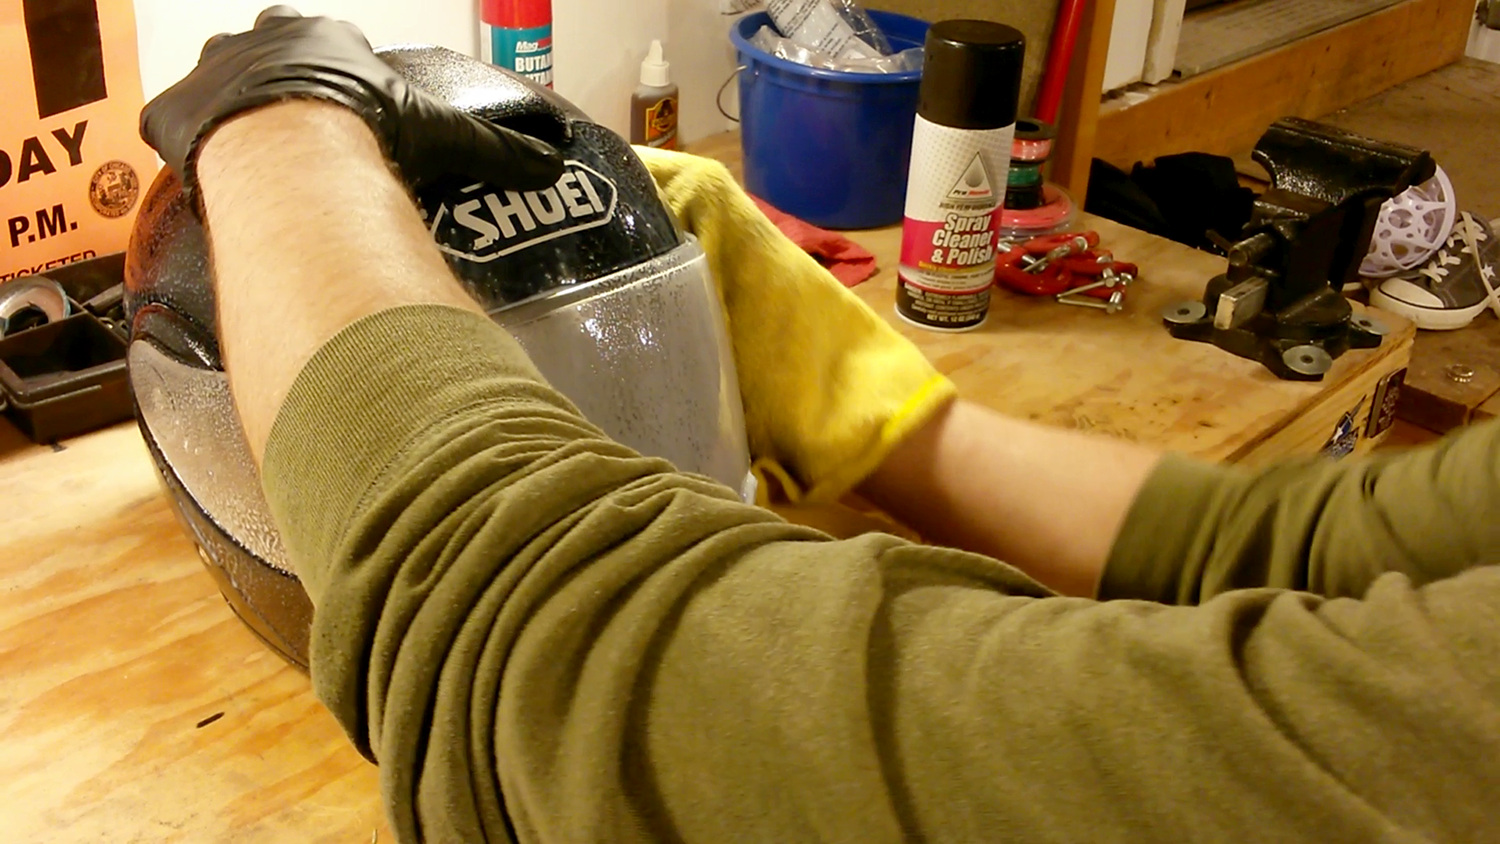
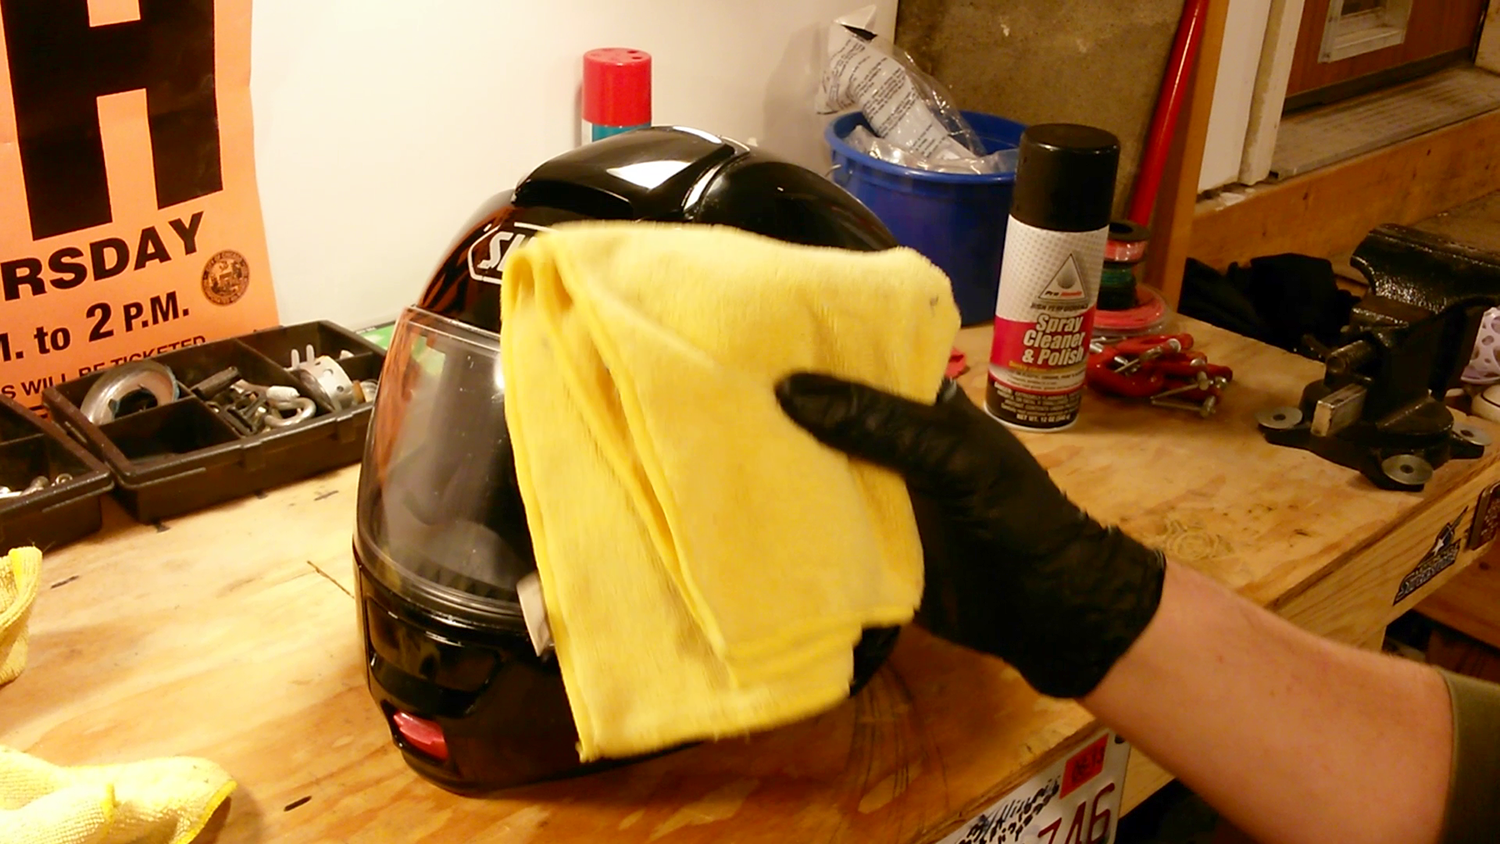

Using one of your two microfiber towels, wipe away the excess. One towel likely won't be enough, so you'll probably notice streaks. Once the excess is gone, switch to your second towel and gently wipe all remnants to a streak-free shine.
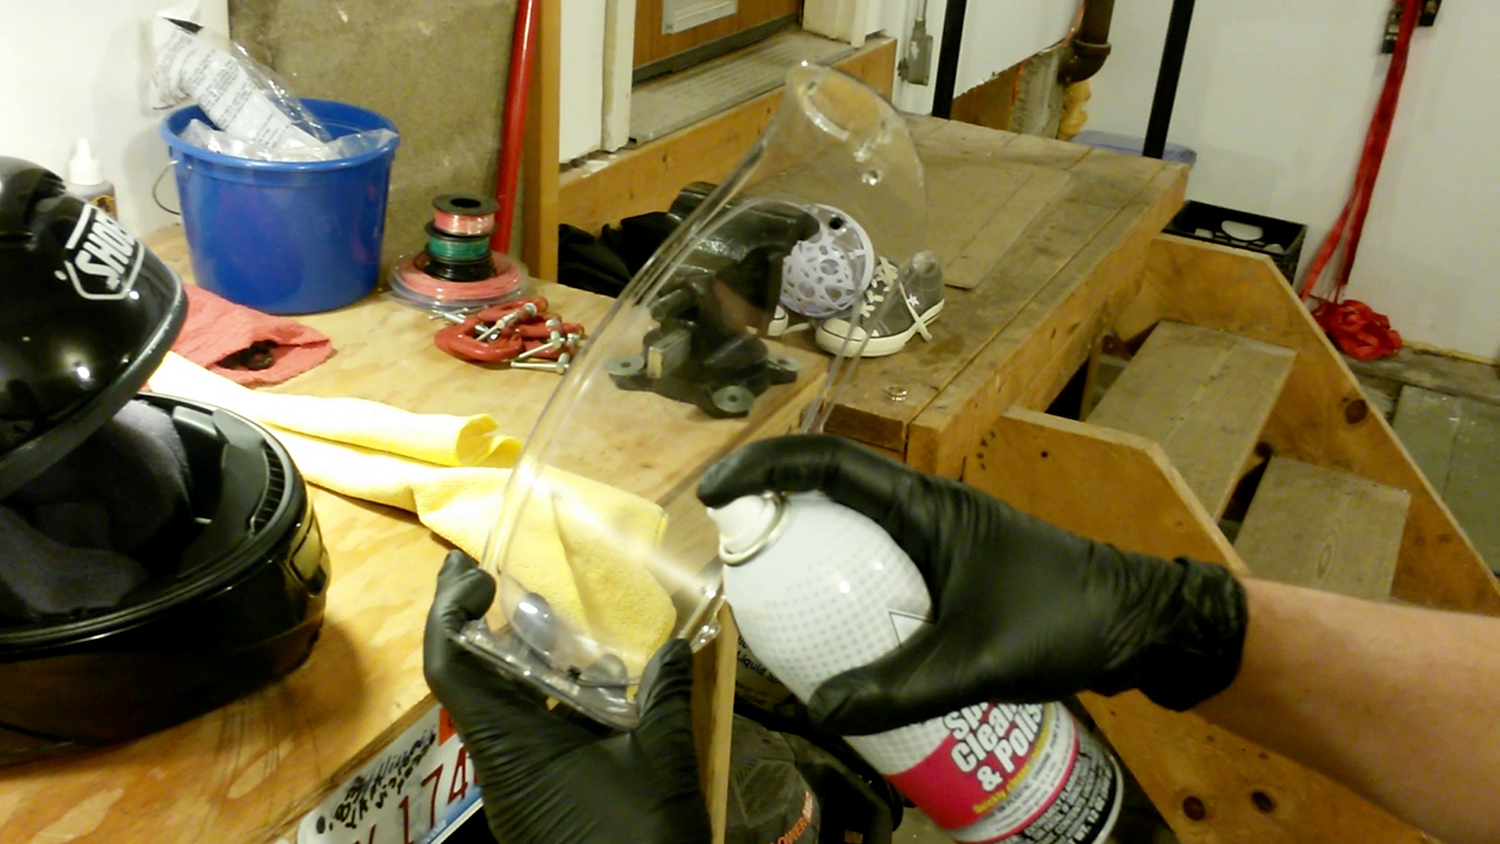

Here's a step in the helmet-cleaning process that many overlook (don't). Carefully remove your external visor, spray its interior and clean it accordingly using the same towel change-up as before. Reinstall and enjoy crystal clear riding.
Cleaning Your Motorcycle Helmet's Interior
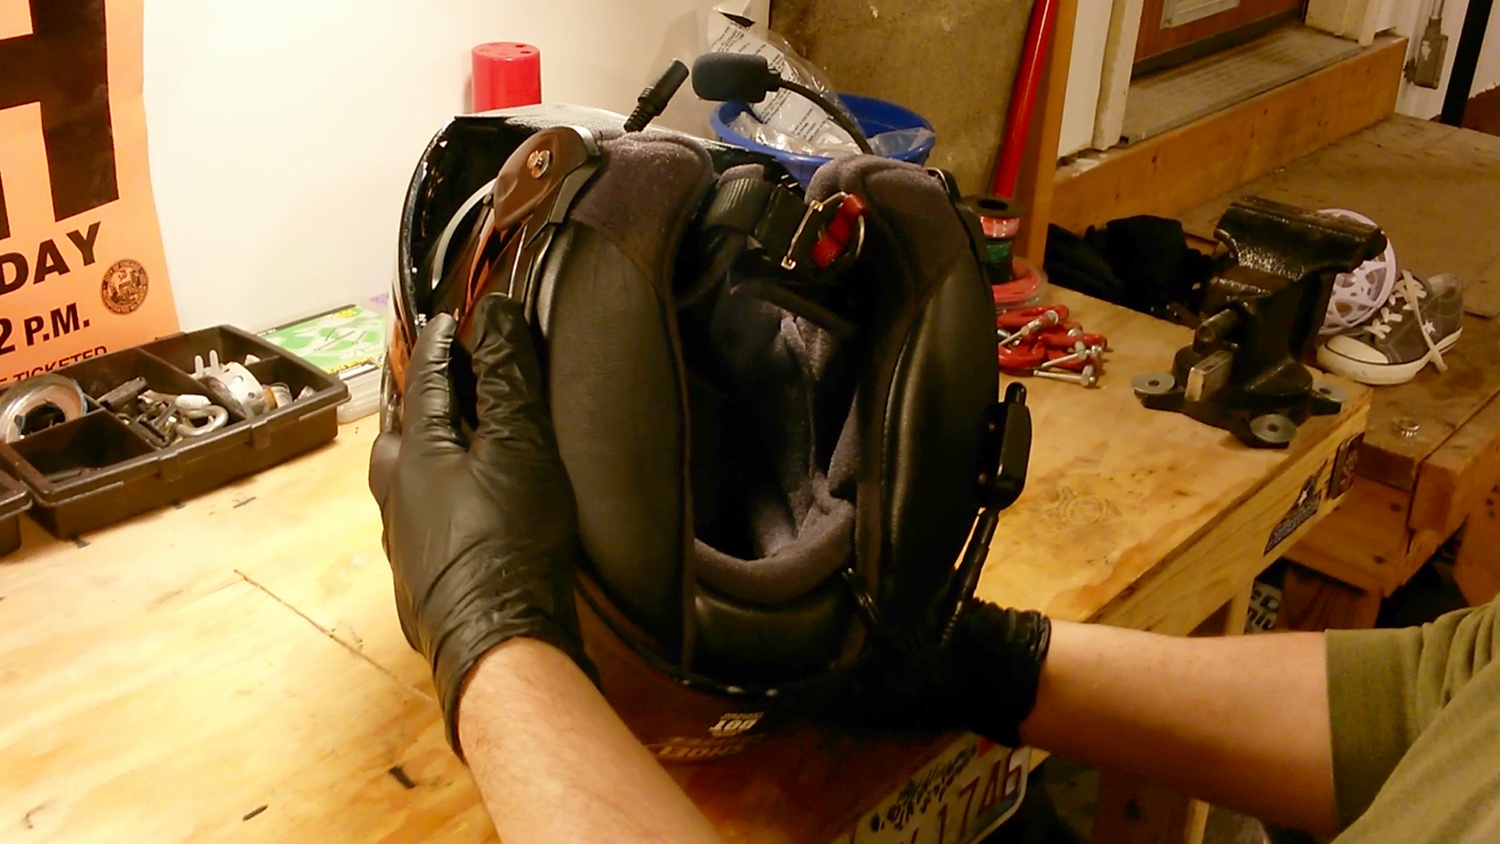
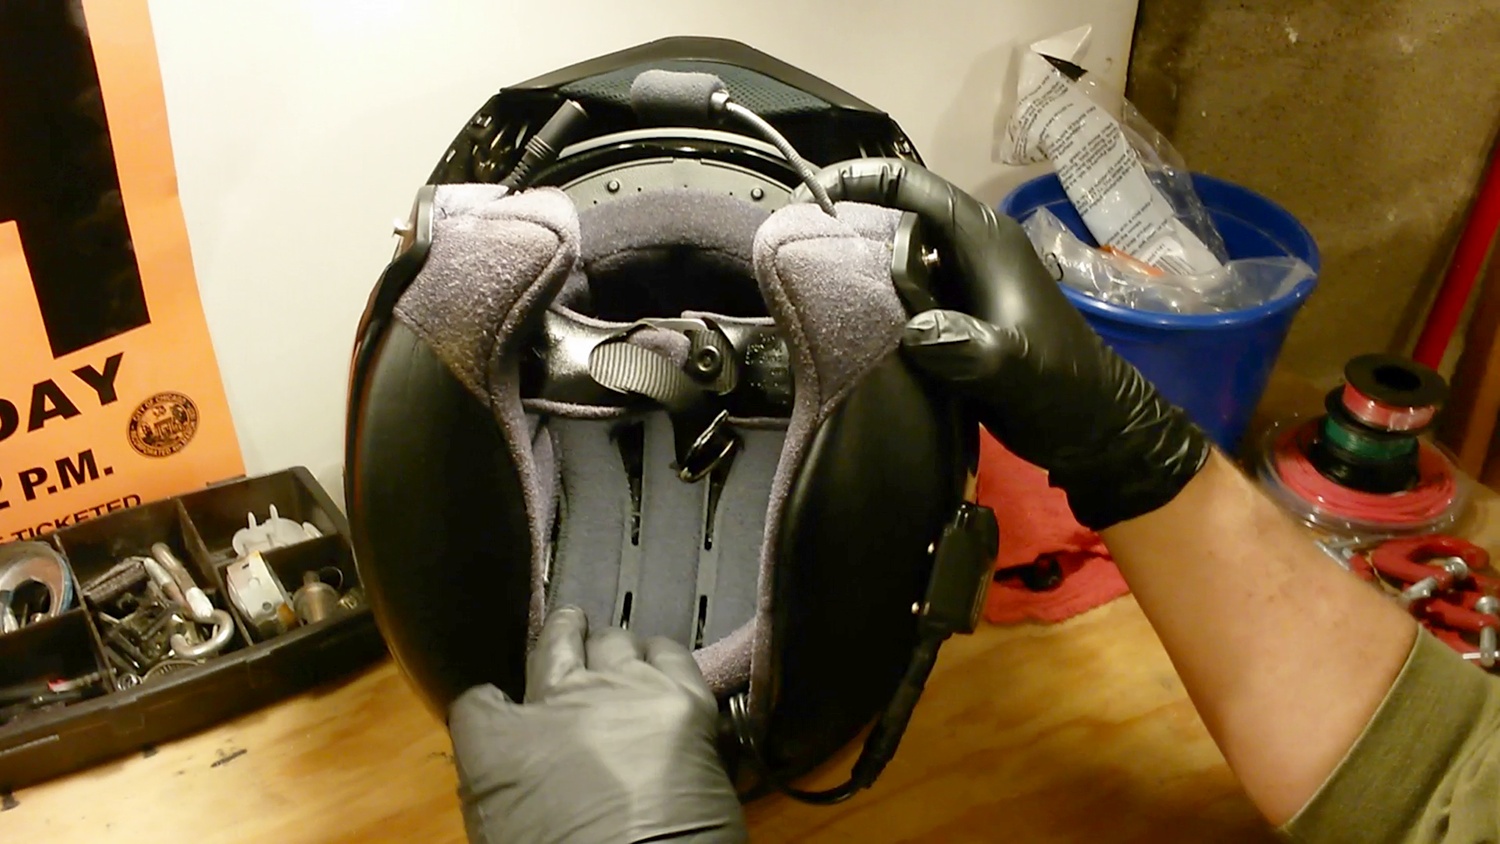
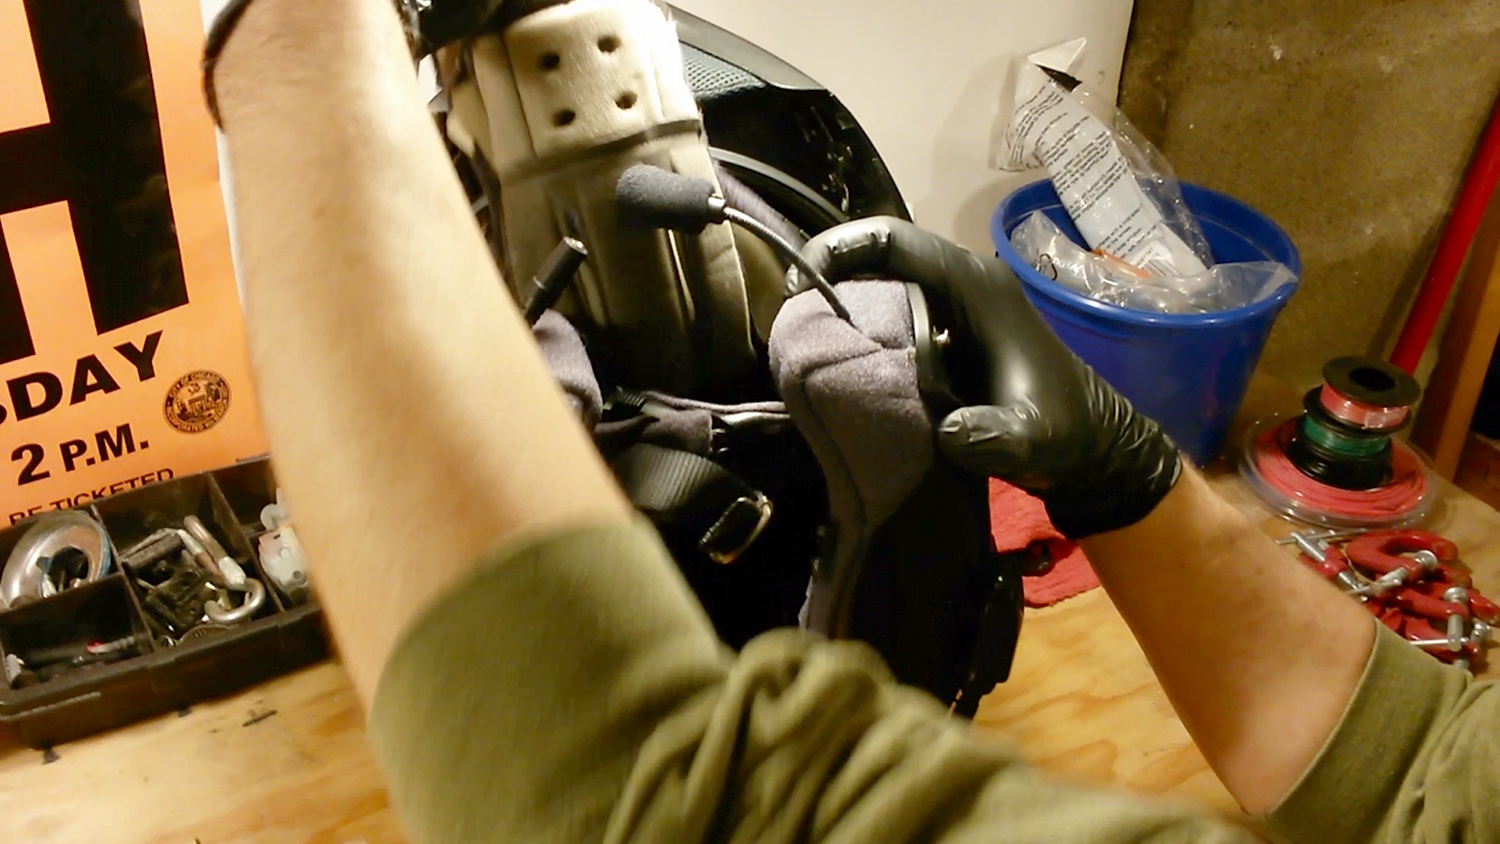
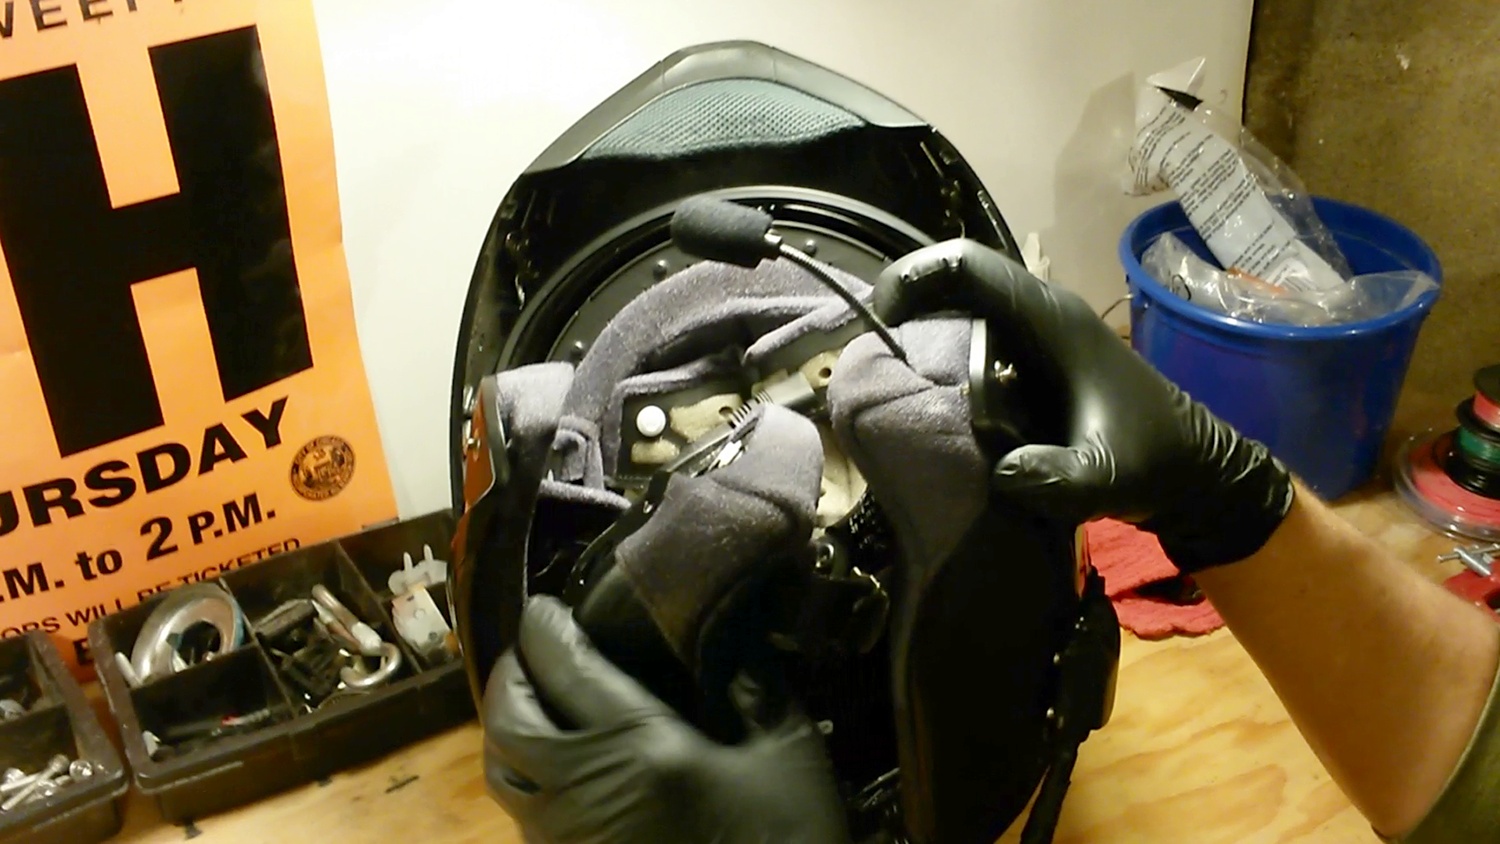
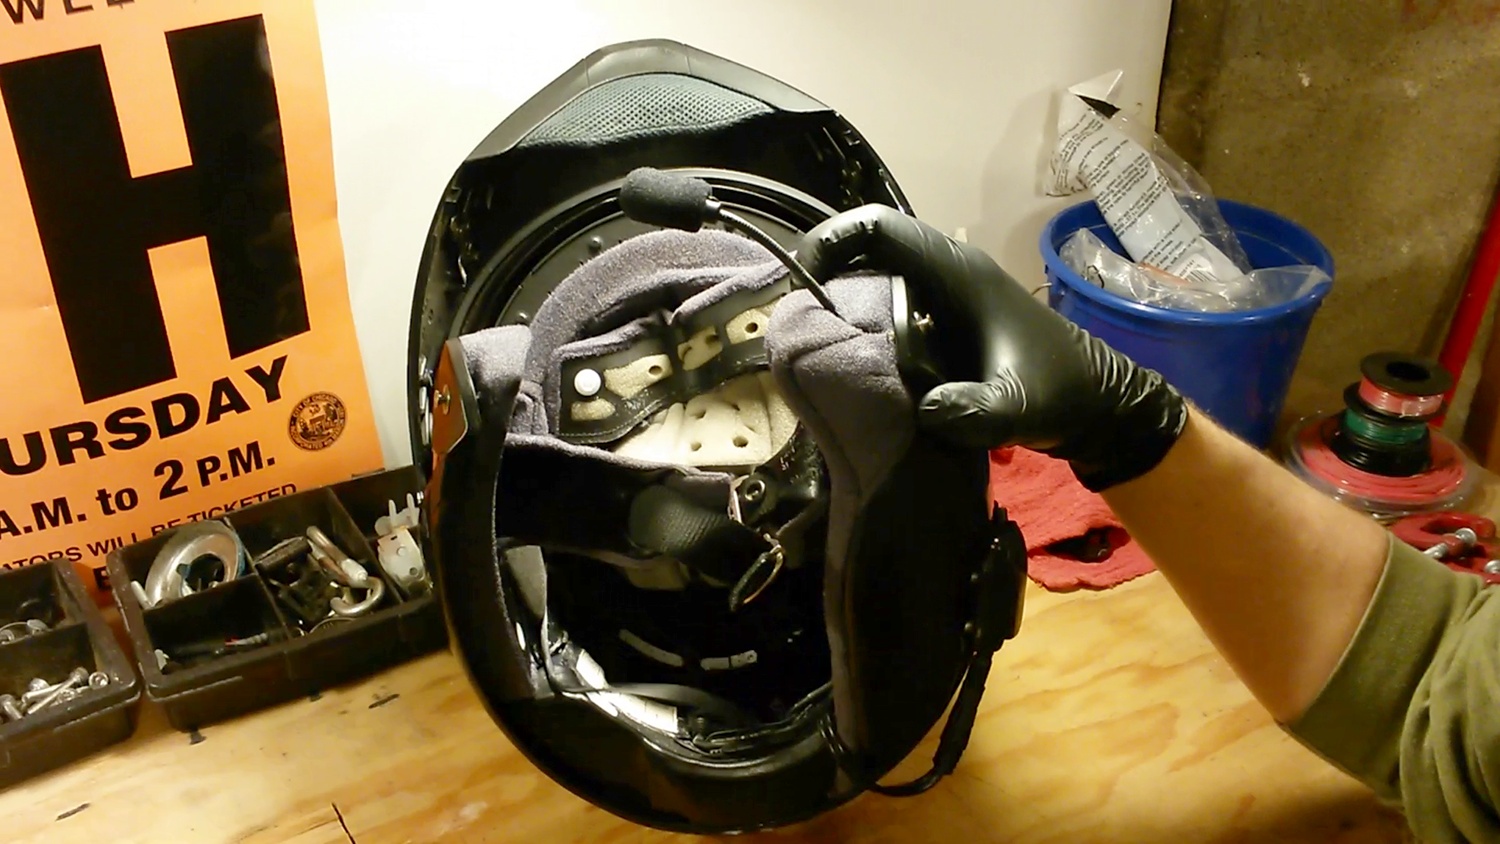
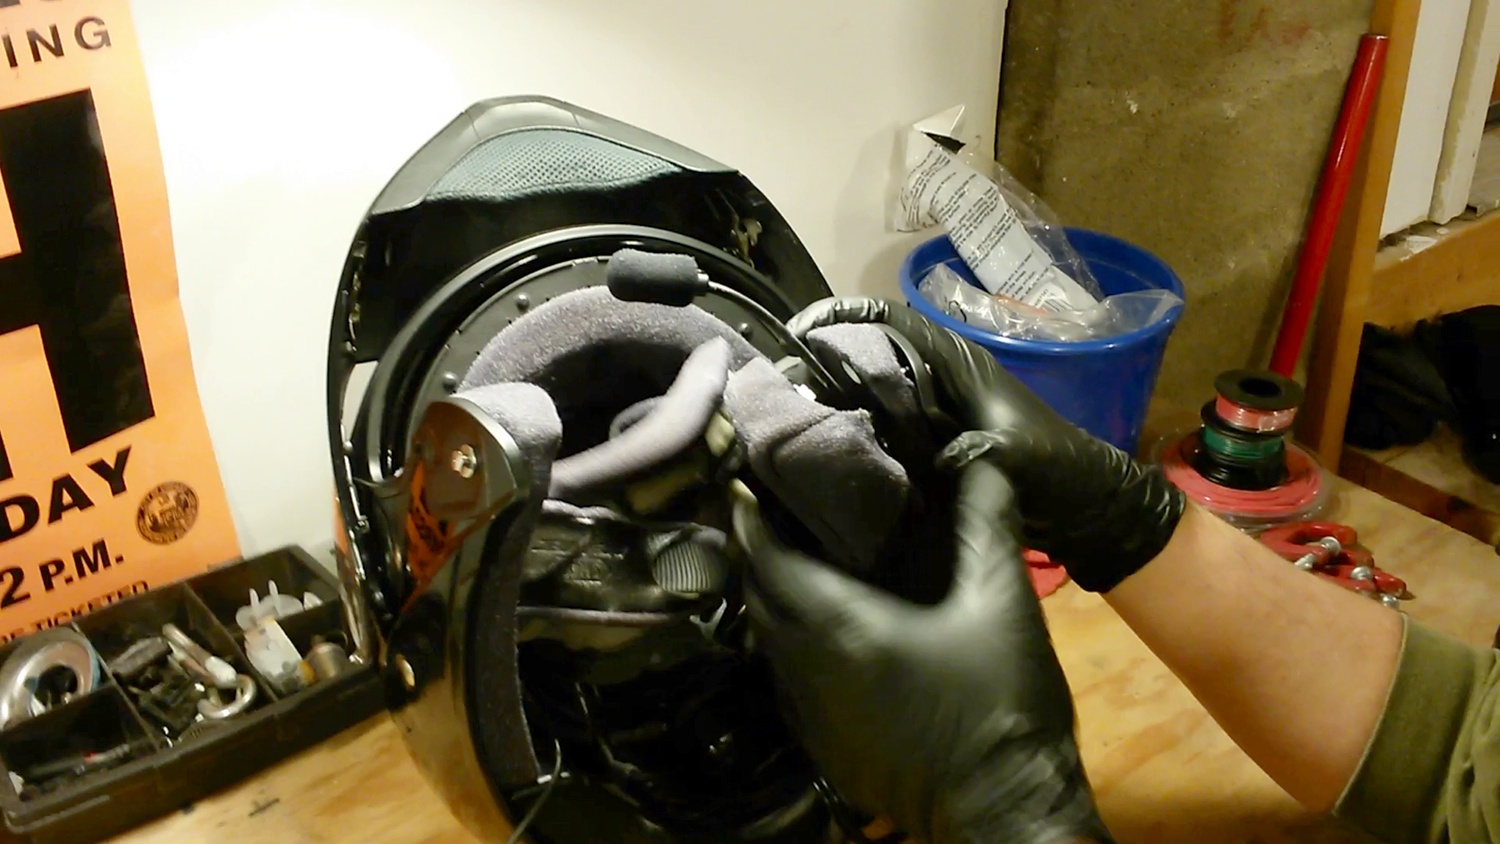
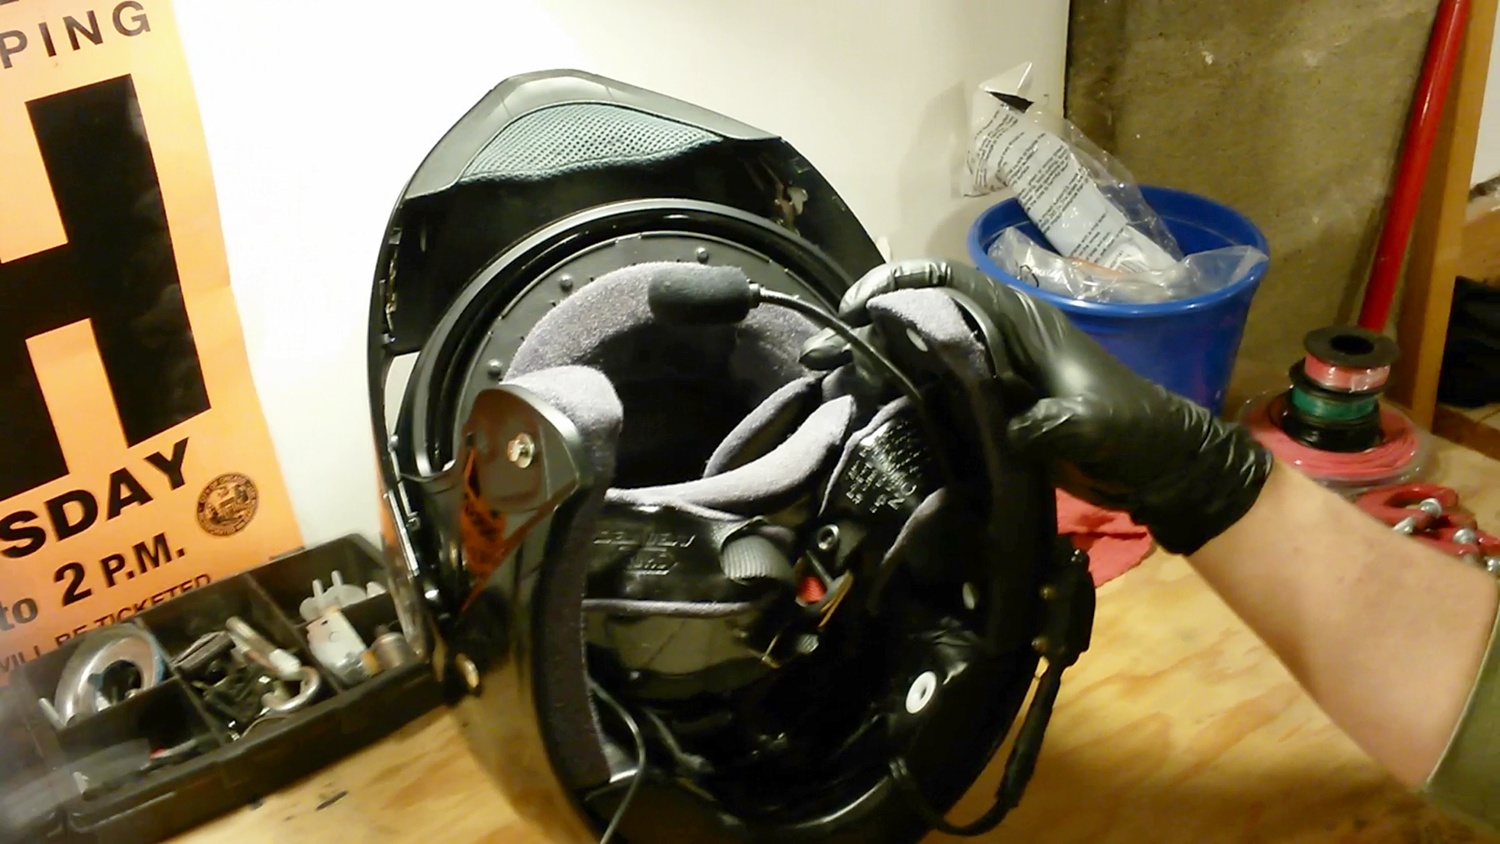
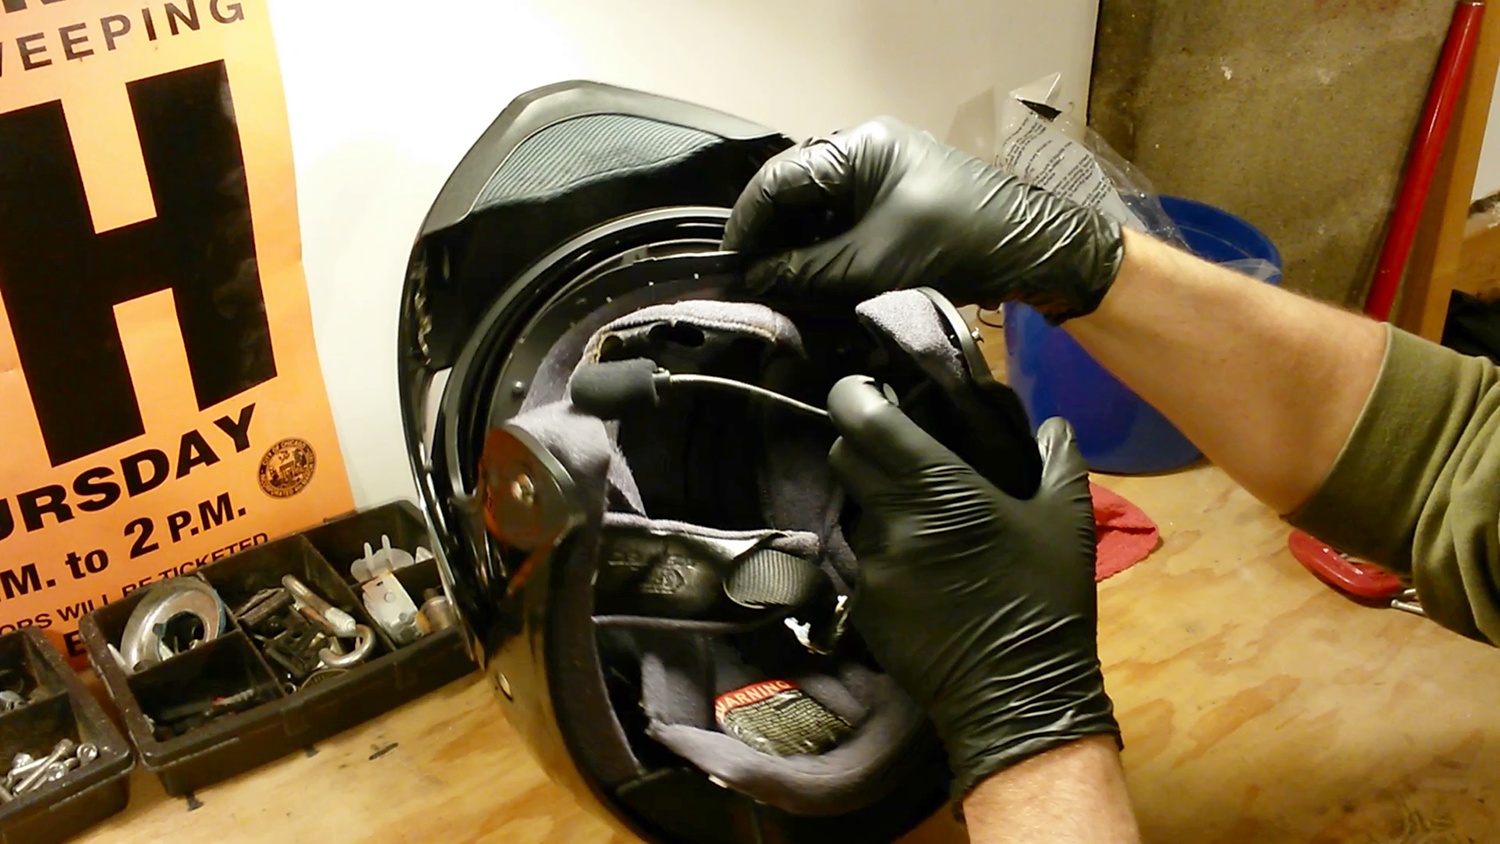
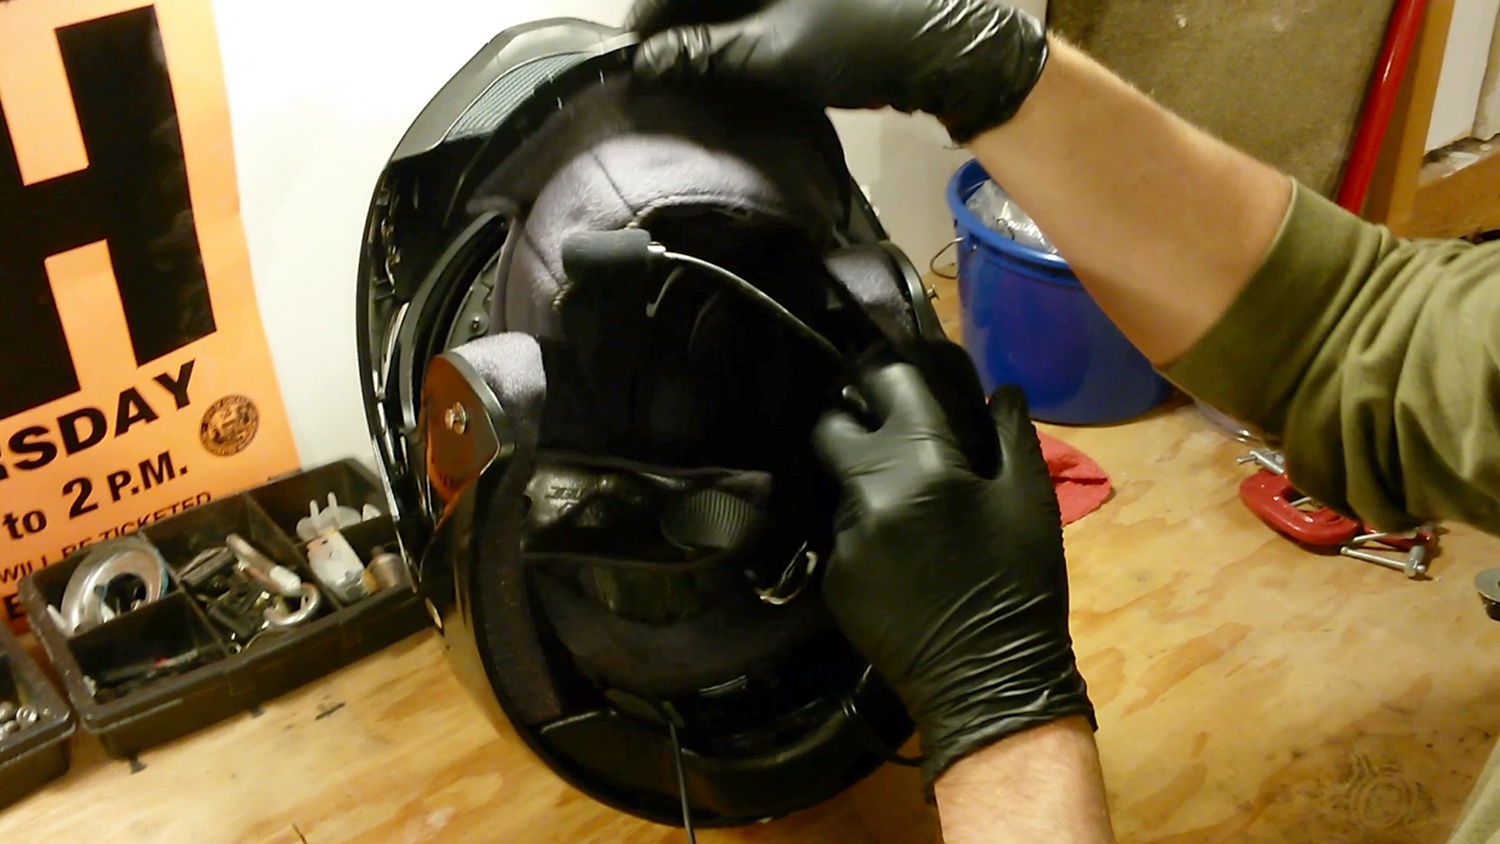
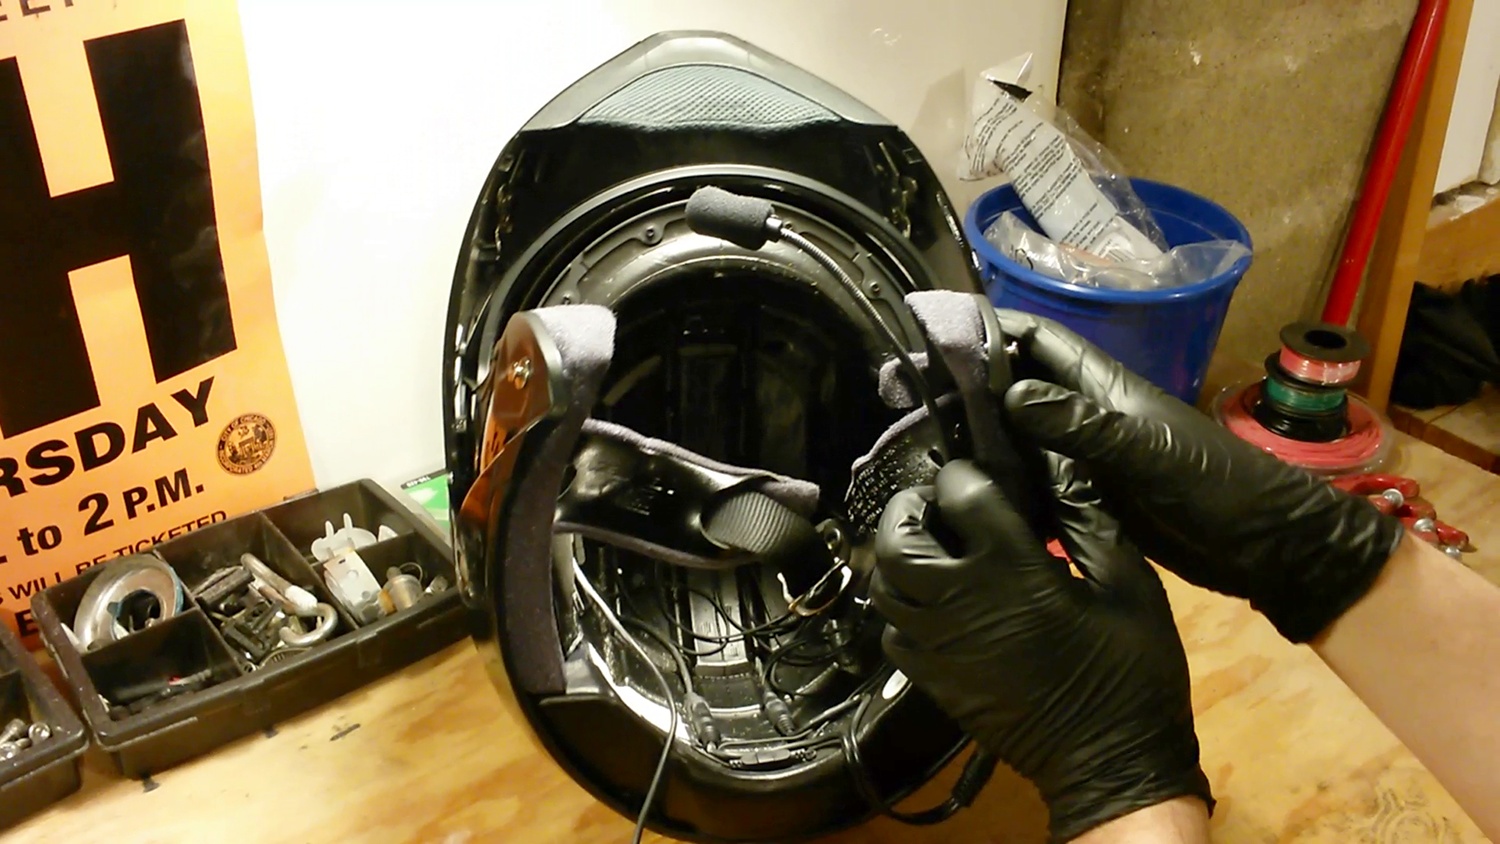
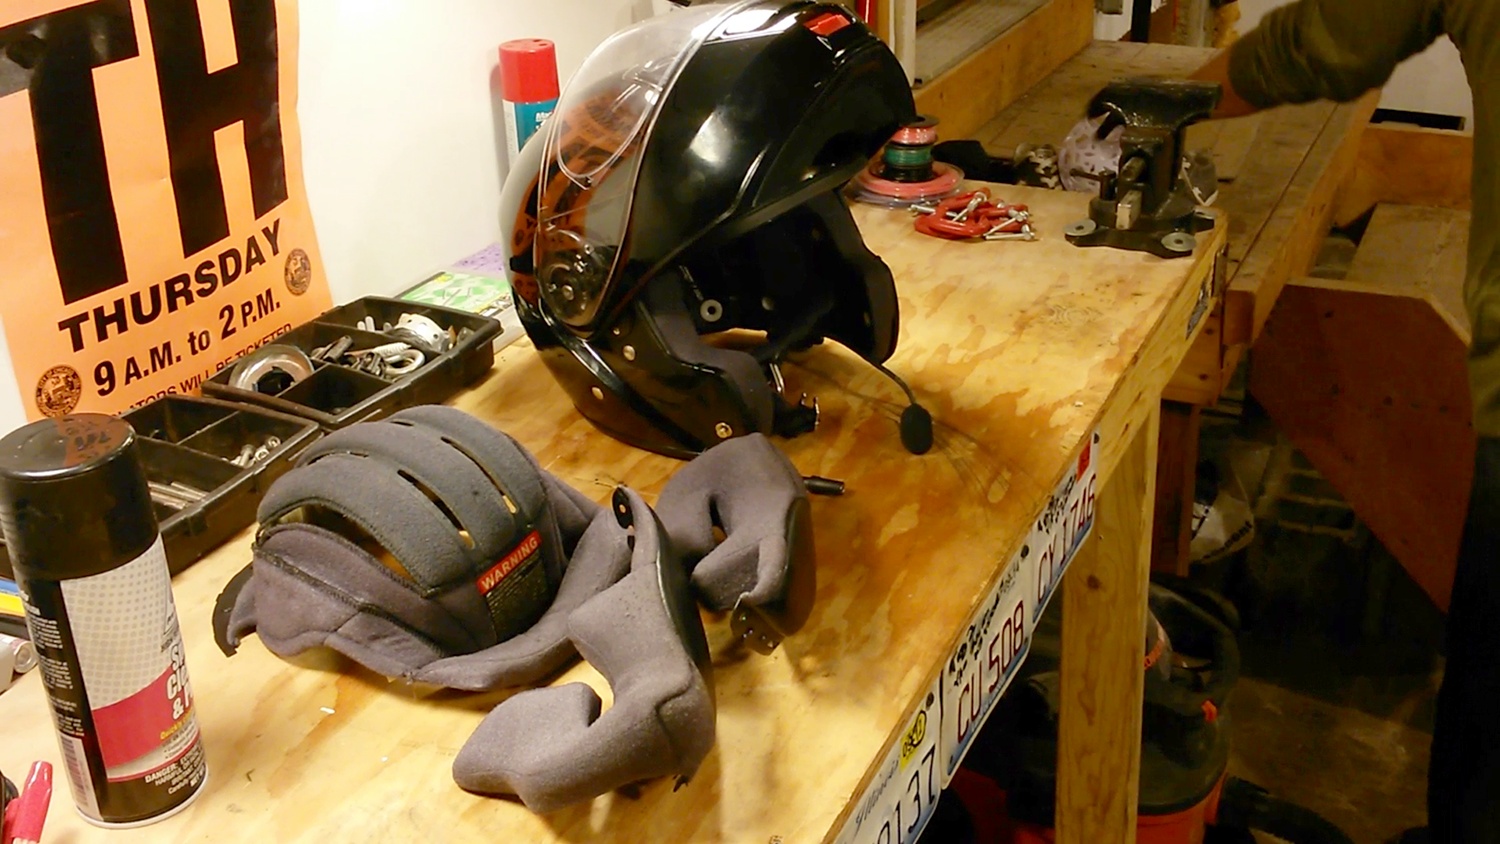
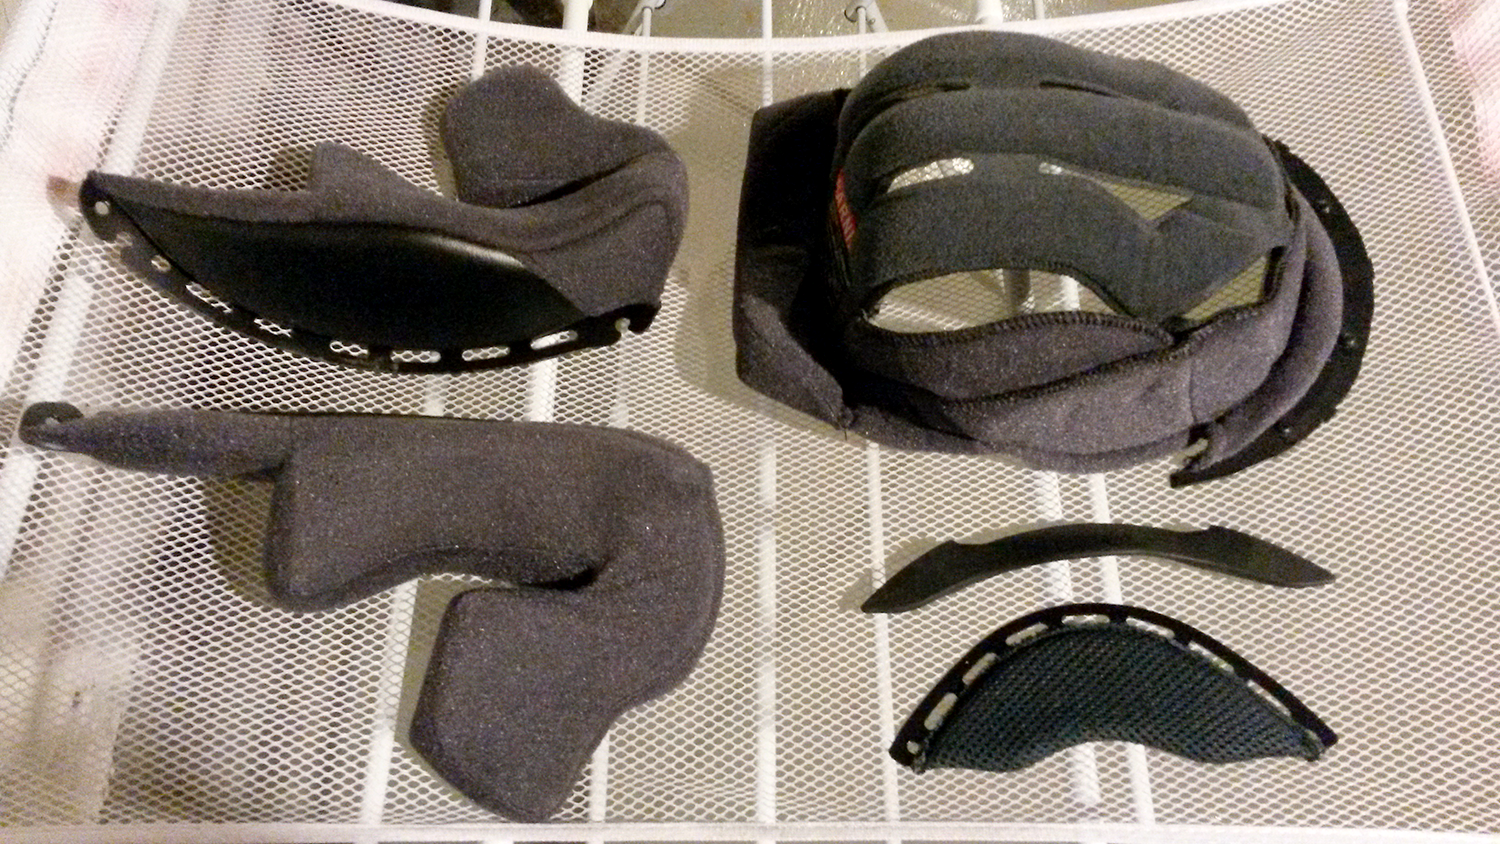
The slides above show my removal of three liner components from a Shoei Neotec modular helmet. If your helmet is modular, open the front section. Detach the rear points of the upper liner ("hat" area) and tuck it inside somewhere out of the way. Pop out the left and right cheek pads. Next, gently unsnap the upper liner toward the helmet's front brow and remove it.
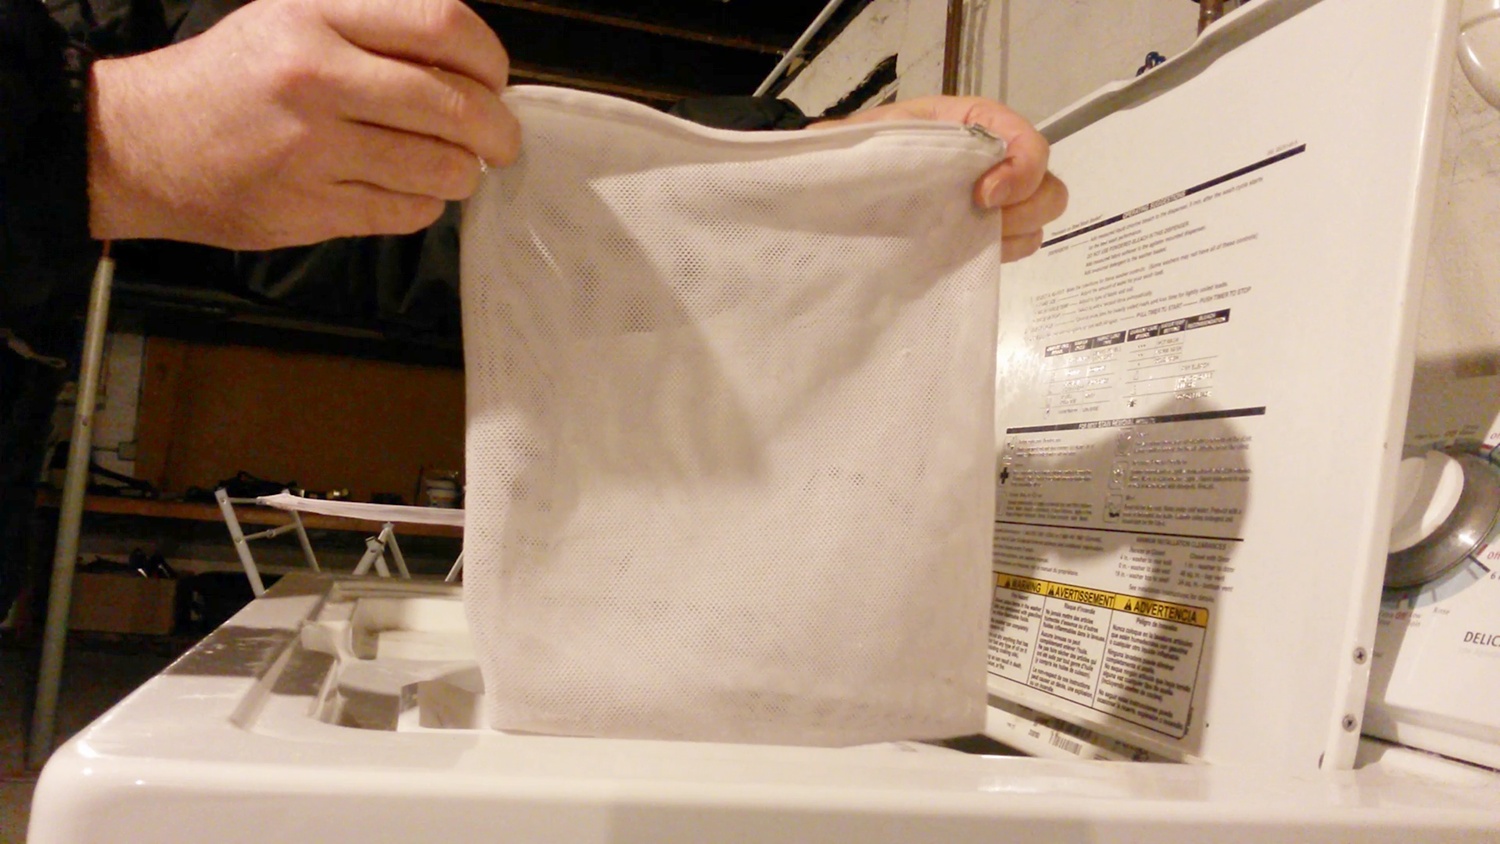
Now it's time to prepare the liner materials for the washing machine. Tossing them in loosely can prove harmful. The machine tosses things around violently, so little bits end up taking the brunt. To avoid this, we bundle them together using a mesh washing bag.
Mesh Bag:


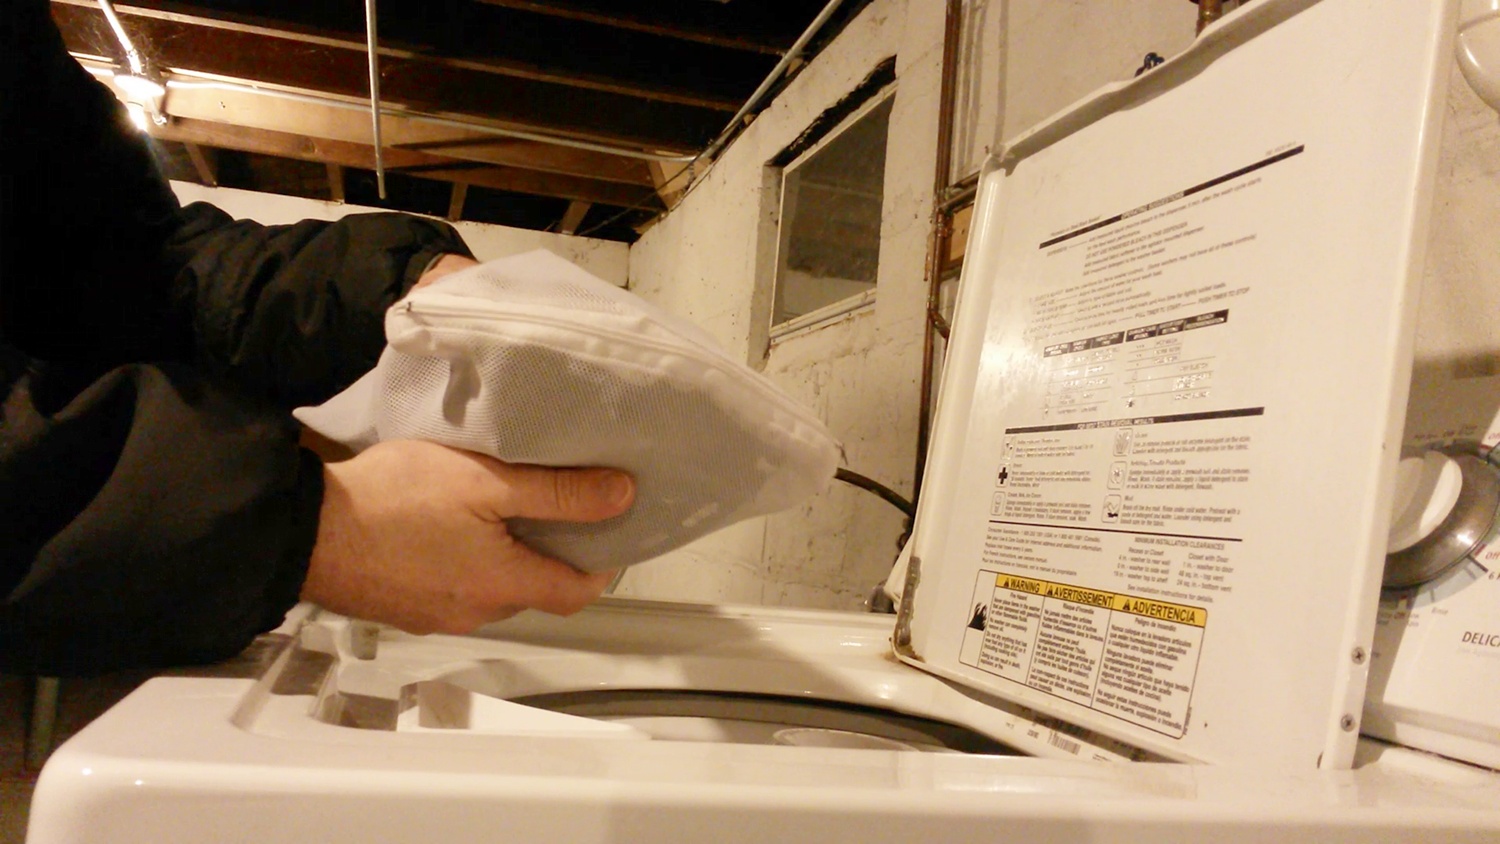
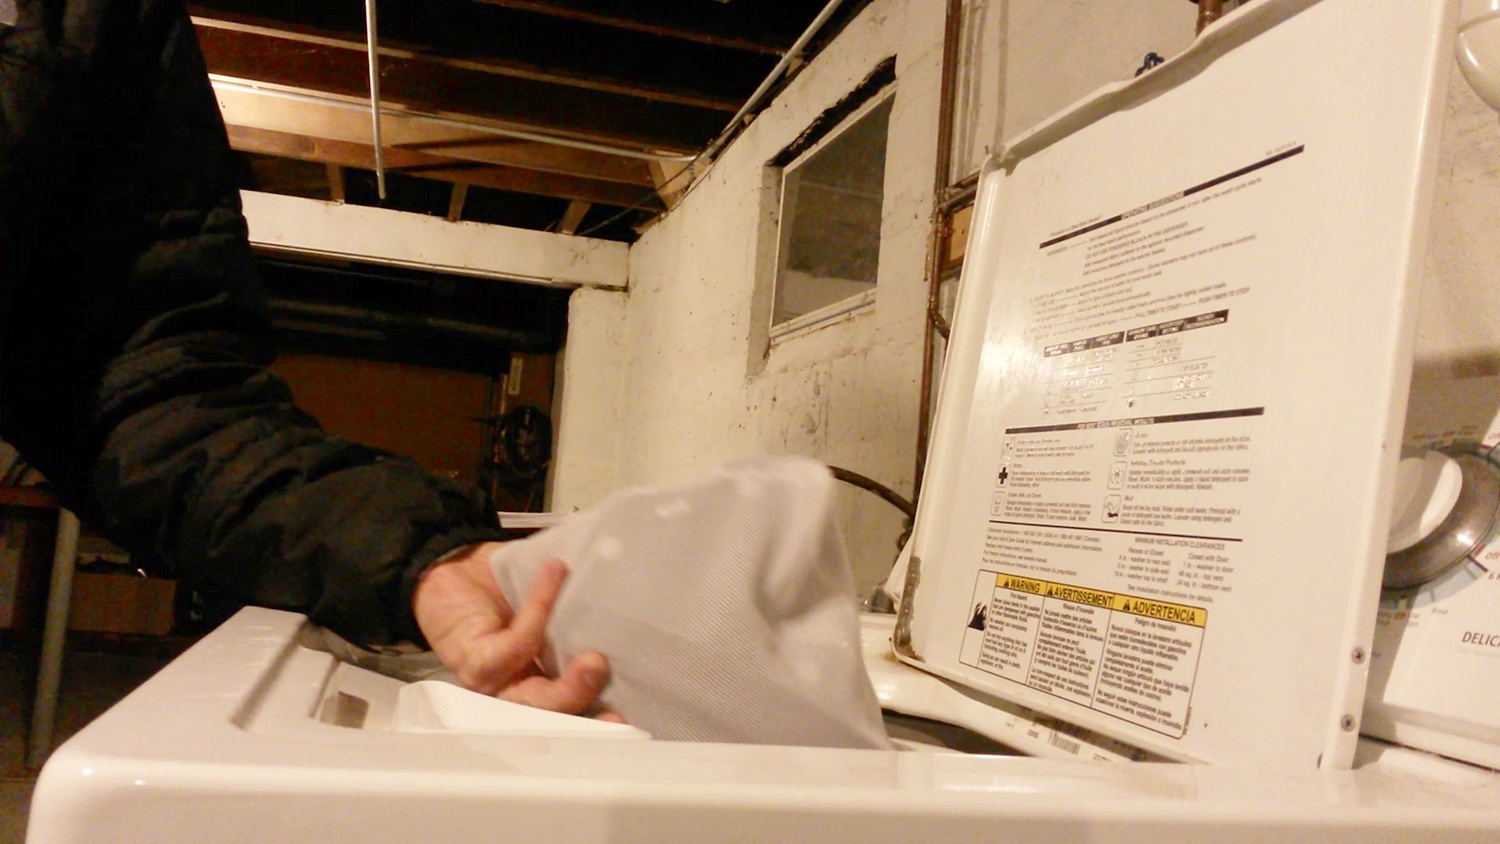
Place the contained helmet liner into a washing machine with other dirty towels or laundry you may have on hand. It's better to wash your helmet liner with other laundry than by itself. This prevents the spin cycle from bouncing the liner around or creating an unbalanced load.

Add an appropriate amount of nontoxic laundry detergent and proceed with a normal wash cycle. Once finished, DO NOT MACHINE-DRY. Instead, space the liner materials evenly away from one another on a drying rack, then reinstall after a few hours.
There you have it! By following the above steps, you should now have a clean, clear, ride-ready motorcycle helmet (and liner) that's free from bacterial odor. Reviewing these instructions quarterly or by mileage will ensure a better riding experience with a reliably clean motorcycle helmet.

How Do You Clean Your Motorcycle Helmet?
Not all helmets are the same. Does yours require a different approach? What products do you use and what's your process? Your input is invited. Leave a comment and/or write an article!
Share Link ...

About Robin Dean
Motorcycle advocate, enthusiast and traveler. Founder, The Riding Obsession (2014). MSF RiderCoach credentials: "loosely regarded adult supervisor, probably good enough for rock 'n' roll" ~ Tidal Playlist | Rabid Neon
Comments
This is cool. My lid is still new but I was thinking about when the day comes. Are there no parts that can be damaged by water inside of the lid? I will definitely do this when the summer starts and the sweating begins.
Great advice!
Really helpful! I don't know about other guys but I wipe down my visor every day. I can't stand seeing spots on the visor while I'm riding.
Thoughts gone wild? Write an article!