Buckle up for the FTC disclosure ride here. The following article was last updated on Nov 22, 2024 ...
Better Brake Bleeding (A Simple Solution)
For some of you, this method of bleeding brakes is going to read as old hat. You're seasoned and experienced, with volumes upon volumes of efficient solutions, including this one, for a variety of tedious motorcycle maintenance tasks. There is a chance, however that you're like me (an intermediate wrench at best) and that you have yet to attempt this "one weird trick".
“If you want to bleed brakes by yourself, read on because this technique is by far the easiest.”
In the case of motorcycle brake bleeding, I've seen my fair share of frustrating experiences. Brittle tools that are purposed specifically for said job can fall apart mid-effort, creating a mess of corrosive chemical compounds and even damaged paint/plastic if you don't clean things up in time. While having a Mightyvac on hand isn't a bad thing, its operation requires more work than brake bleeding should involve.
As for how to bleed brakes by yourself, get ready because things are about to get a whole lot easier. I recently overheard a friend, one who rides the same second generation Bandit 1200 as my own, explain to another rider how instead of pouring brake fluid into his master cylinder and subsequently downward into his fluid lines, he injects it into his bleed outlet. That is to suggest that he back flushes brake fluid via the bleed screw, forcing it to lift all hazardous bubbles/sediment to the master cylinder where it can then be extracted.
I put his words to task, texting often with any confusion or concerns while isolating a complete list of steps. Many thanks to Jon Radermacher for making this technique known to me. Bleeding brakes alone is no longer upkeep that I most truly and utterly detest.
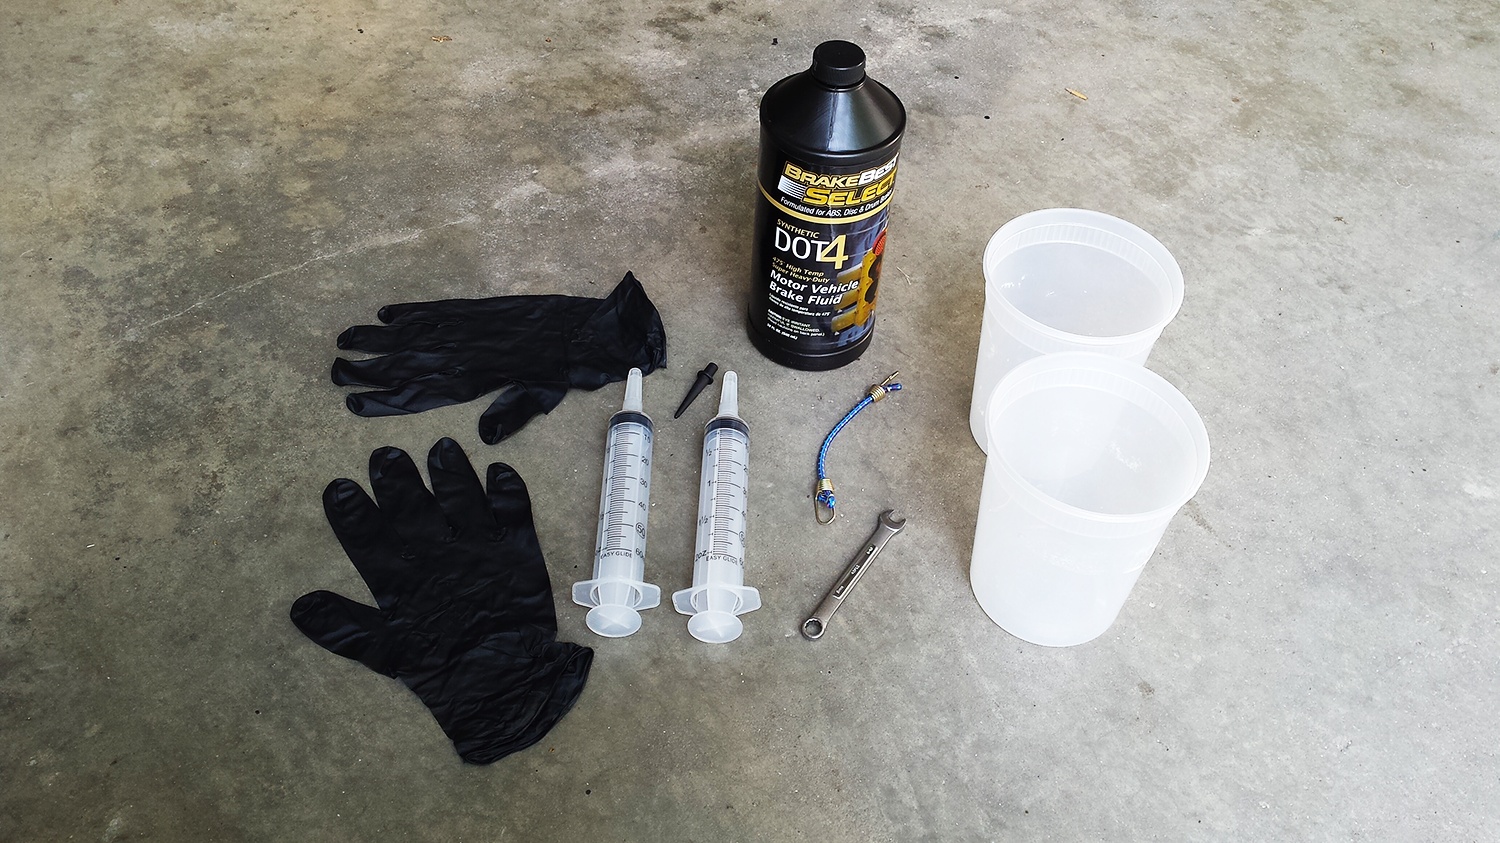
The first thing to do is get yourself some Nitrile gloves, an MVA6913 brake bleed adapter kit (no need for a Mightyvac), two Easy Glide 60cc Syringes with a sterile catheter tip and one bottle of your preferred brake fluid. One of the syringes is for extracting brake fluid from the reservoir and the other compresses fresh fluid into the bleed screw. If you're bleeding a hydraulic clutch, a small bungee cord or medium weight rubber band can hold the lever fully squeezed for the duration.
“You'd also be wise to have a reasonable number of shop rags in place should things get messy (but if you continue to read carefully, they likely won't)”
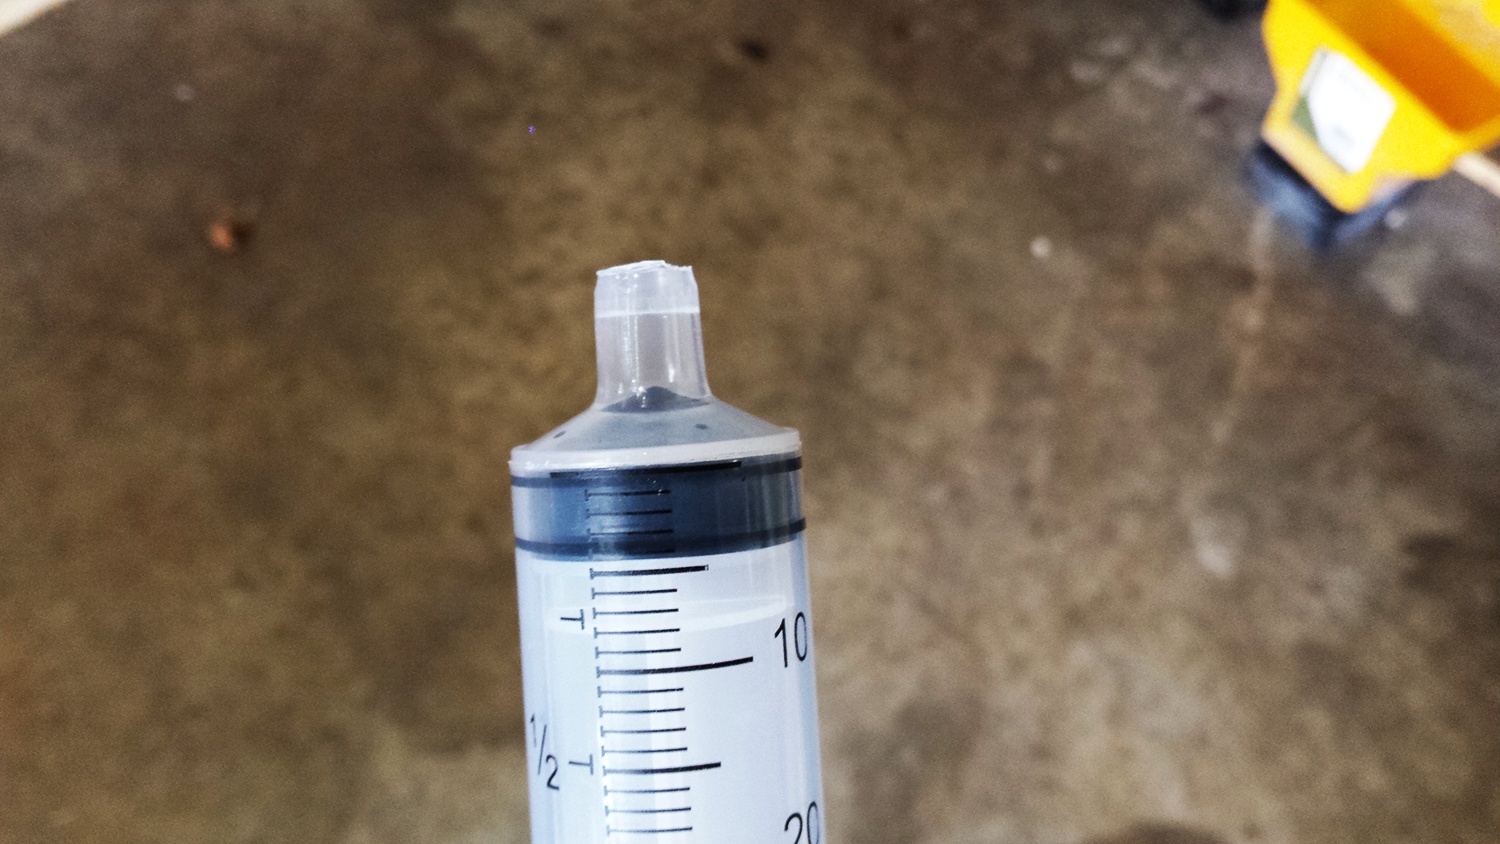
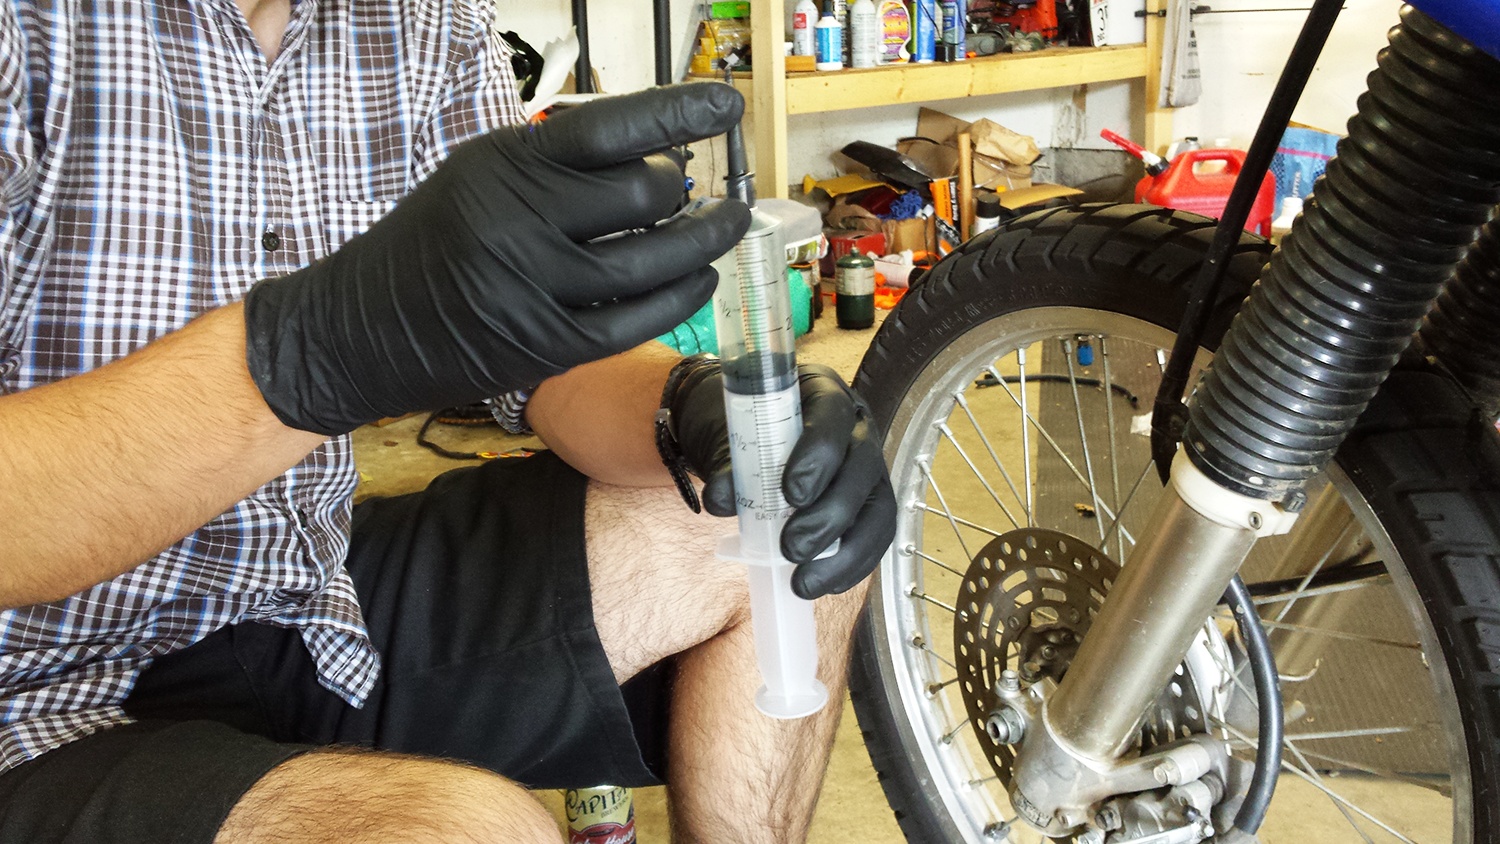
Before we open things up, let's prepare one of the syringes for use in adding clean brake fluid. From here on, we'll refer to this as our "clean" syringe. Pointing it directly upward, look for a manufacturing seam toward the base of its cone tip. Cut just beyond this seam so that it looks like image above. Your soft-rubber, cone-shaped brake bleed adaptor from the MVA6913 kit should now fit snugly into the end of this syringe. Leave the other syringe in its default state.
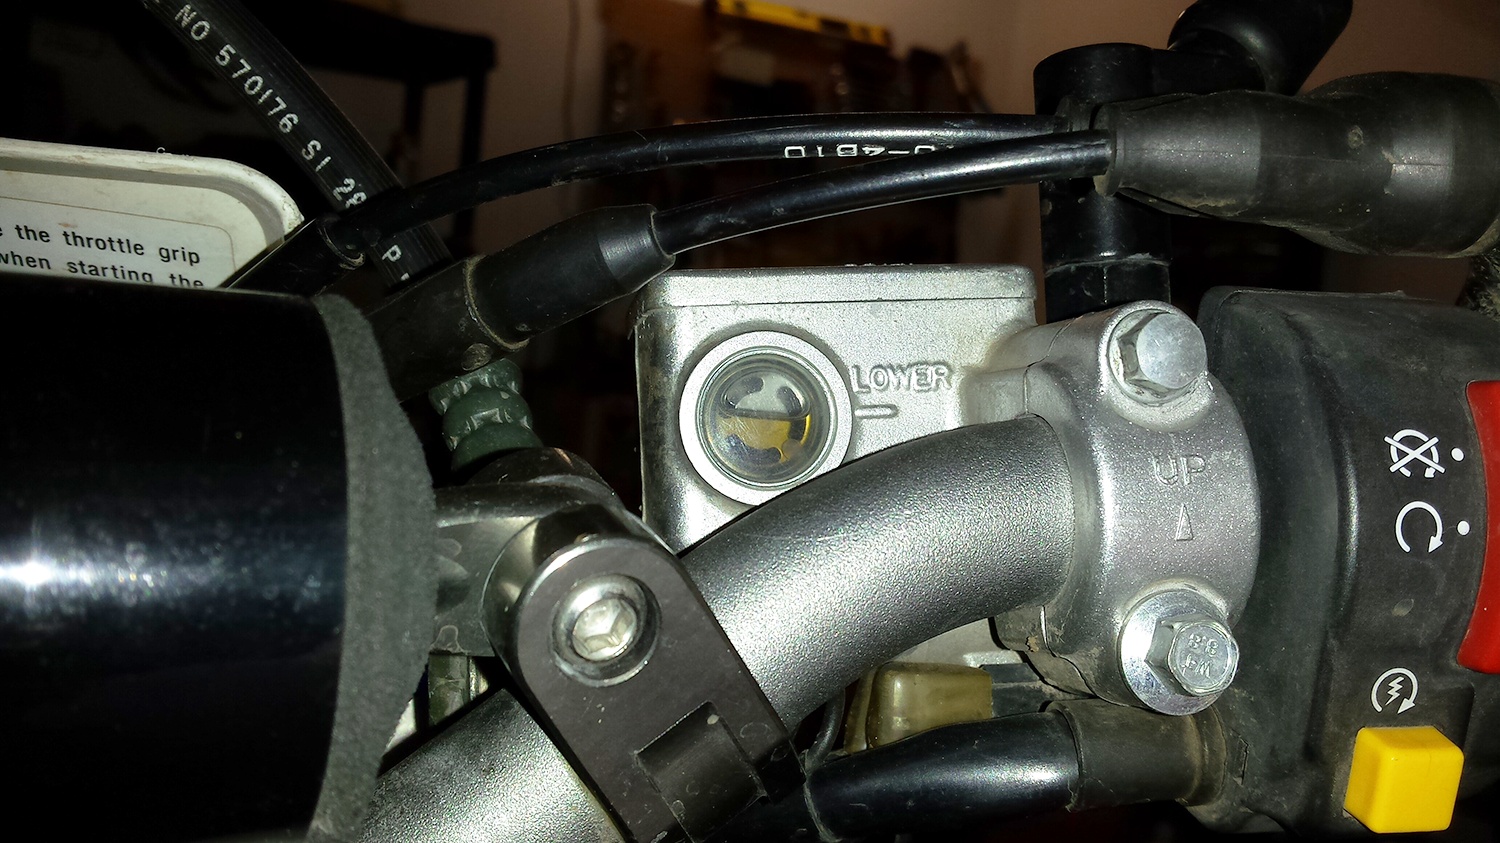
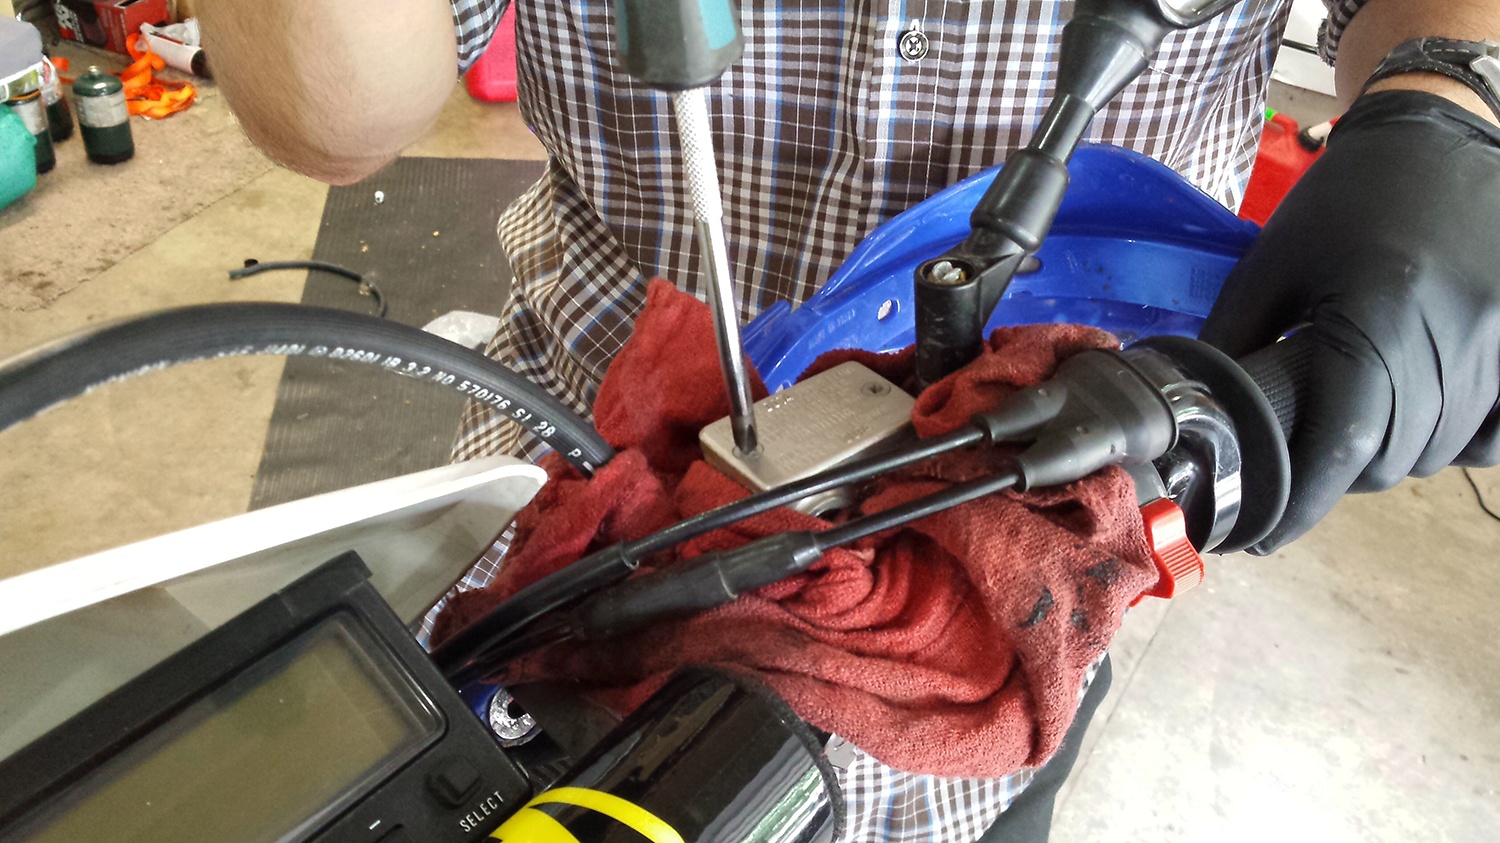
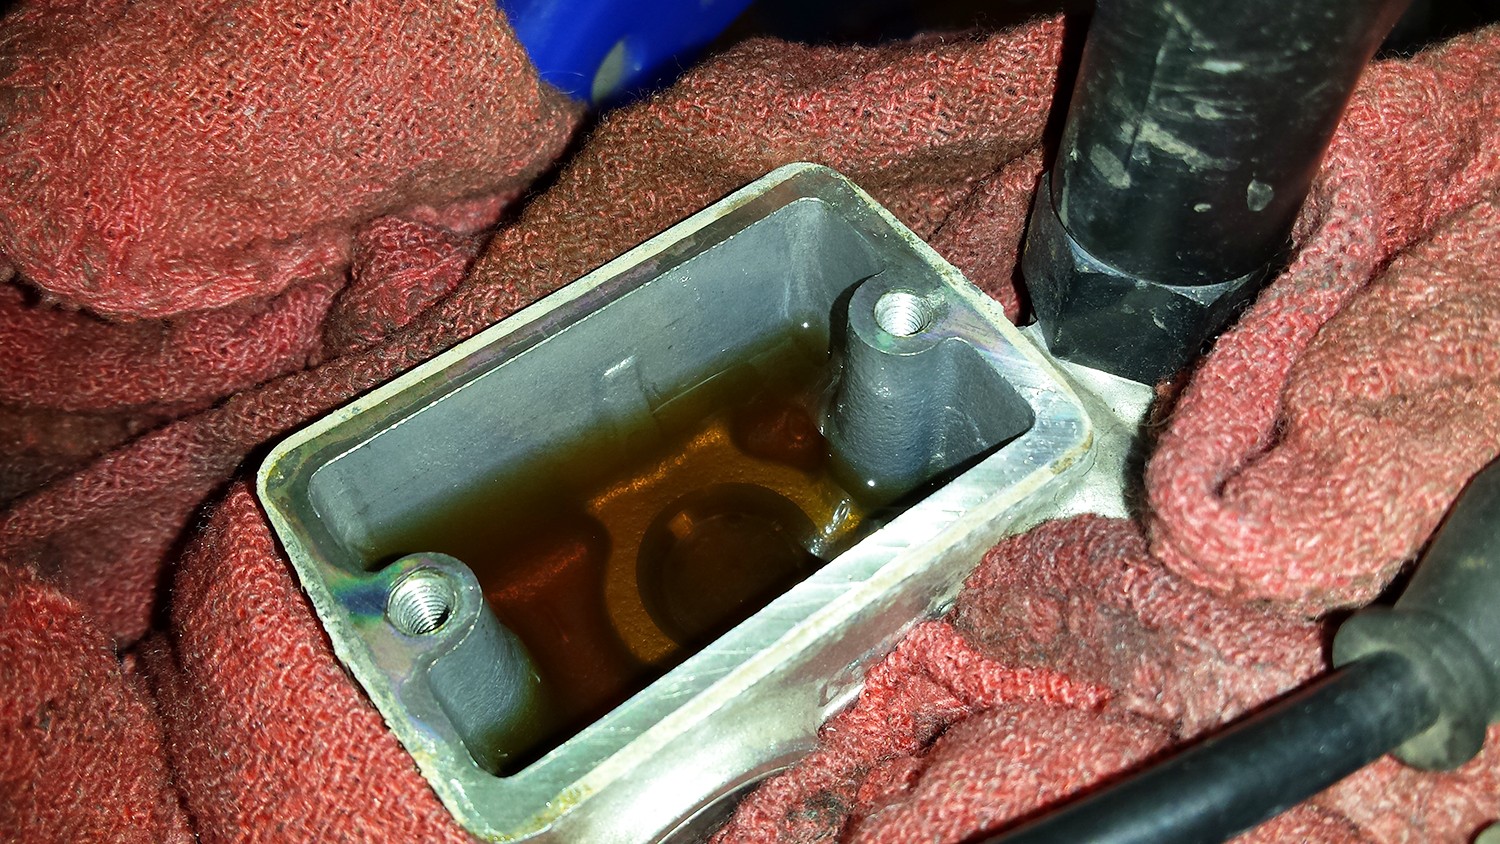
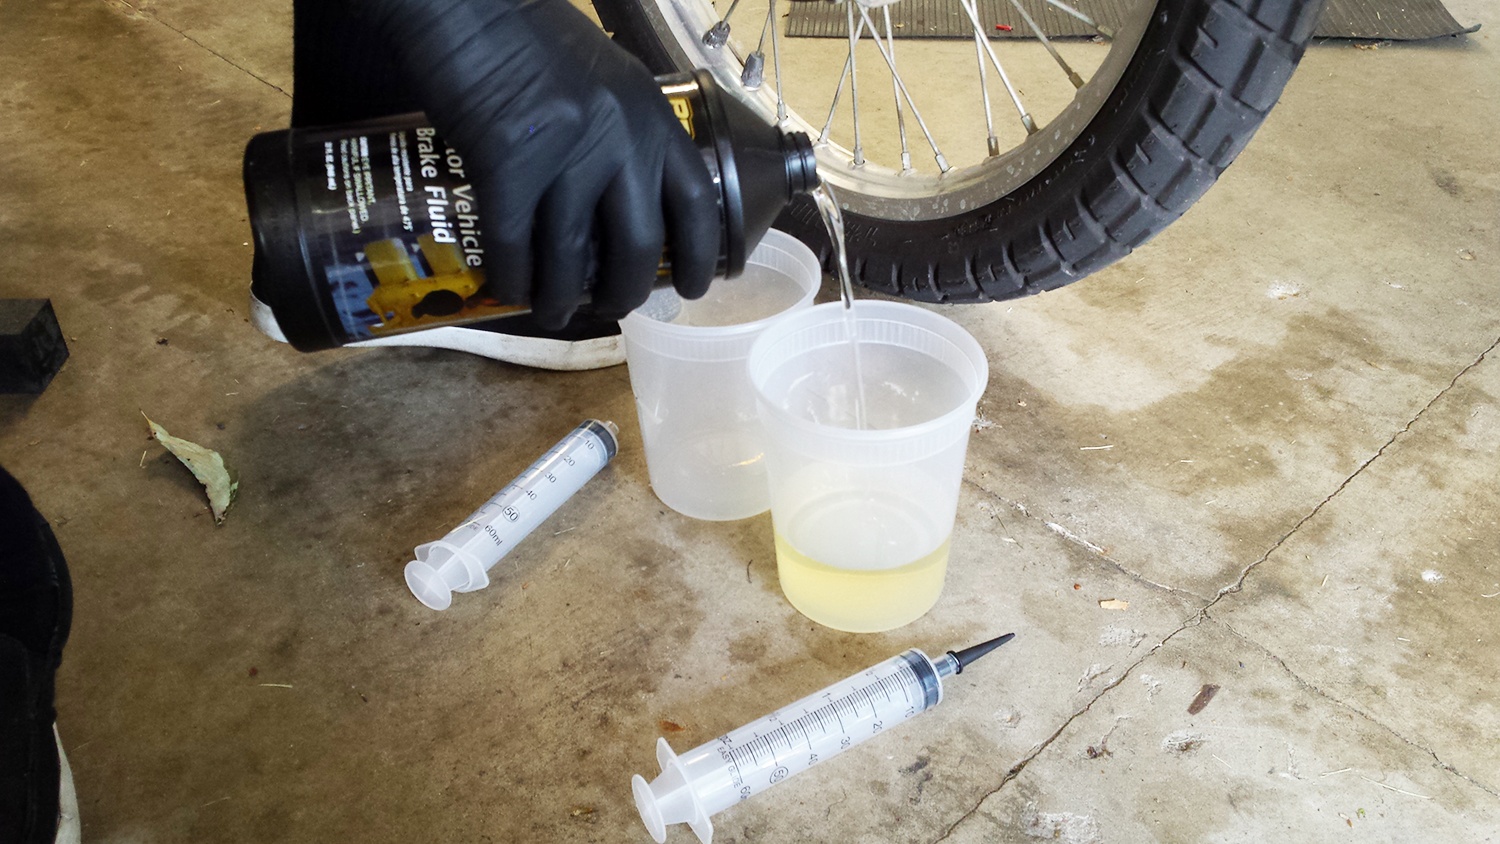
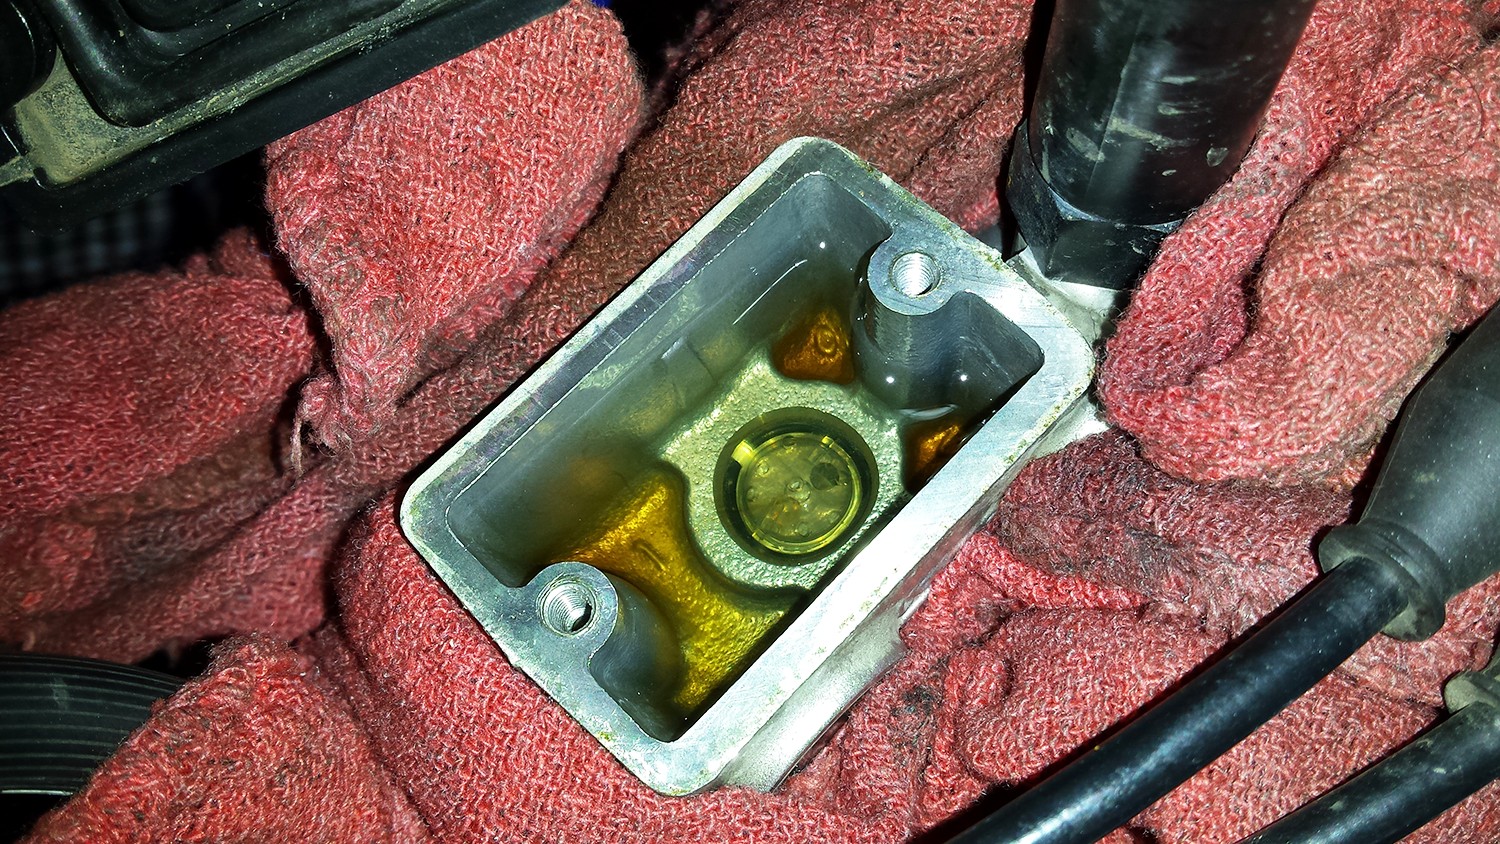
On the floor near your bleed screw, place two open receptacles, your bottle of brake fluid and both syringes. Statically position your motorcycle before surrounding your fluid reservoir with shop rags. Remove the lid to your brake or hydraulic clutch system's master cylinder per M.O.M.'s instructions.
Make sure once more that everything is where it needs to be. Patience and preparation play a big role in the time needed to get the job done. Assuming all is well ...
Get your trusty, non-ratchet 8mm wrench or an appropriately sized equivalent for use with your bleed screw. Position it on the ground so that you can grab it with your left hand when ready. Pour a reasonable amount of brake fluid into one of the available receptacles, moving the other to floor space that's closer to your master cylinder.
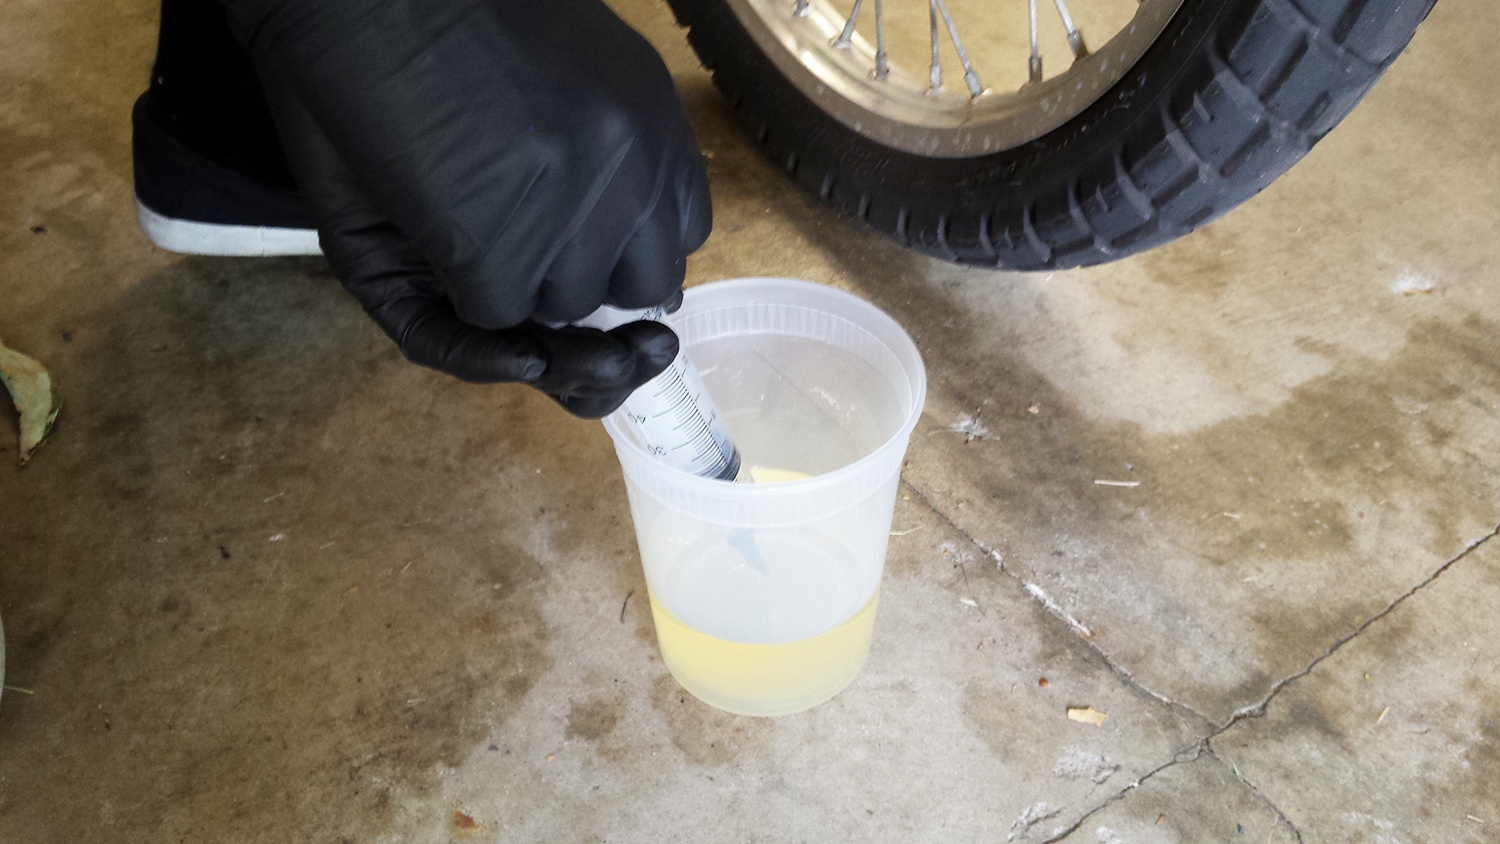
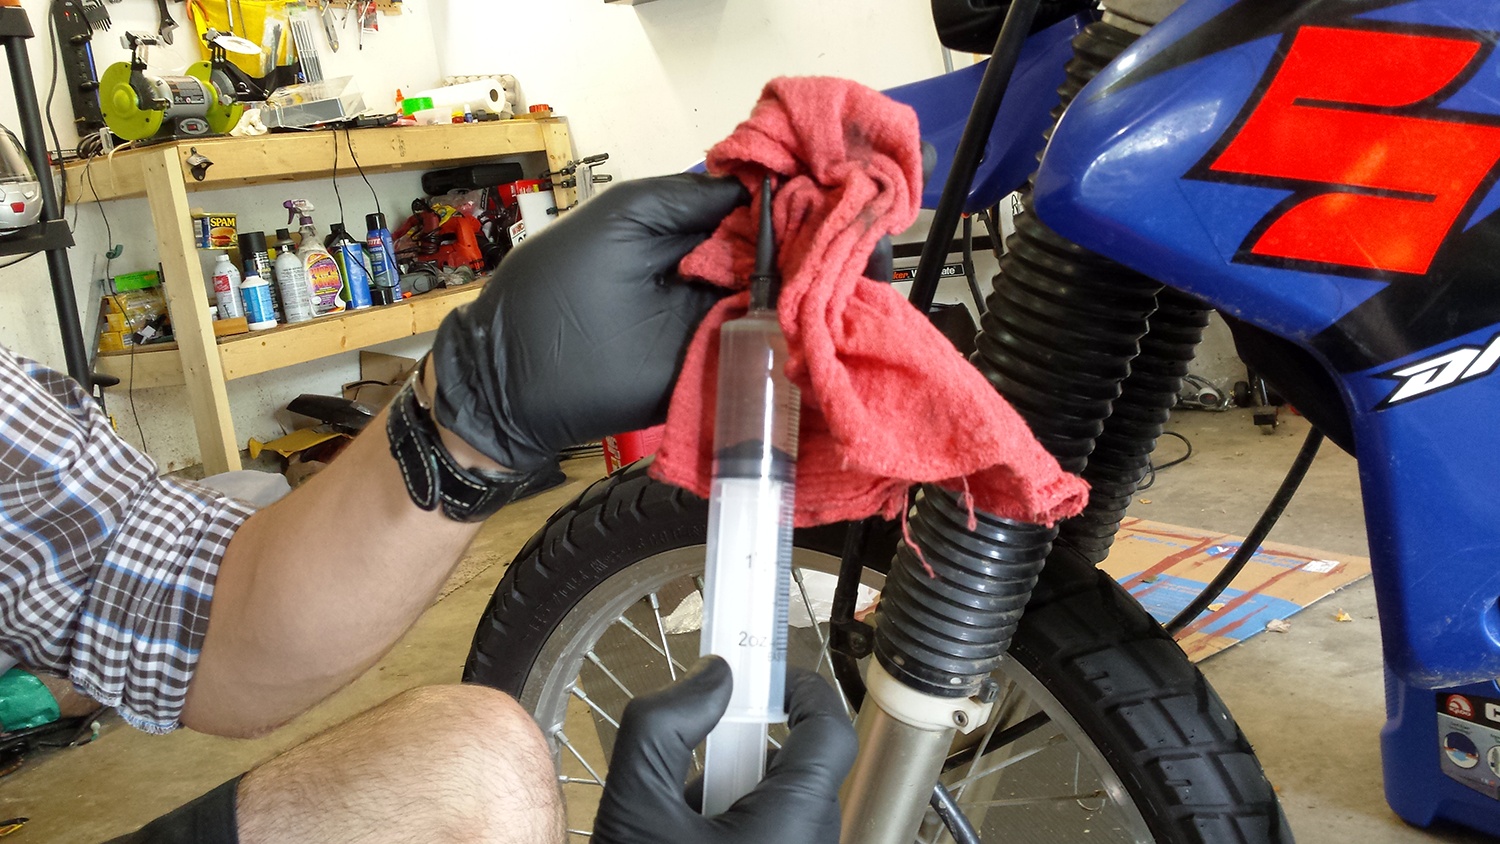
Using the "dirty" syringe, extract most of the brake fluid from your master cylinder reservoir, making sure not to empty it completely. Simply put, leave a few millimeters in place so that you know there's only fluid in the line (air bubbles = bad). Evacuate the syringe into the (currently empty) "dirty" fluid receptacle, placed conveniently nearby.
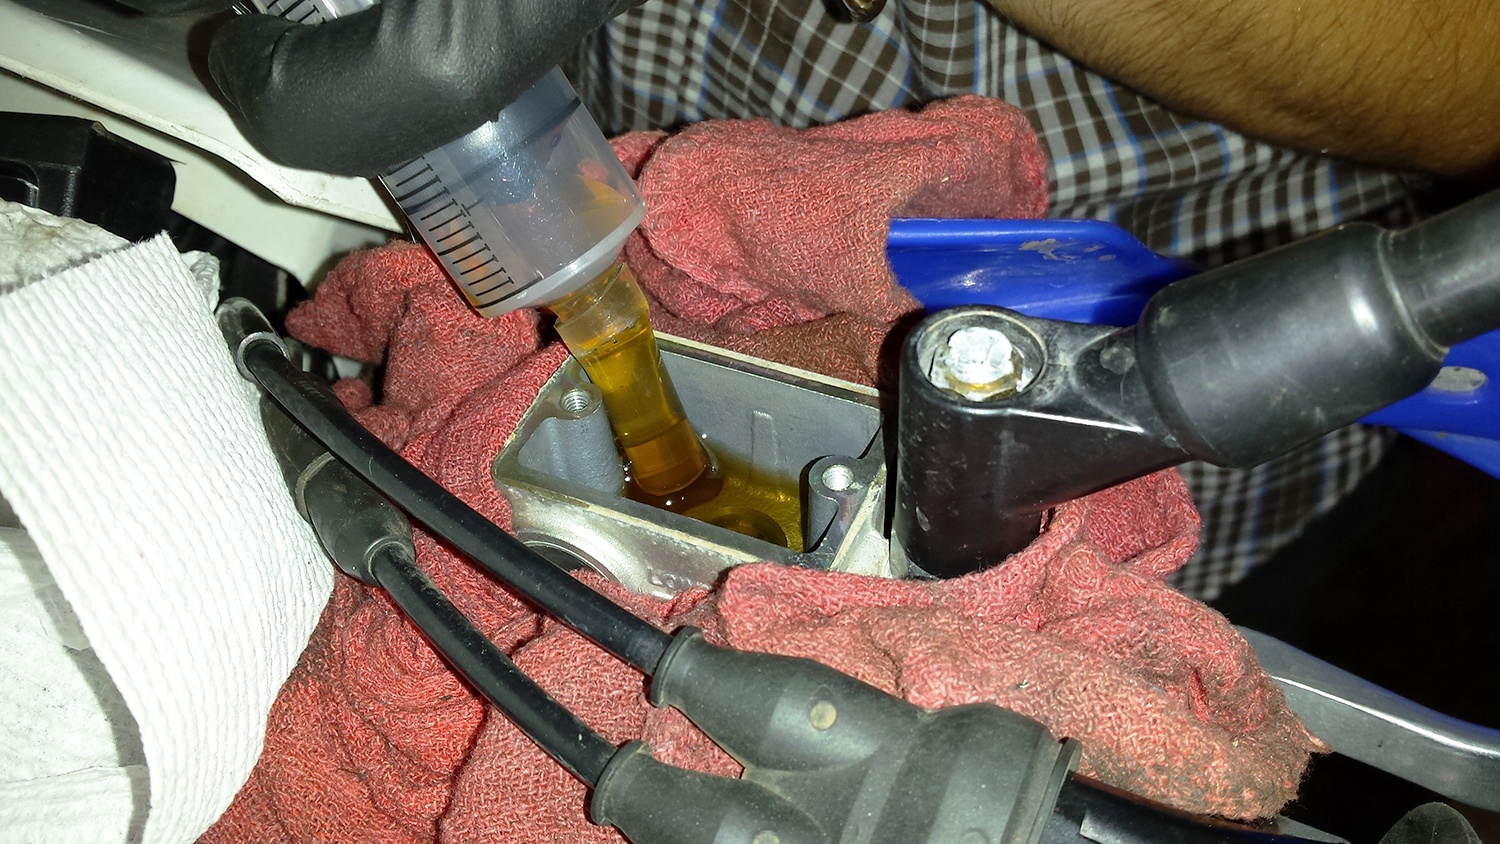
Now extract a full draw into your "clean" syringe from the previously filled "clean" brake fluid container. Before we prepare to inject it, turn said syringe so that it points directly upward, tap it a few times and gently squeeze out any excess air just as a doctor would before giving you a flu shot. It's important that we inject only fluid (no air), otherwise our brake/clutch won't function correctly.
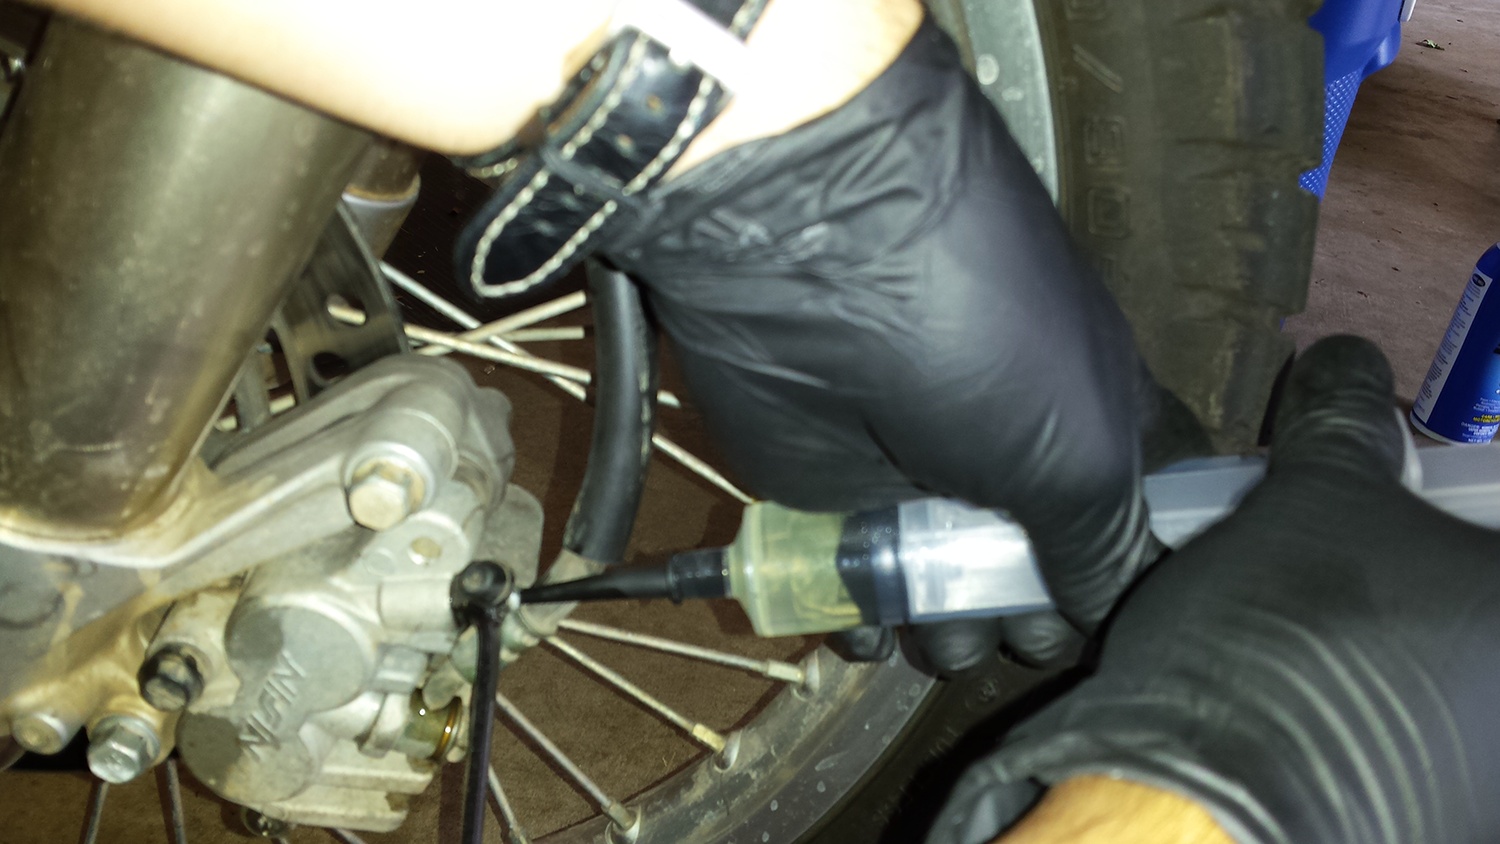
Insert the adaptor tip directly into the hollow outlet on top of the bleed screw, applying enough pressure to maintain a sealed connection. It's time to loosen our bleed screw about one half turn. Don't go injecting the brake fluid just yet, however.
At the reservoir, the pressure from the syringe is strong enough to eject brake fluid high into the air near the bars. To avoid this, apply only the most minimal pressure to the syringe at the bleed screw and watch above as the fluid enters the reservoir. Once the master cylinder is once again three quarters full, tighten the bleed screw and prepare to repeat the process.
Repeat the ordered motions above (extract/evacuate at the reservoir, draw/inject slowly at the bleed screw) until no sediment remains and the brake fluid color is near identical to that of the "clean" fluid container. Assuming this is the case and that the reservoir is properly filled, it's time to button things up. Congratulations ... you're brake fluid replacement effort is now complete!

What Simple Techniques Do You Use For Otherwise Difficult Motorcycle Maintenance?
There are plenty of maintenance "headaches" in motorcycling. How have you overcome them? How is your technique better and why? Your input is invited. Leave a comment and/or write an article!



Comments
Just used this method. Worked great. I did need a spotter to watch the reservoir fill up, can't see from sitting and injecting the new fluid. Thanks for the lesson, works good.
Hi, nice solution.
Dose this also work with ABS systems?
Thanks in advance
Olli
@Oliver ...
It does and it doesn't. I myself am up against that right now as I've never opened the ABS check valve on my BMW R1200RS.
While I do believe it'll still work, consult your forums/manual. You'll likely want that system to be open while you trade out the fluid.
Let's race to find the answer! First to report wins 8-)