Take a gander at our FTC disclosure opus here. The following article was last updated on Nov 28, 2025 ...
Load/View GPX File Data On Any GPS Unit
Navigating the menus of electronics firmware can be tedious for those who either aren't tech savvy or have yet to become familiar with the device in question. For many, this puts GPS modules at the top of their "confusing" list. My goal for this post is to jump through a few basic hoops in attempts to load and view GPX file data on any GPS device that supports it.
“Here's how to successfully transfer and view GPX file format riding routes on pretty much any GPS device that supports them.”
A lot of modern GPS units still employ GUIs (graphical user interfaces) that mirror the look and feel of a mid-nineties cellphone. Clunky buttons and a handful of 16-bit icons find their buyer demographic in part thanks to reliable accuracy and a beautiful in-travel visual scheme. The success of these products is all about trust and clarity, neither of which make themselves known until you enter a destination and hit "go."
It's getting to that "go" part which makes this article so necessary. While I myself am staunchly devoted to the Android platform for all things GPS, I can't pretend I don't respect and appreciate the Garmin Zumo 590LM for its ability to seek out twisty roads automatically. Smartphone apps are more adaptable, however and that's enough reason to break down the "best" approach to load and view GPX file data on firmware-driven, dedicated GPS units.
GPX To GPS Primers And Preparation
What is GPX, you ask? It's a map file format that's gained momentum over the past few years. Essentially a list of comma-separated GPS coordinates, it allows 3rd party software to navigate from one "waypoint" to the next in specific order. To date, no other map file is easier to import or convert for a device or software, including Google Maps. We use it exclusively across this site.
As for uploading/transferring these files to your GPS unit, the words of resident author Joe Konrardy come to mind. Here are his (wise) thoughts on the matter of sensible motorcycle maintenance ...
“Whenever I turn a wrench, twist a screwdriver or position a part, I anchor my thoughts in three simple questions: What happens to the bike when I do this? Which components does this affect? At what point do my actions reach my goal?”
You can apply the same concept to transferring and viewing GPX file information. It starts with a foundational knowledge of your unit's manual before moving forward patiently with a linear mindset. Assuming you have a fully unboxed, installed and operational GPS, let's get started ...
Most GPS units have some form of USB connection be it mini, micro or otherwise. If your device fits this description, we at least know that you can connect it to a computer. That doesn't mean the computer will recognize it, however. You'll have to refer to your manual for specifics on whether or not your computer can detect it externally. Not all systems provide such a convenience, preferring licensed software that can be questionably janky.
View GPX File Side Loading To Garmin (BaseCamp)
Look at Garmin's (discontinued) Nuvi 500, for example. Some say that auto-import methods work. Others suggest the only way to transfer files via USB requires the now-defunct "MapSource" software.
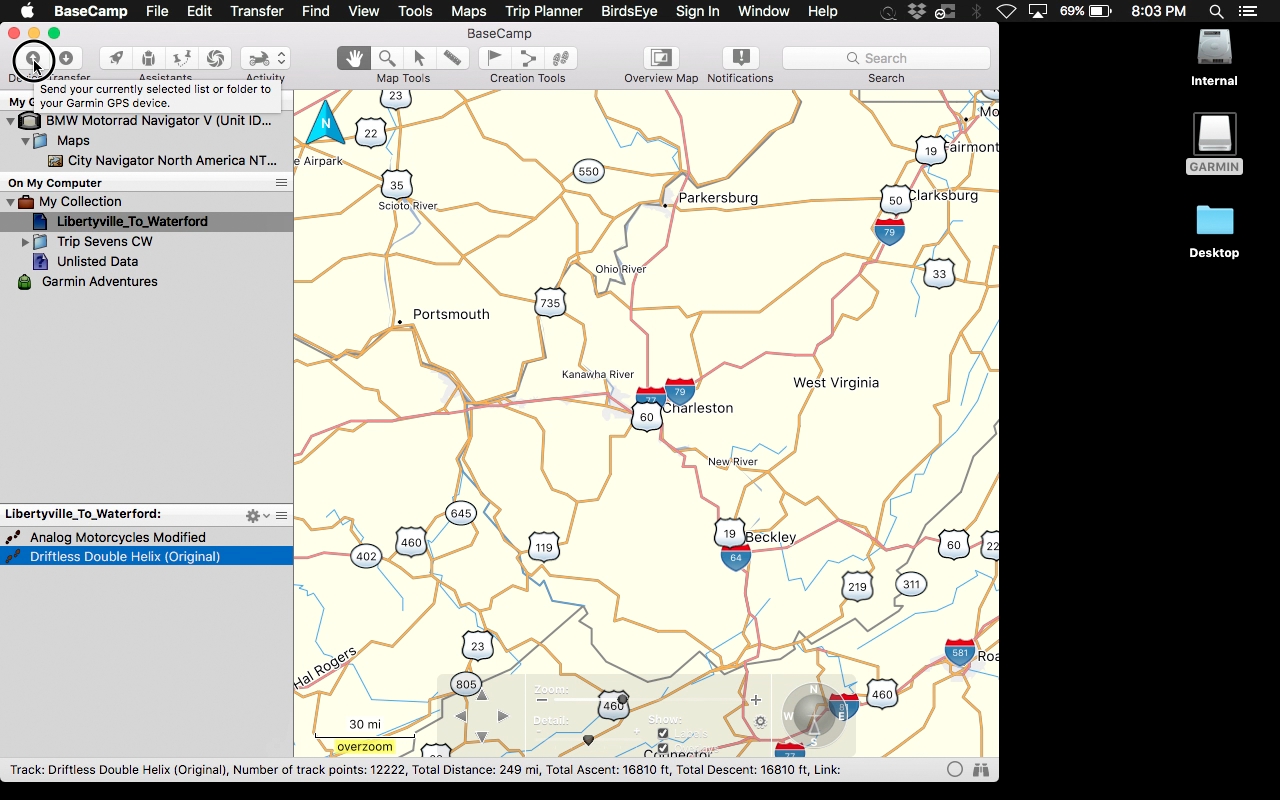
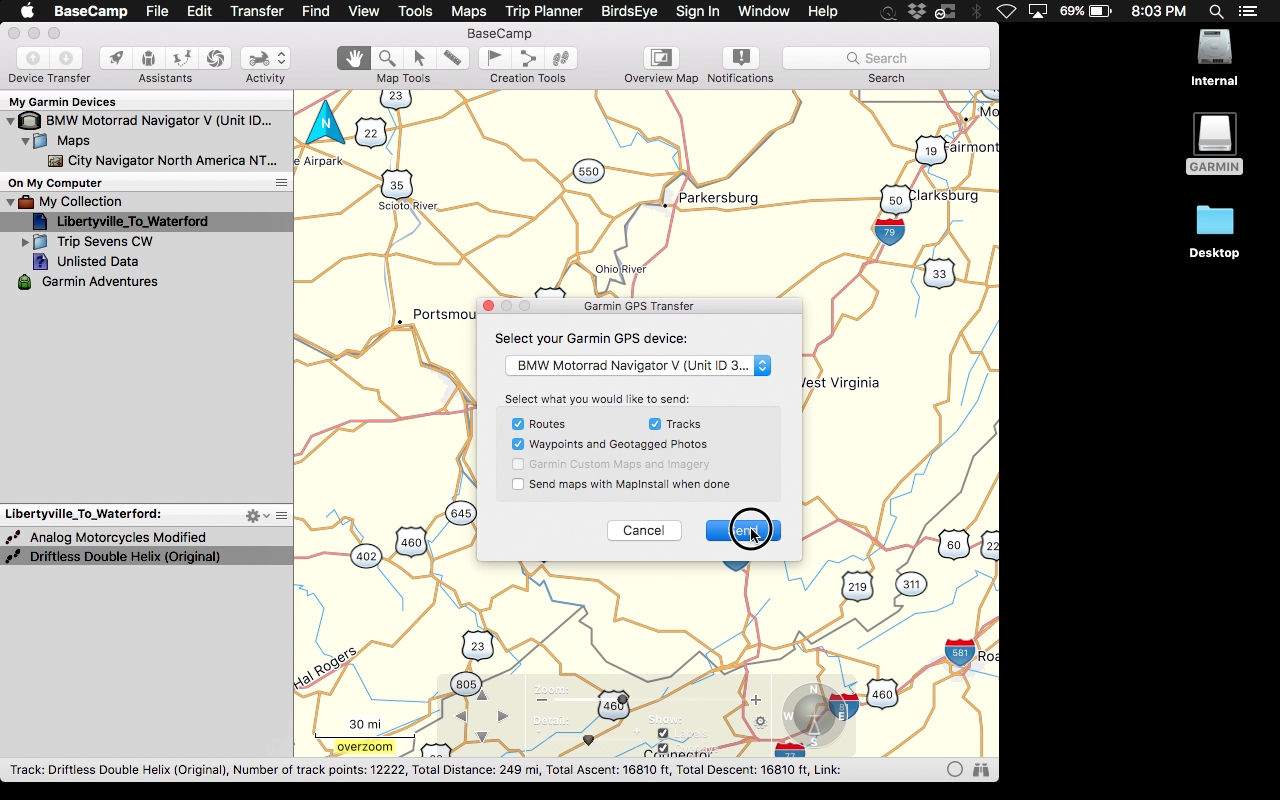
The same goes for their newer Navigator V, though it does mount as external storage. Placing GPX files into their respective folders doesn't trigger automatic import. Our only solution here is to sideload the converted files using BaseCamp.
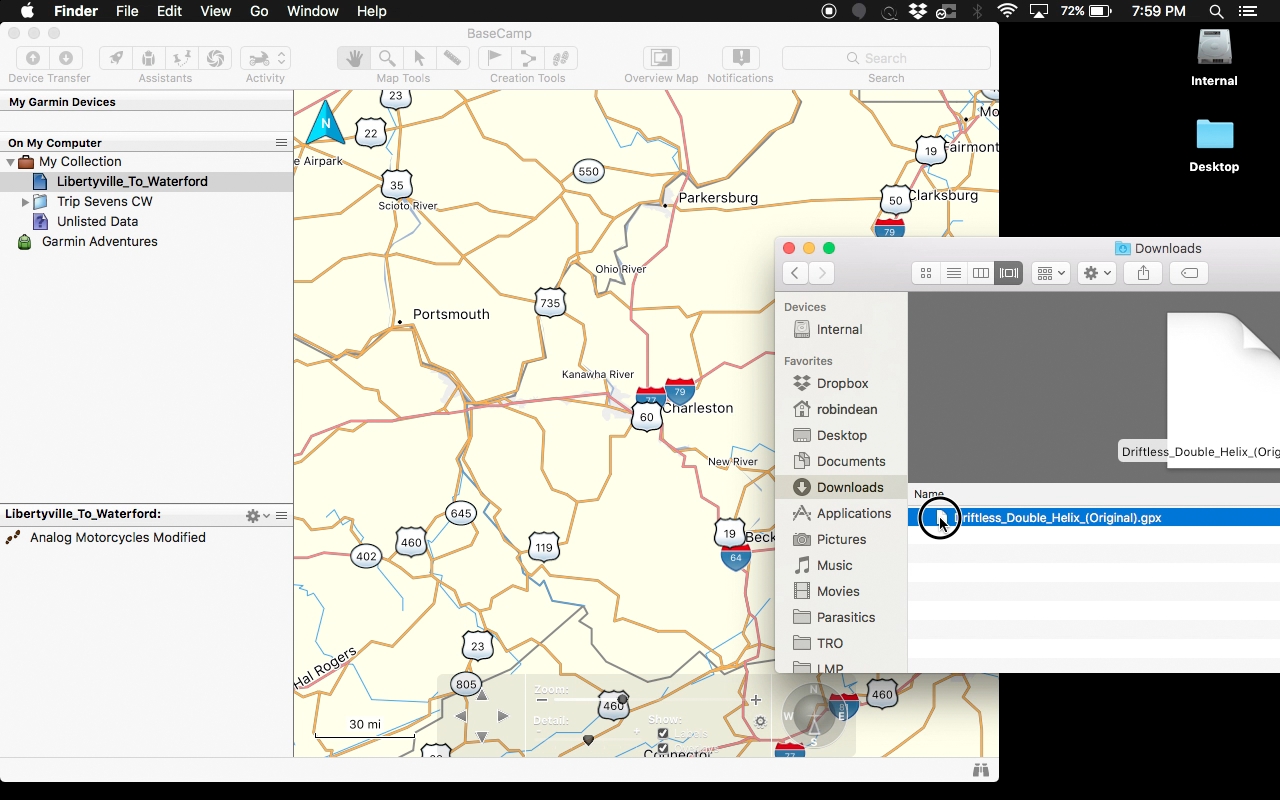
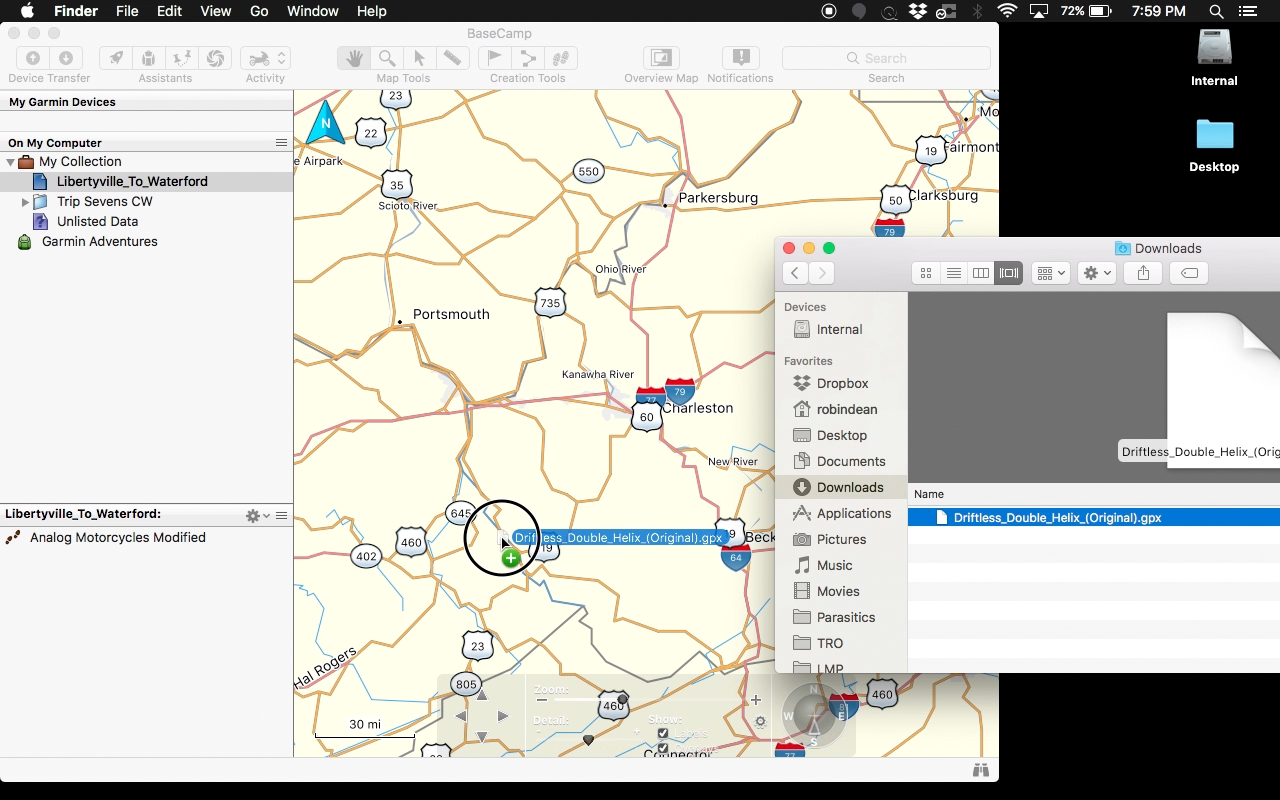
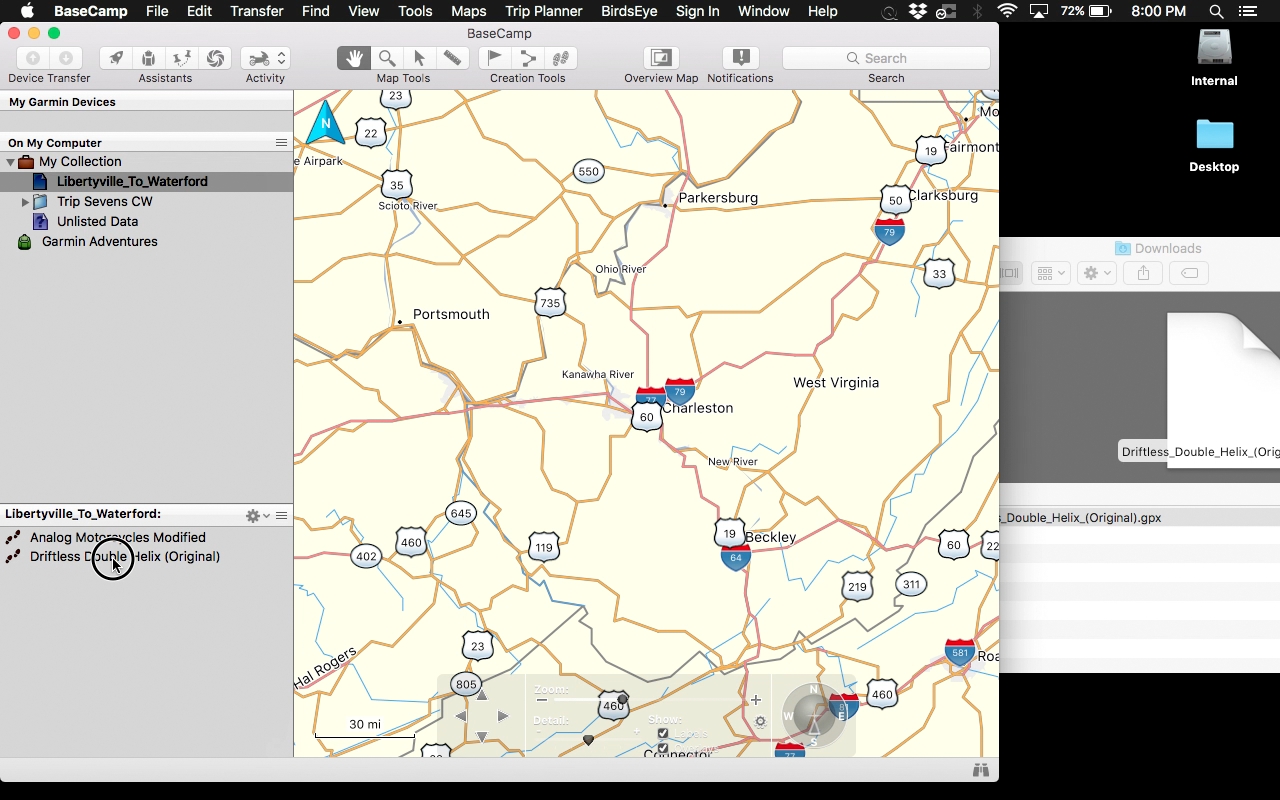
BaseCamp instructions:
- Load/Run BaseCamp
- Resize its viewport window (make it smaller)
- Find the GPX file on your computer
- Drag its icon over the BaseCamp map area
- Select its newly added icon from within "My Collection"
- Transfer to device (up arrow, main tool bar)
View GPX File On Garmin Units With Auto-Import
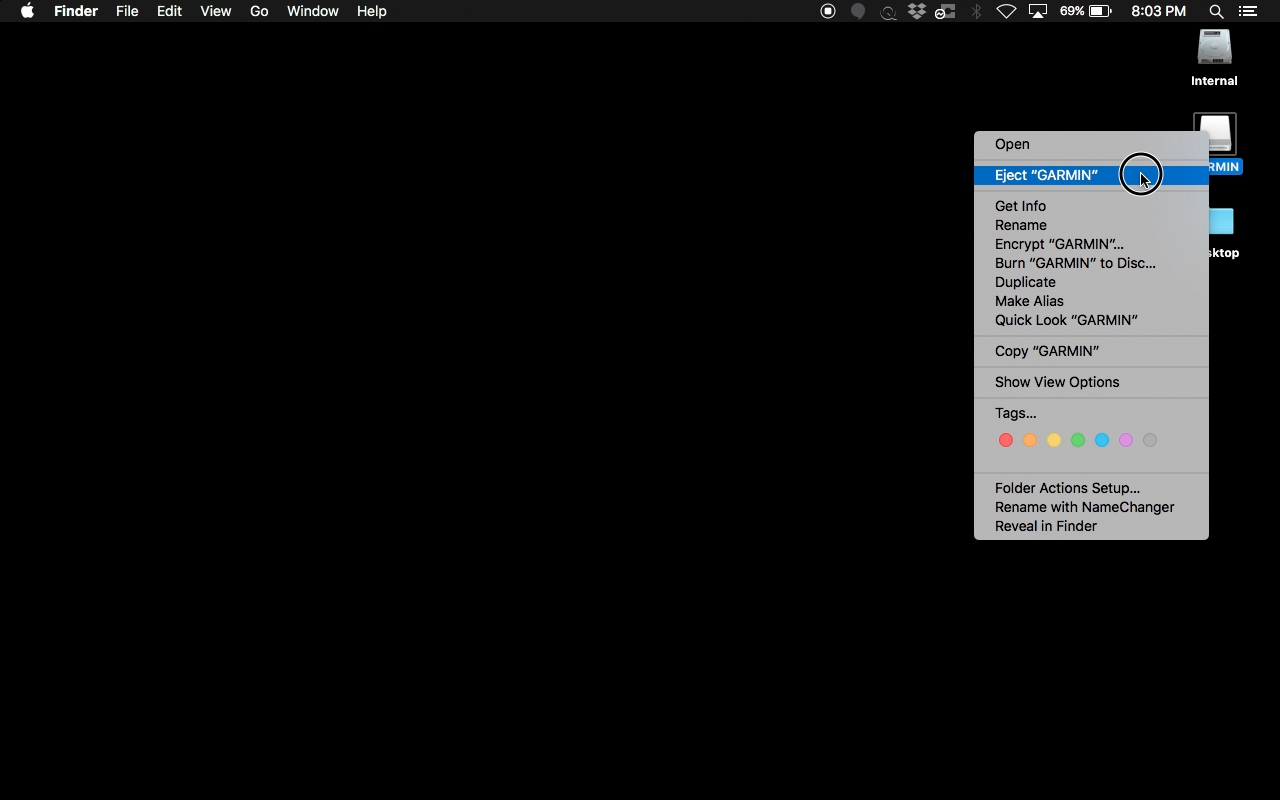
On a Windows PC, many Garmin units appear under "My Computer" as an external drive. This makes folder navigation easy. Using Windows Explorer, navigate the file system until you reach the GPX directory. Copy your GPX route(s) into this folder before properly disconnecting the unit.
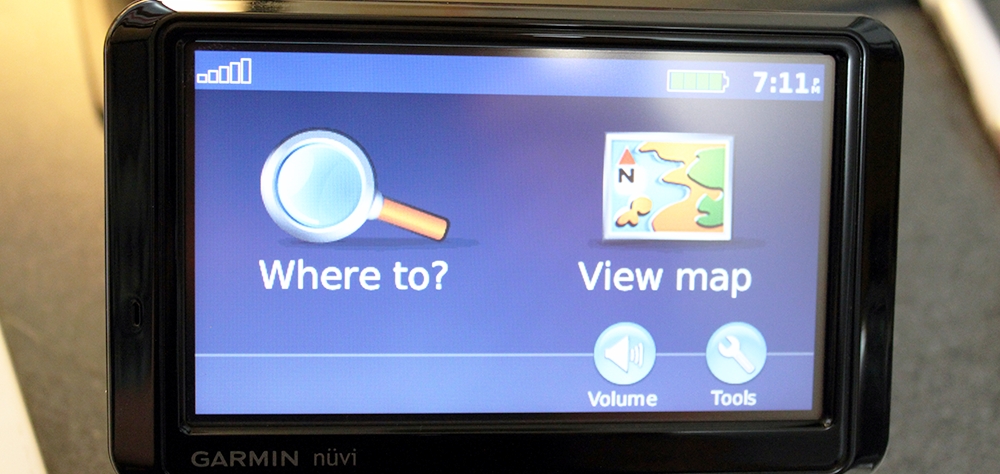
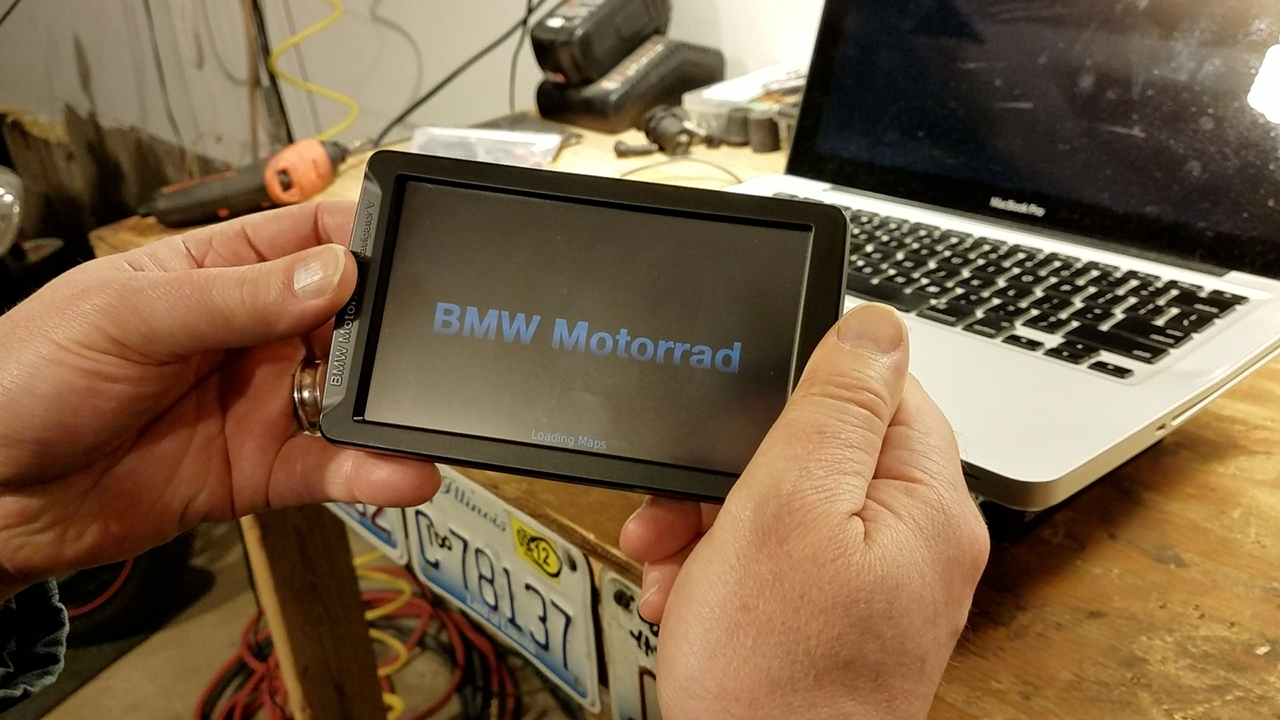
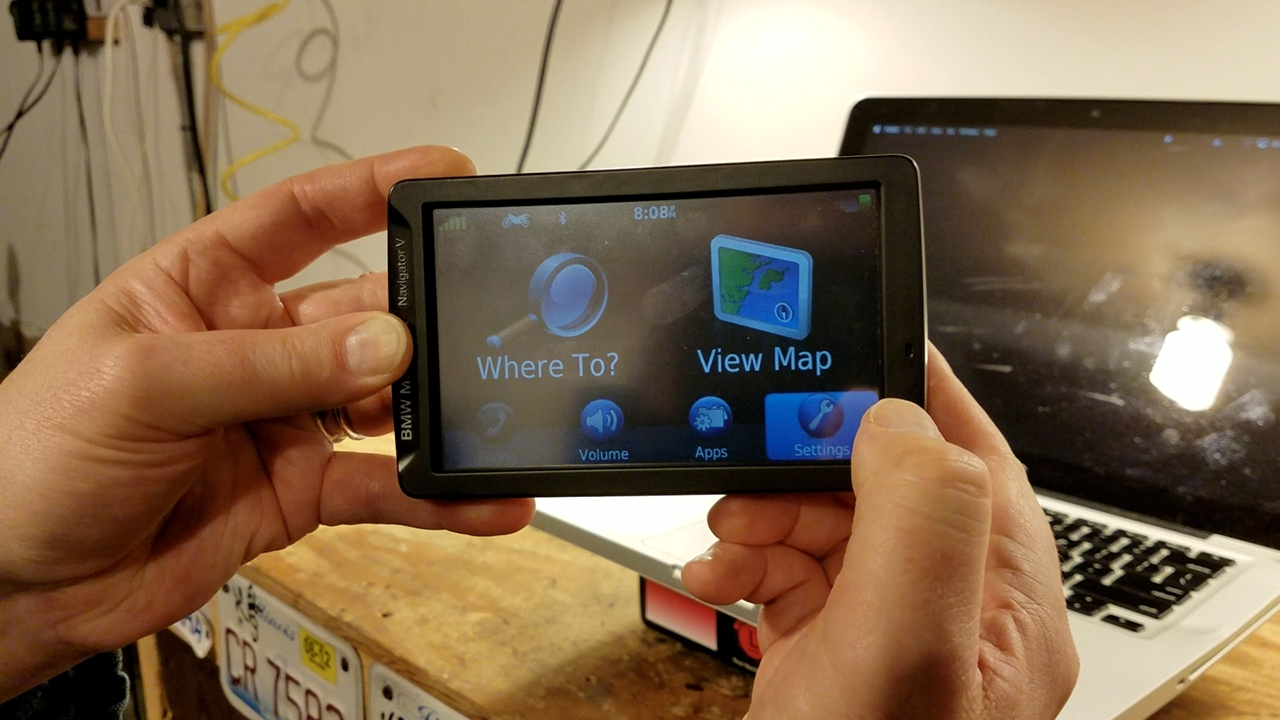
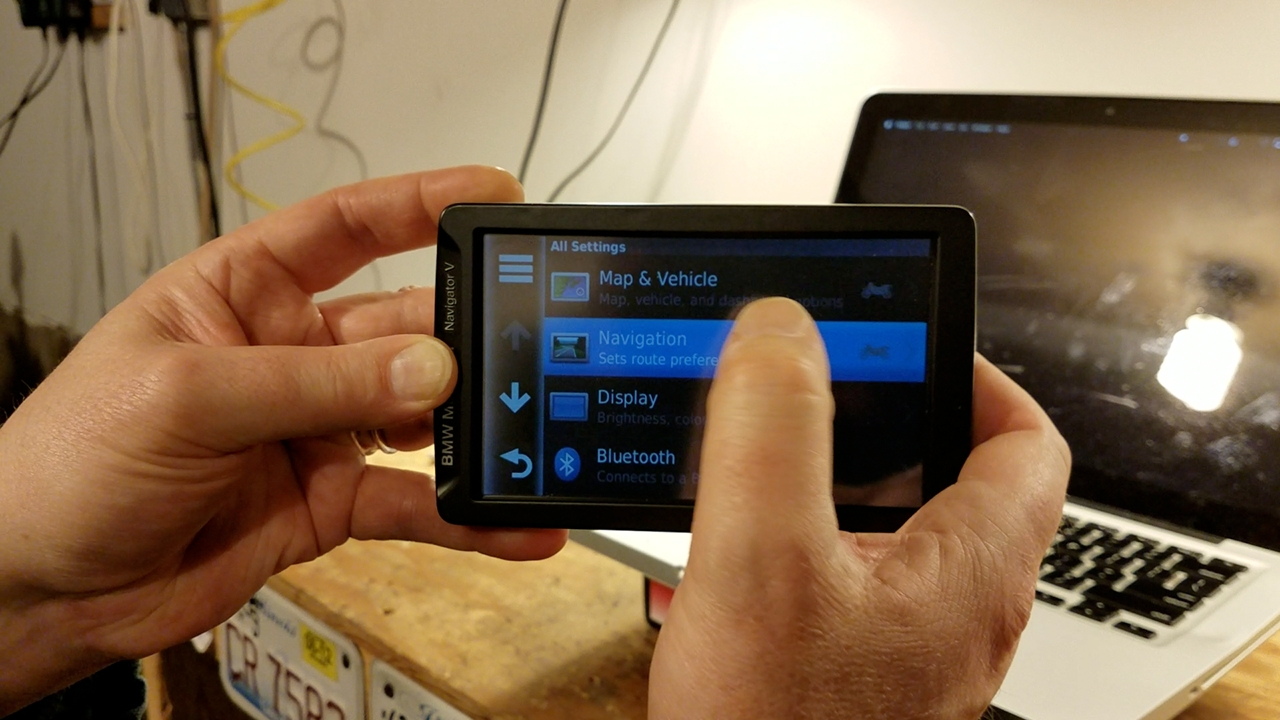
After powering everything back up, tap the wrench located at the bottom right on the home screen. This takes you to a page in the unit's GUI where you'll hopefully find "My Data". Here, the option to import and eventually view GPX file information is supposedly waiting.
If you don't see your file listed, double-check its location or consider the BaseCamp method. You'd also be wise to note that once imported, your device might not present the route exactly as you designed it. This is due to some units' preferred path between two waypoints not cooperating with whatever resource you used to create the file.
There's also the matter of waypoint limitations. Older devices, such as the now-retired Nuvi, don't allow for more than two hundred waypoints total. Newer models have gradually raised that ceiling, a bluntly anticipated development for sport touring motorcycle enthusiasts everywhere (especially since Android's open-source OsmAnd has allowed for unlimited waypoints from the very beginning and iPhone's Scenic is working to do the same).
The above instructions are specific to Garmin units and, even then, maybe only certain models. The point I'm aiming to make is that your device likely has a built-in folder structure that's accessible through a USB or wireless connection. The common elements which may take some getting used to are the manual, dedicated forums and a surplus of patience.
View GPX File Info And Follow Your Custom Route
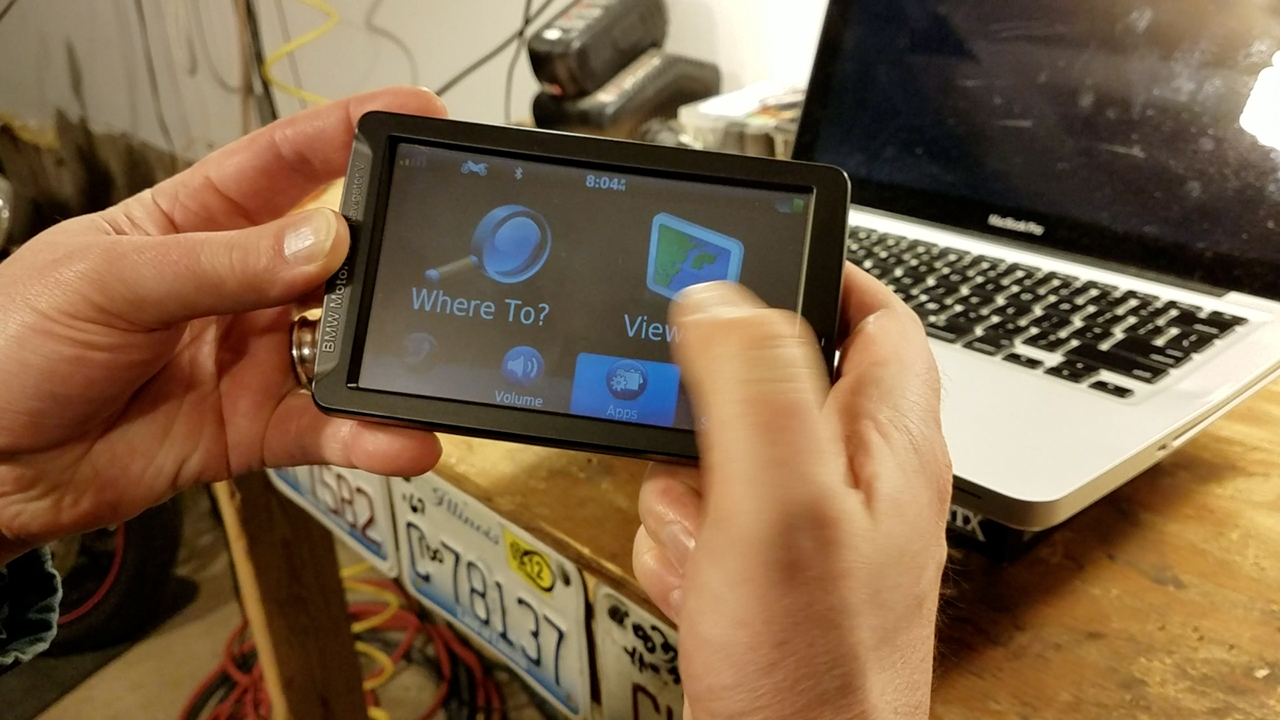
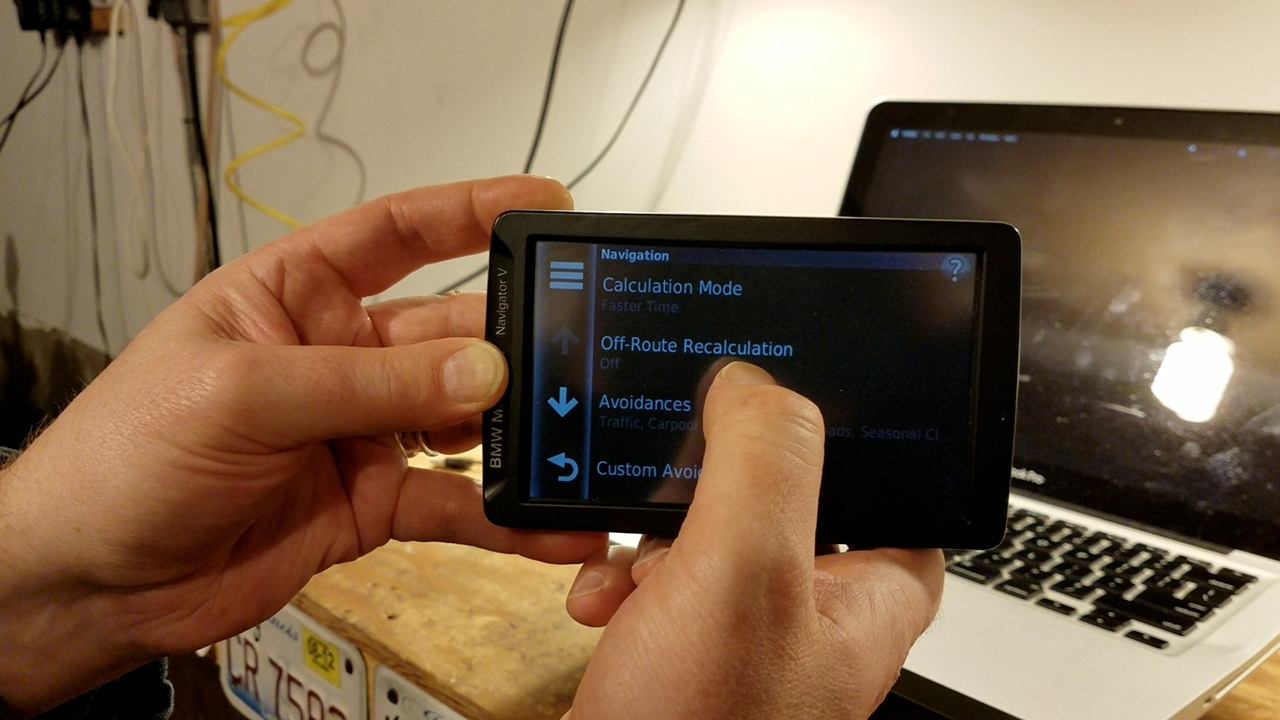
I'm only going to relay instructions specific to the Garmin Navigator V because I actually own one. In all likelihood, your (GPX-compatible) Garmin's behavior will be similar, if not identical. That stated, the steps are as follows:
- With your GPX file successfully transferred onto your Garmin, boot it normally.
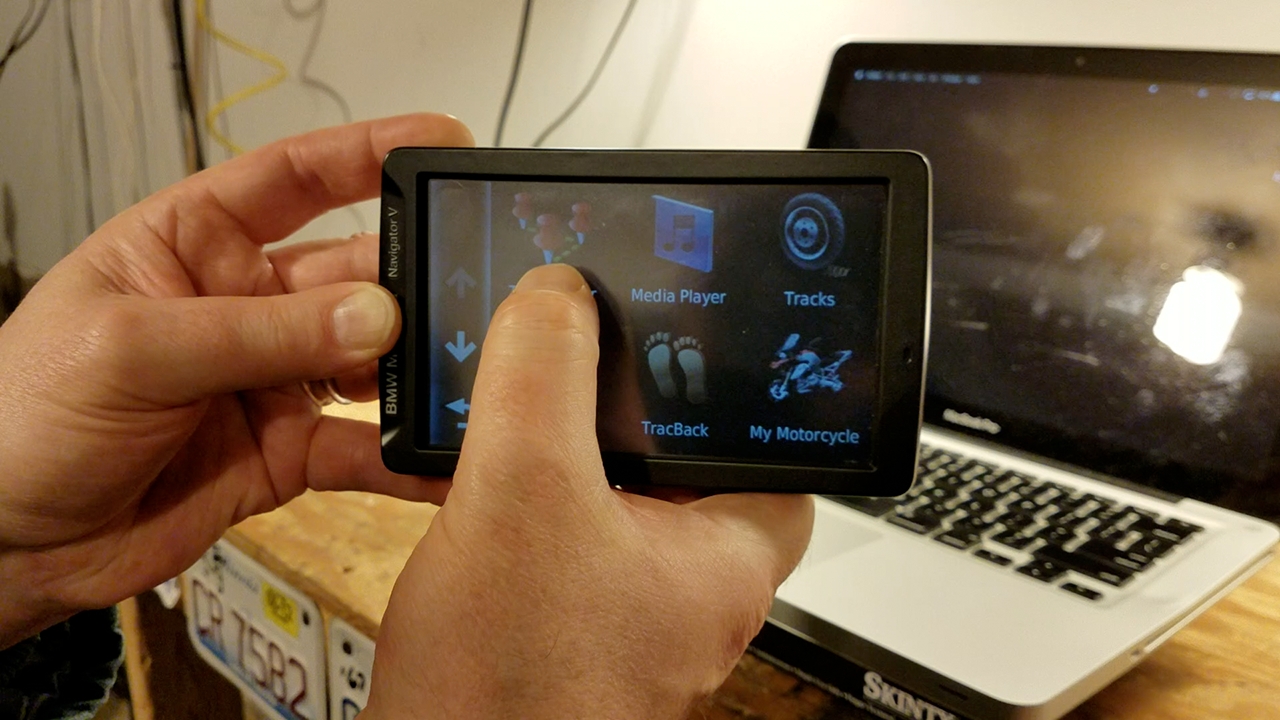
- Tap the "Apps" icon. In my case, it's a folder with a gear next to it.
- If you want guided navigation and haven't already converted your file into a "trip" ...
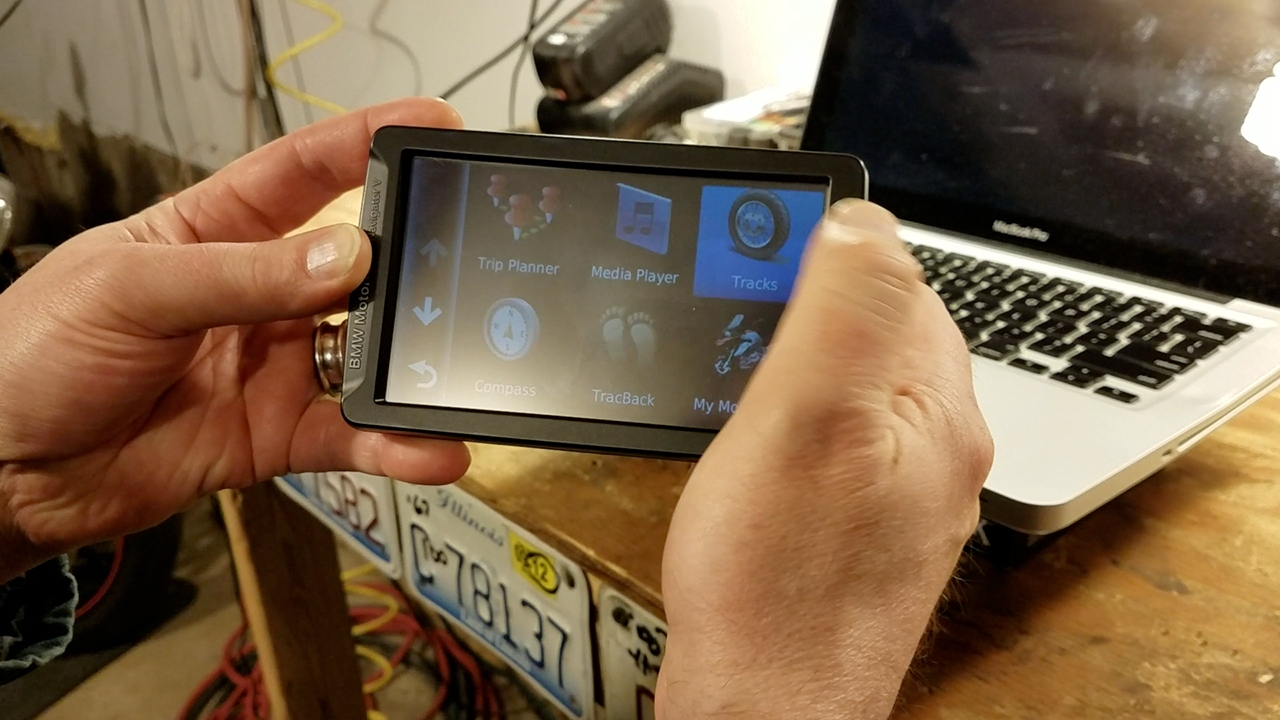
- Select "Tracks" (Tire/Tread)
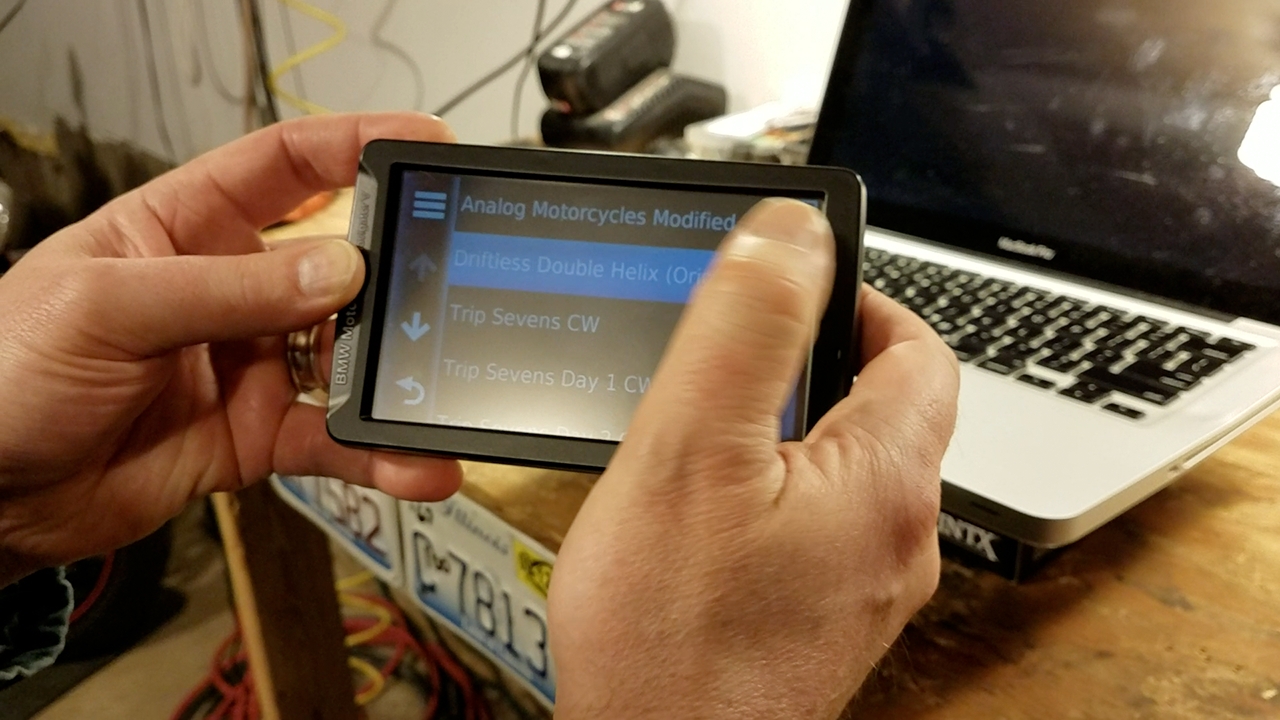
- View GPX file listings by title. Not there? Review the transfer process.
- Select your newly added route.
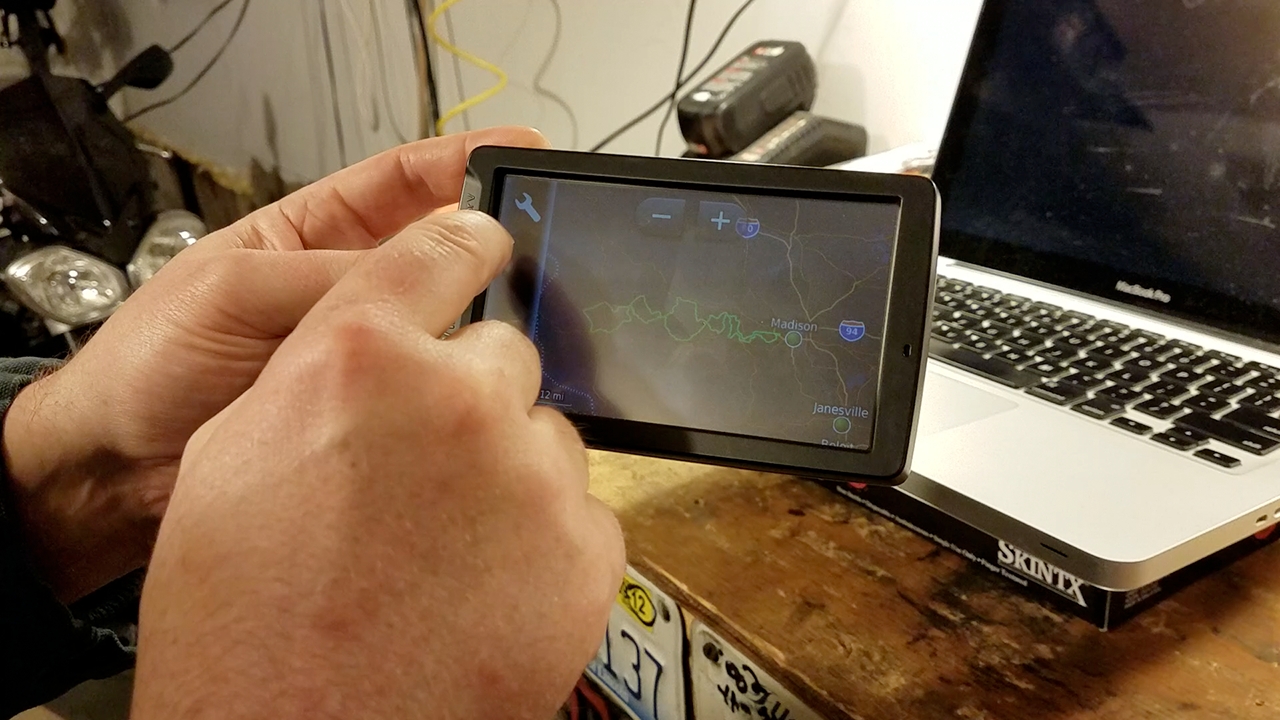
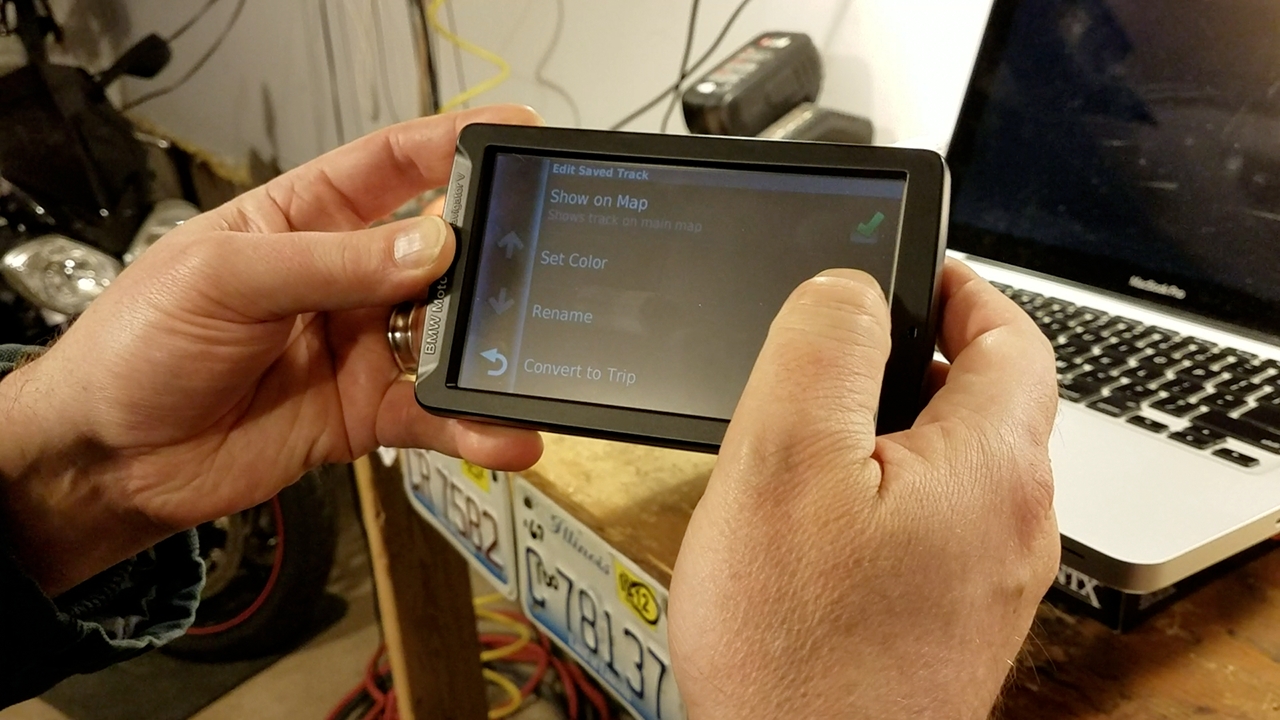
- After the map loads, click the wrench icon (top left)
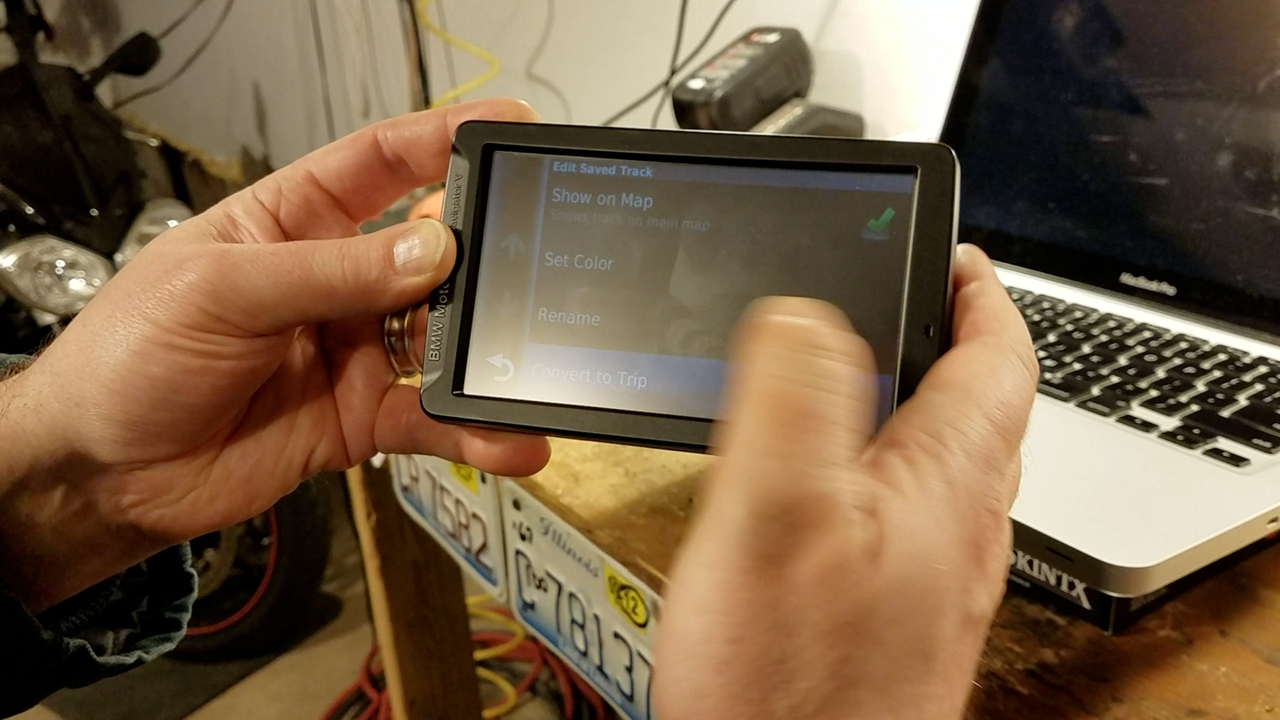
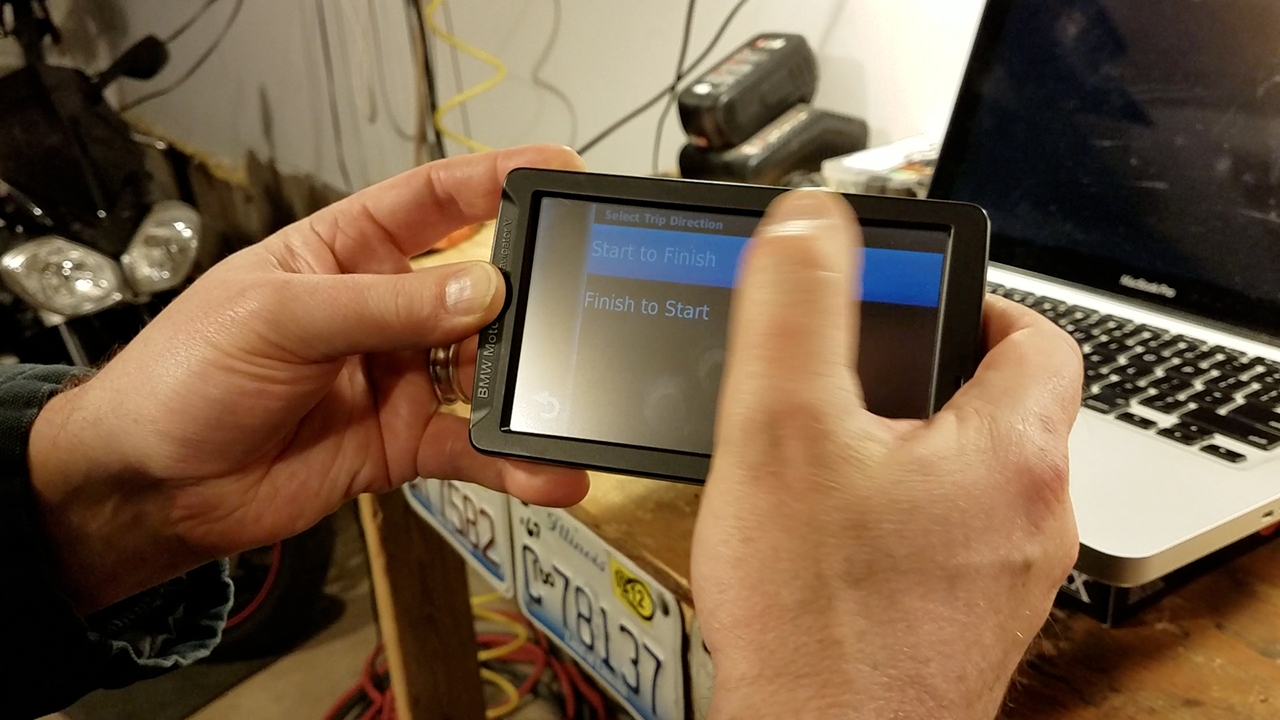
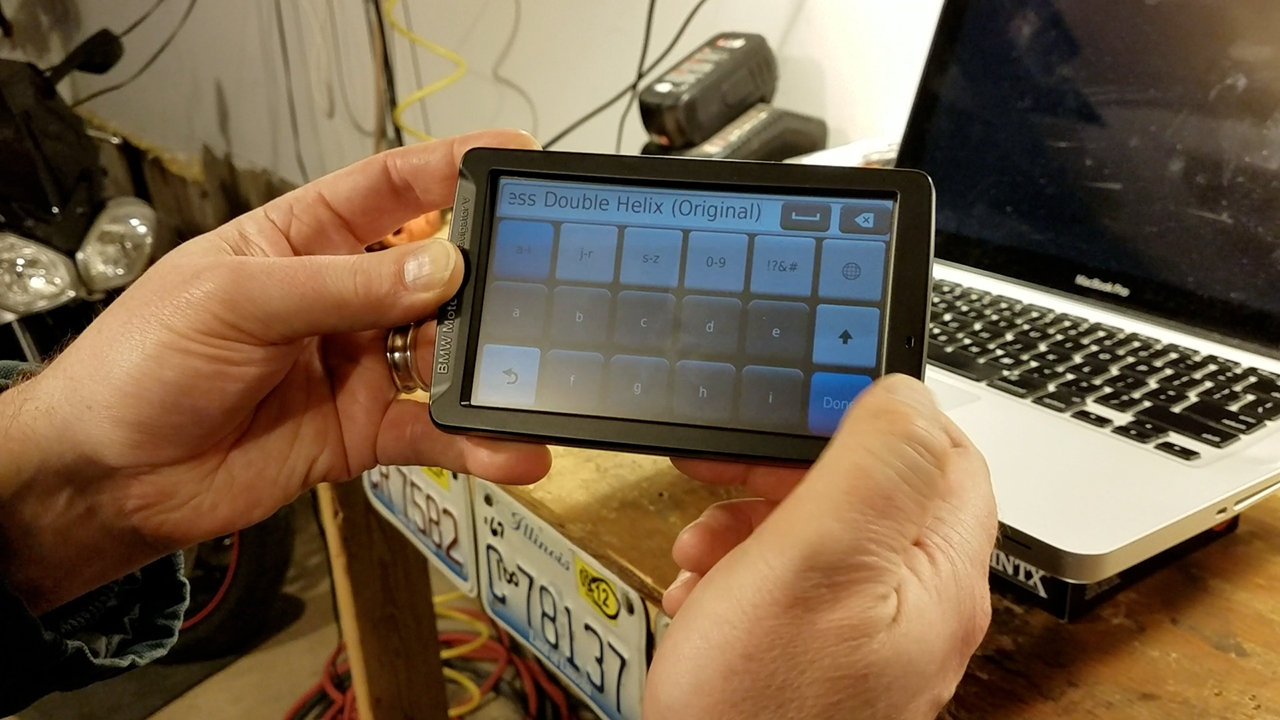
- Select "Convert to Trip"
- Pick the direction in which you want to travel.
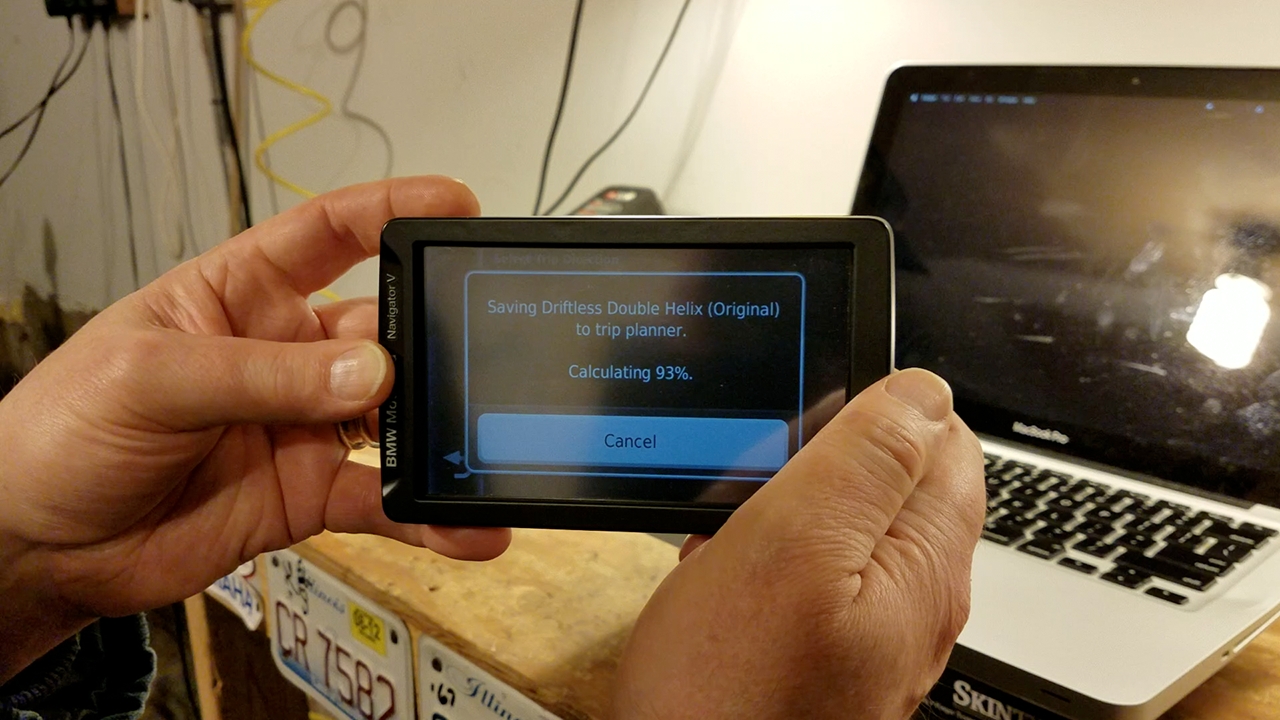
- Wait while your Garmin converts the file.
- Revert back to the home screen.
- If you merely wish to display your route without navigation ...
- Select "Tracks" (Tire/Tread)
- View GPX file listings by title. Not there? Review the transfer process.
- Select your newly added route.
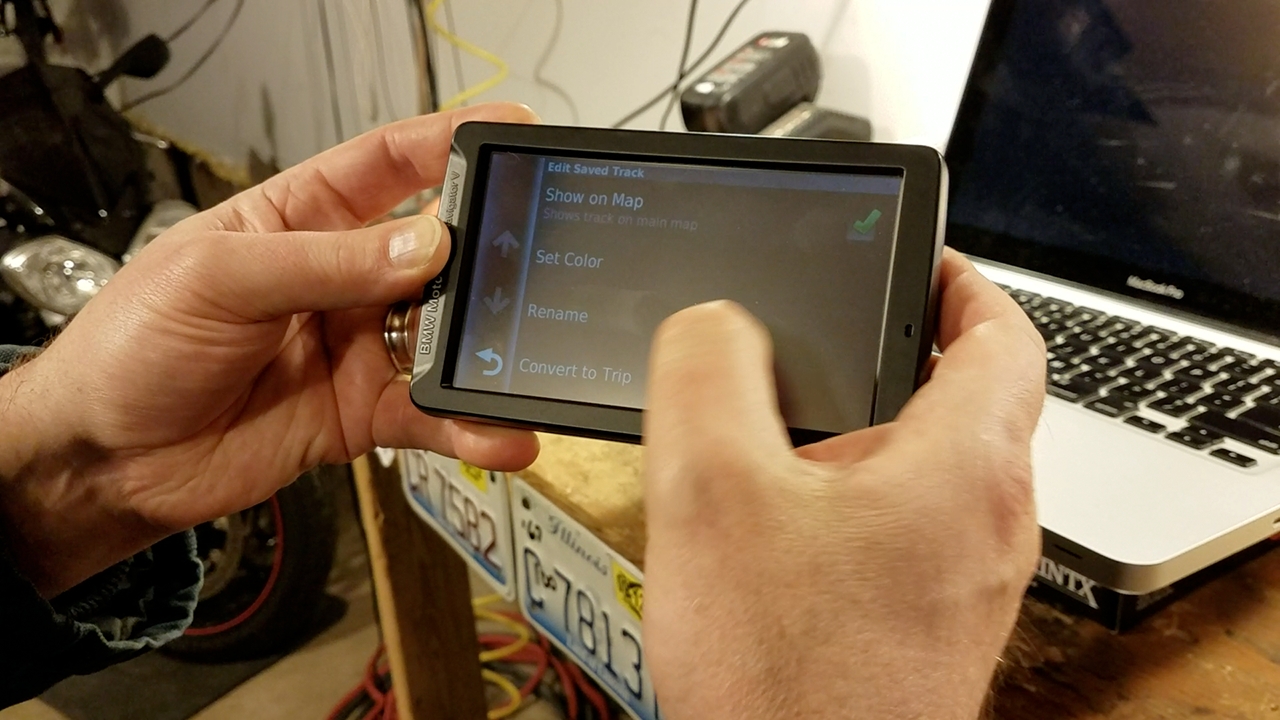
- After the map loads, click the wrench icon (top left)
- Make sure "Show on Map" is checked.
- Set the route's line color and/or rename as needed.
- Revert back to the home screen.
- Depending on your operational preference, choose from the following ...
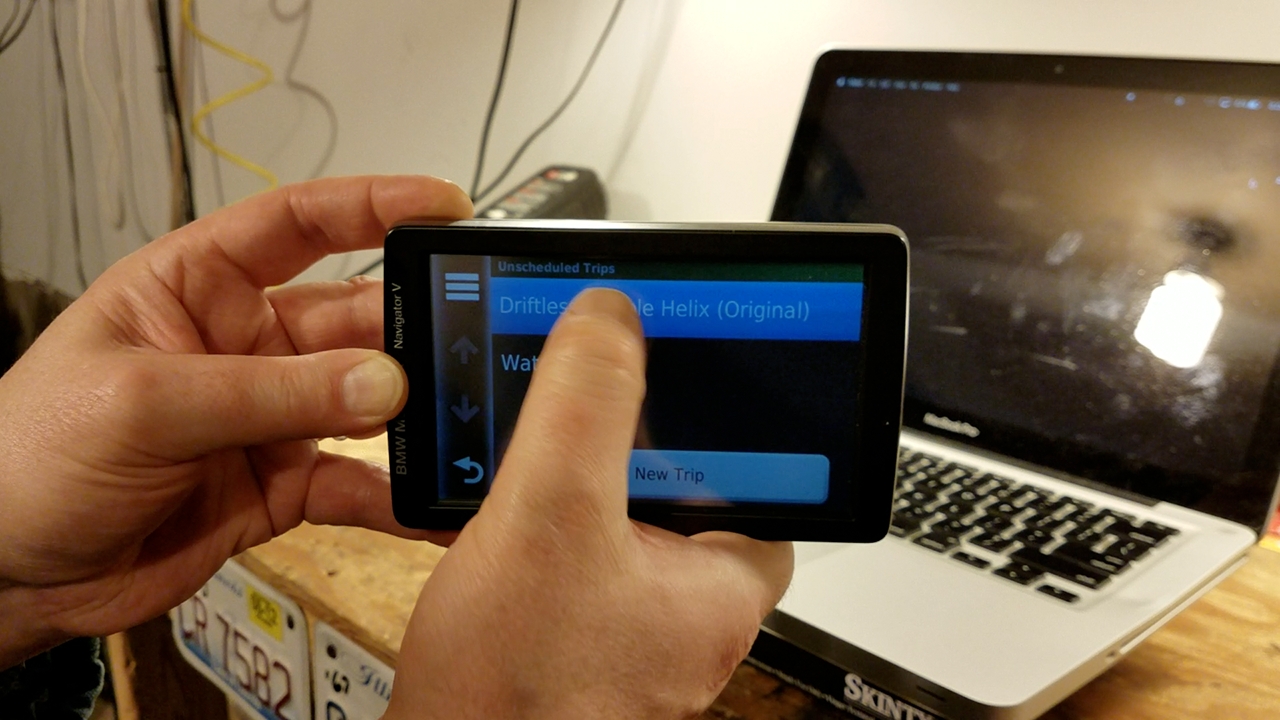
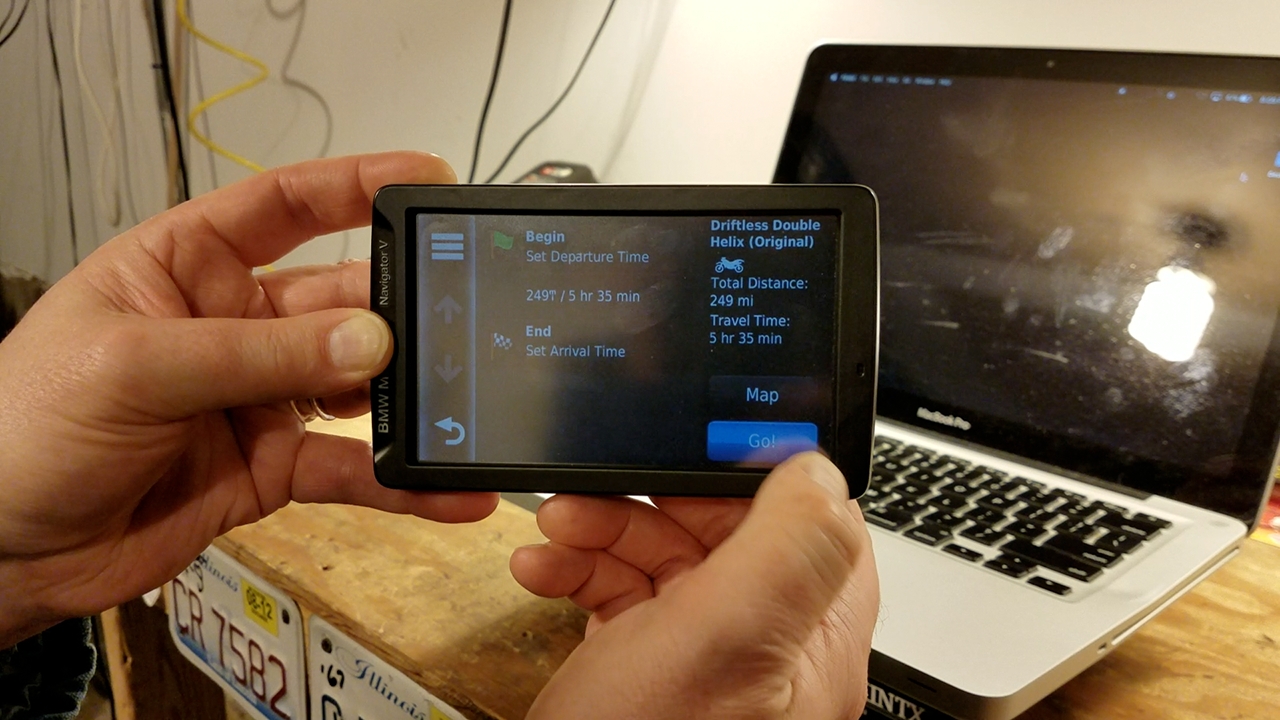
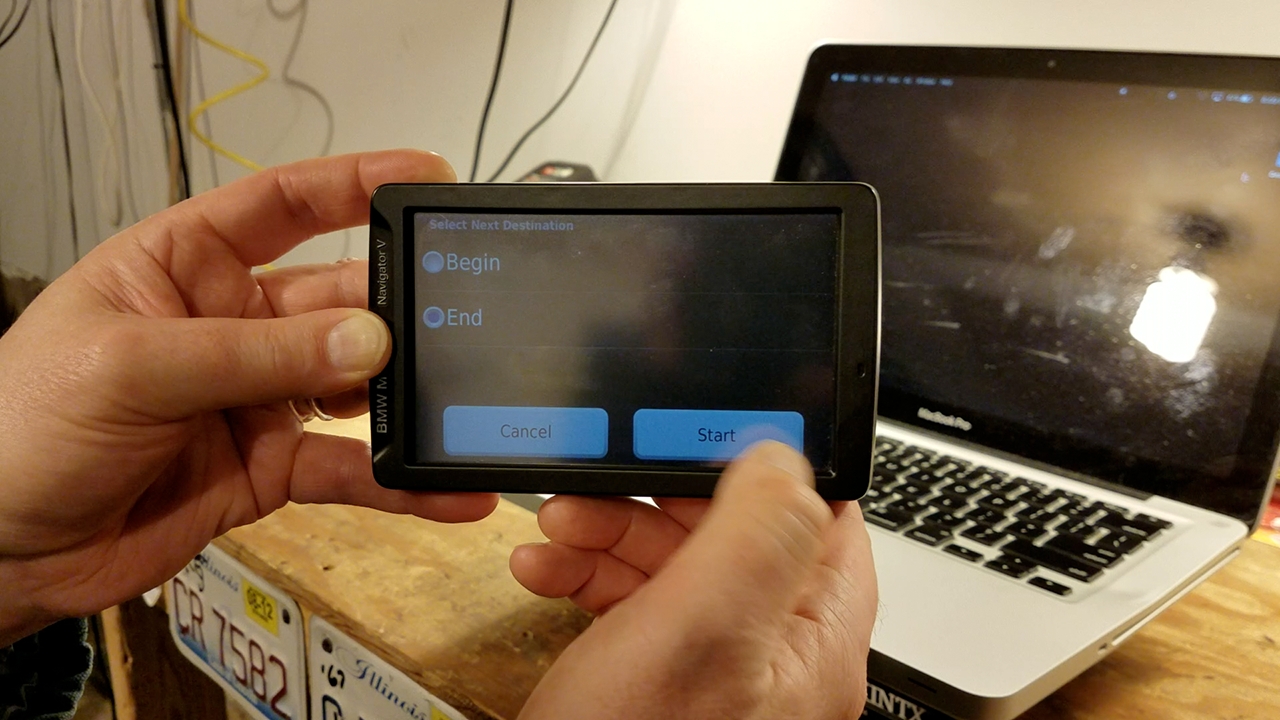
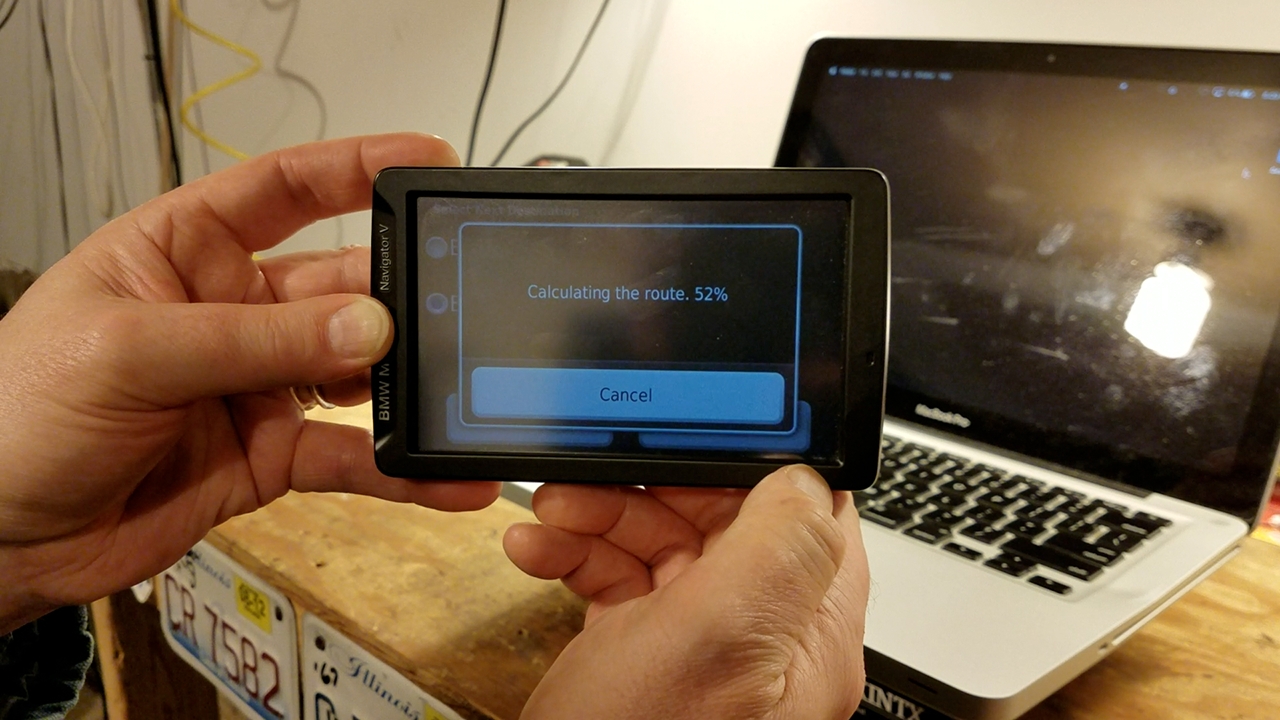
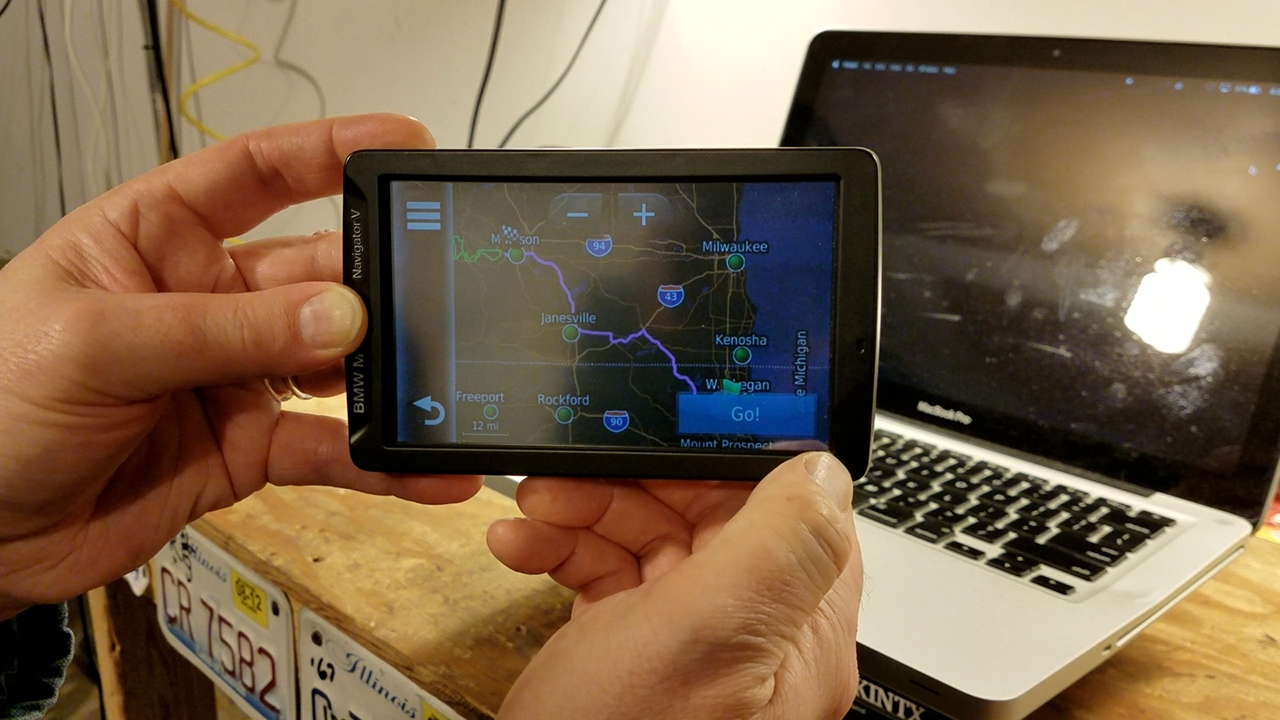
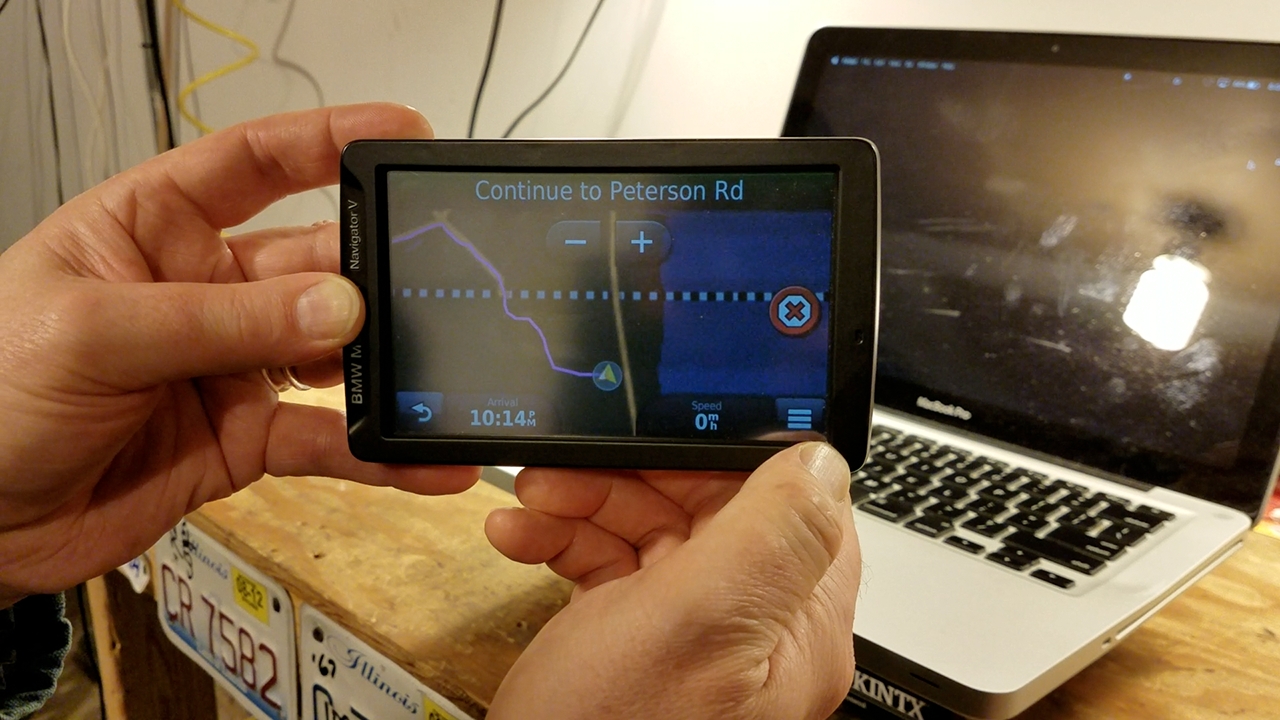
- Guided: Select Apps -> Trip Planner -> Your Route -> Go! -> Start -> Go!
- Display Only: Tap "View Map"
- Get riding!
Regardless of "mastering" these instructions, the process varies from one model to the next. Hopefully this guide helps to make things easier. We predict future GPS units will be more receptive to file formats and data transfer. Once you get the hang of it, each action becomes second nature. It's then that these electronic luxuries prove their worth, especially when used in concert with smartphones for more reliable navigation.

Do You Ride Custom GPX Routes Using Your Stand Alone GPS Unit?
Other systems on the market are able to make use of the GPX file format. Which ones have you tried? What do you like about them and why? Your input is invited. Leave a comment and/or write an article!


Thoughts gone wild? Write an article!