
Our FTC disclosure's magnum opus awaits here. The following article was last updated on Dec 1, 2025 ...
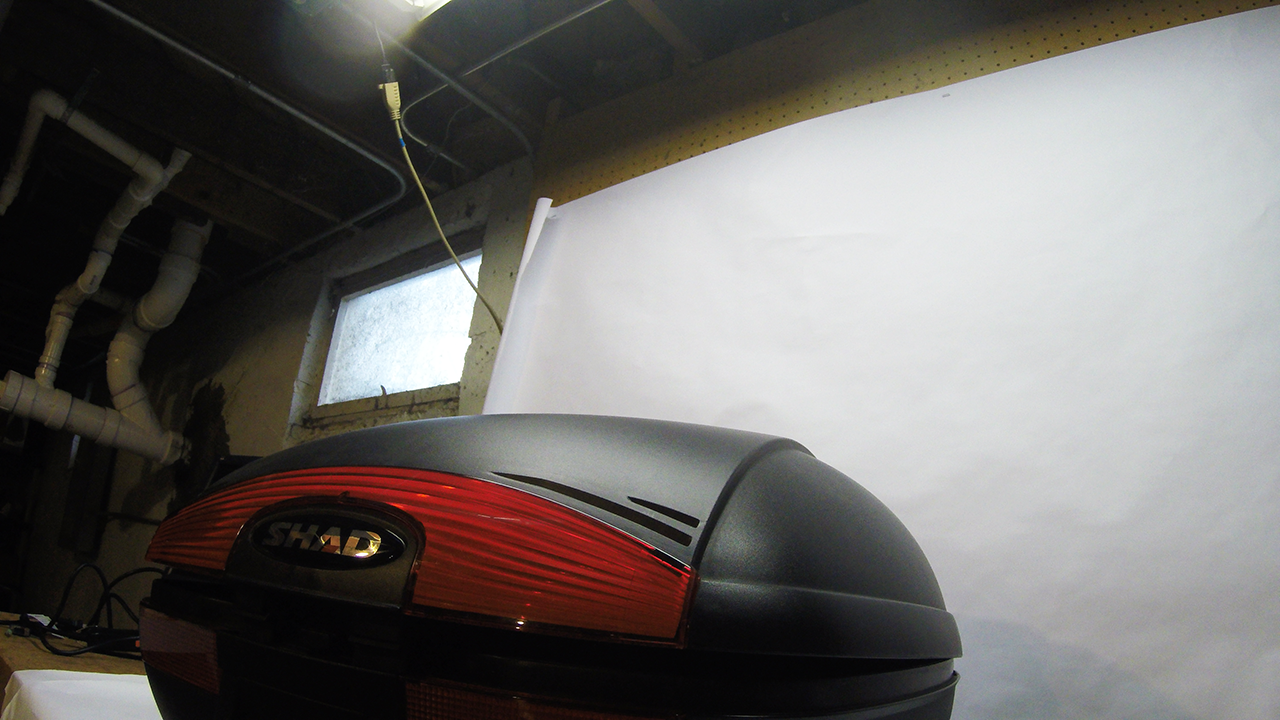
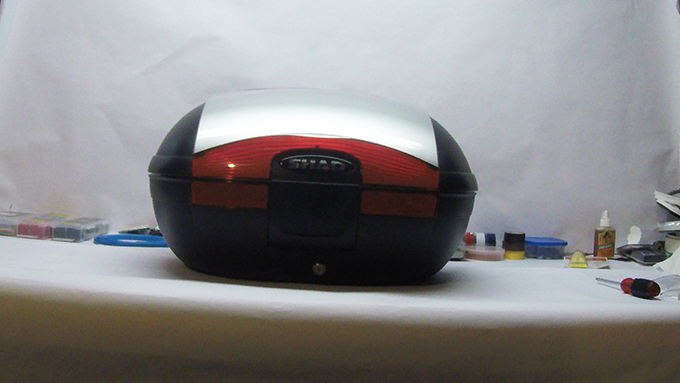
Swap Lenses On Your Shad SH45 Top Case
Many moons ago, when my second-generation Bandit 1200's title found its way into my hands, she was a few years beyond the Givi V35 specific hardware that would've completed her conversion over to sport touring status. Thankfully, Twisted Throttle offers a hard luggage mounting solution for Shad saddlebags as well as their SH45 top case complete with a color scheme that near-matches my bike. This adaption wasn't void of customer support and product-specific obstacles, however, so I'm writing this post-purchase article to clarify a few useful truths.
“For Shad SH45 lenses, this simple guide shows how to swap the preinstalled clear lenses on the top case with no fuss and no cracked tabs.”
It all started with the arrival of my Shad luggage and optional, separately-purchased red reflective Shad SH45 lenses. The installation instructions for said lenses don't explain precisely how we're to go about removing the preinstalled clear version. Twisted Throttle met my phone calls with vague "try this, try that" responses which might as well have loosely translated to "break this, break that".
Don't get me wrong. Twisted Throttle is a great company, offering sturdy products for sale by a more than polite staff. On the other hand, their internal organization leaves a bit to desire.
Then there's the matter of card stock templates which fit between the Shad SH45 lenses and the case itself. My original intention was to organize and document an integrated LED brake light installation that wouldn't require the card paper lens backing. So, I mistakenly hurled them into storage limbo and I never found them again. After 15k+ miles to my 2016 riding season, I decided a newer bike would eventually roll into my garage, nullifying any interest in the custom brake light mod. Calling once more to see if they had a replacement lens backing led to an unsuccessful warehouse search.
I followed that with a new lens purchase ... just for the dang paper!
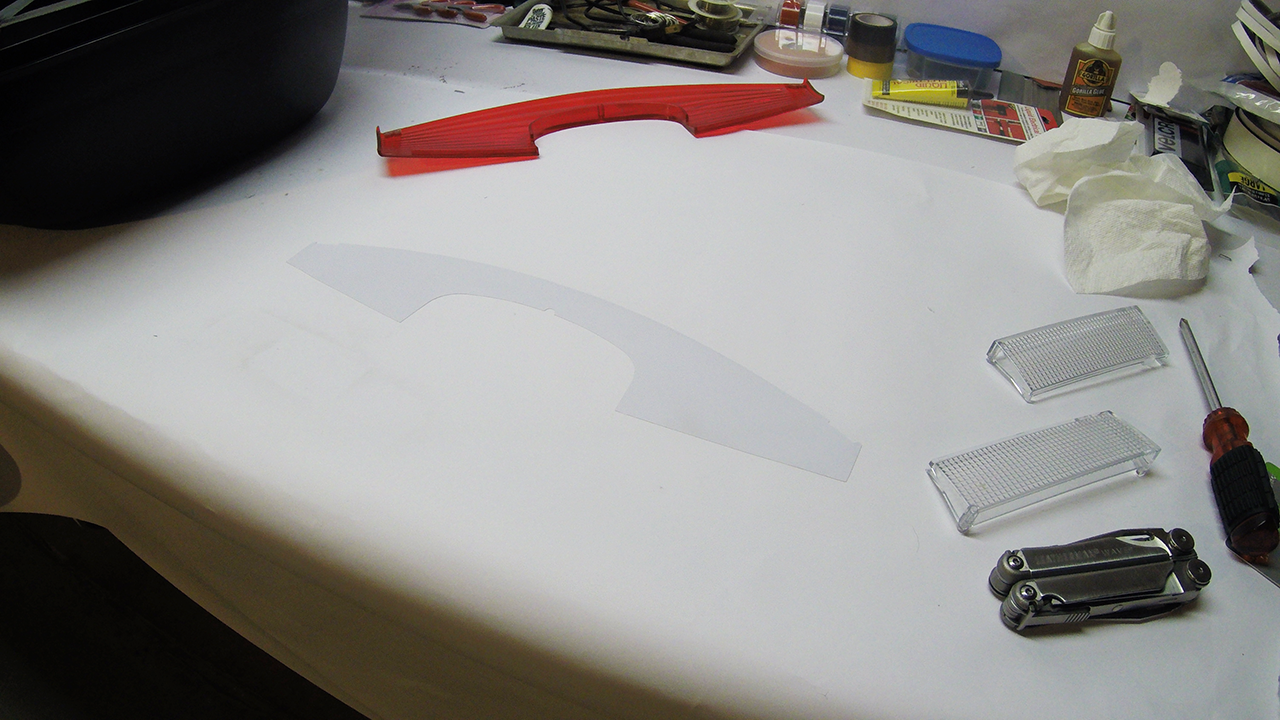
Thinking some of you might be looking for the very same template, I've scanned and uploaded it for use here. The top backing wouldn't quite fit onto my scanner, so you'll want to cut it in half before tracing, flipping and tracing again. If you're grateful for the template, we accept Stripe ;)
Steps to Exchange Your Shad SH45 Lenses


While facing the key/lock side and with the lid open, locate the four exterior cover screws.
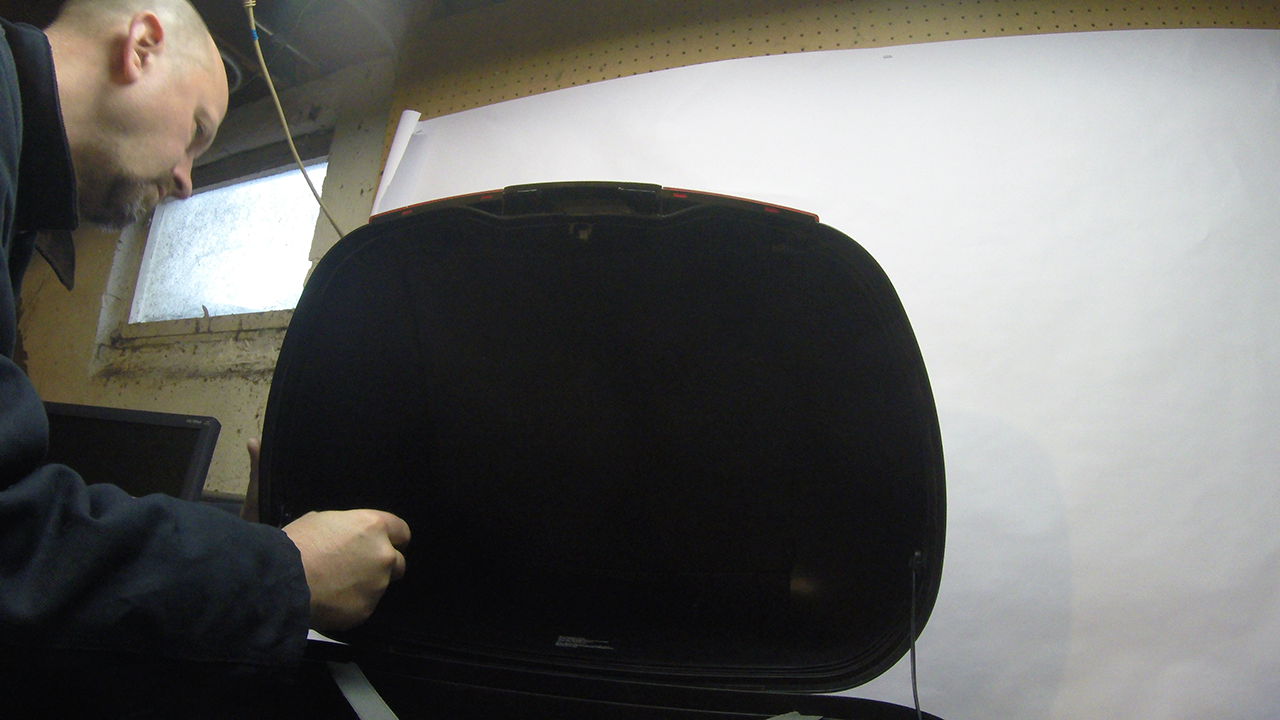
You can find two of these (Phillips) screws deep inside the lid toward the back. The other two are a few inches from the lid's front. Remove each and place them someplace safe.
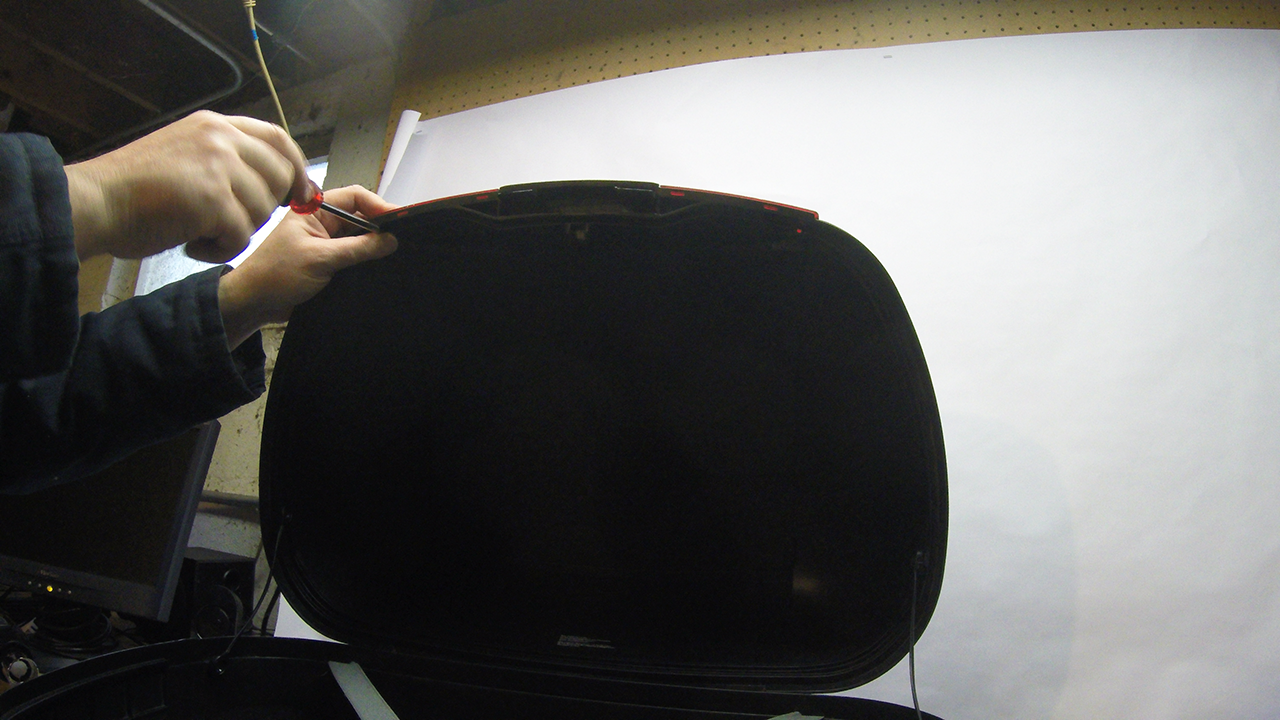
Now find the lens screws at the far left and right toward the front. The lid's flange may obscure them. Remove both and then remove the individual screw centered near the lid side of the locking mechanism.
Next, with the lid closed, gently lift away the exterior panel and then the top lens. Shad SH45 lenses are keyed to the outer cover. Lifting the panel first prevents stress on the tabs and avoids cracks.

White paper can fast become dusty. Set your cutout aside and get a paper towel.
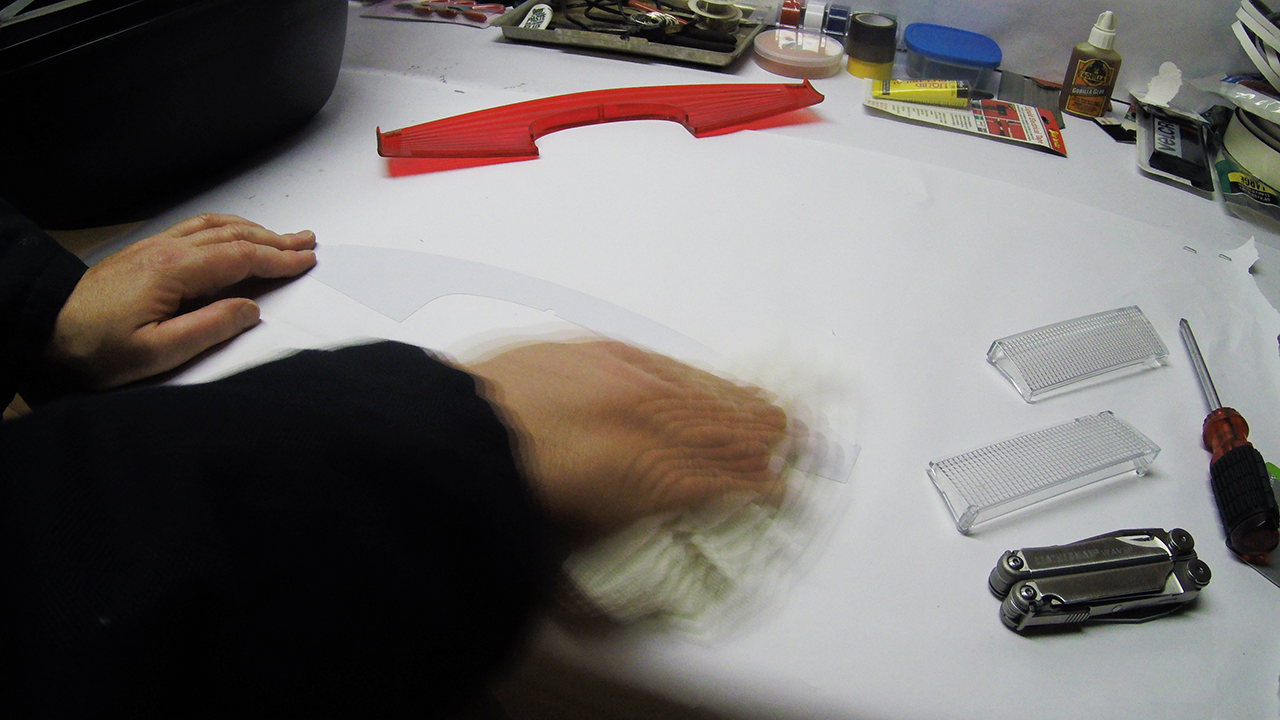
Swiftly but without much pressure, wipe over the entire cutout until it's dust-free. The light pressure ensures you don't damage the template. Swift motion creates a static charge that ensures all of the dust escapes around the outer edge.
Place the cutout into the lens with its more reflective side against the exterior. If you have clear lenses and wanted but are unable to obtain the red, feel free to paint the cutout with a reflective spray finish. Krylon is always a fine go-to.
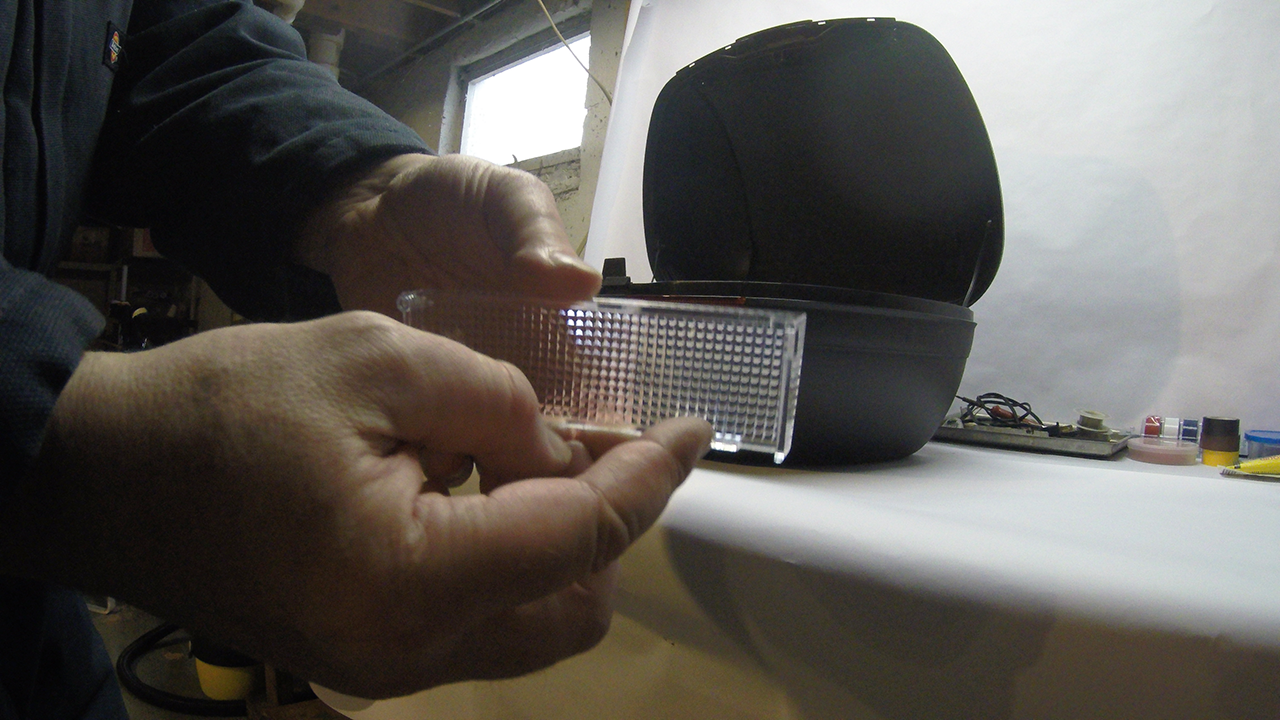
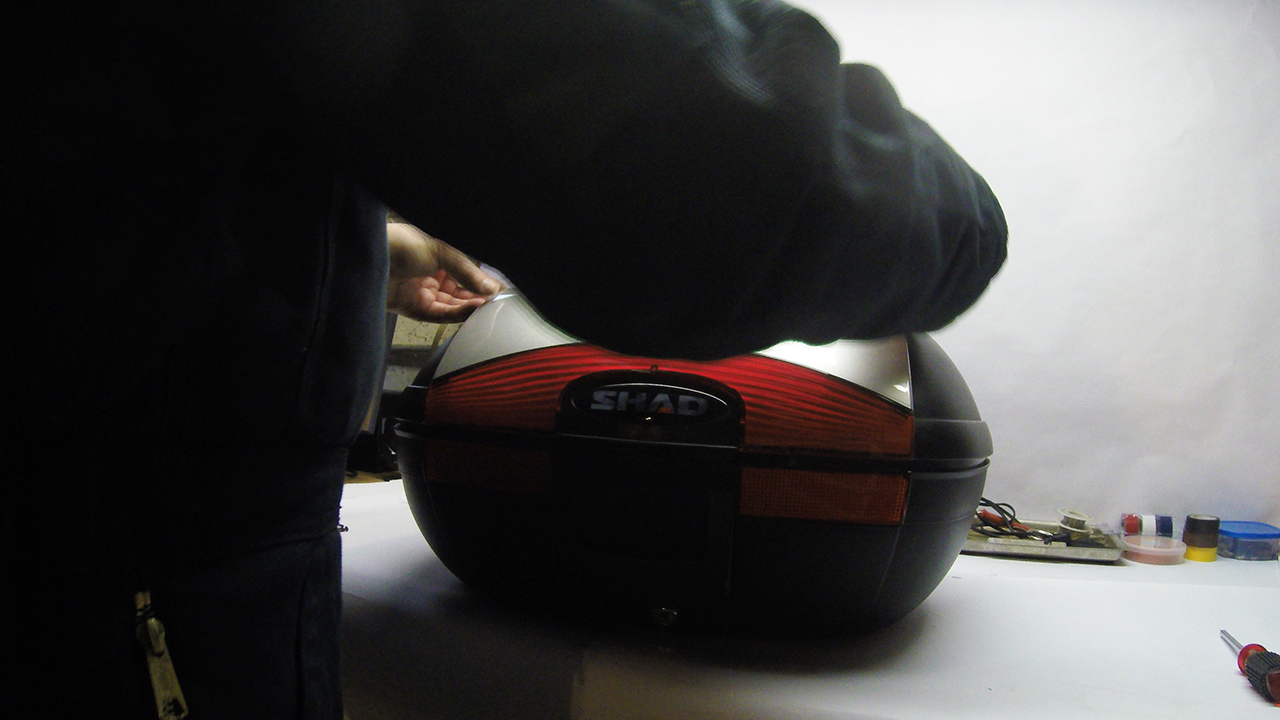
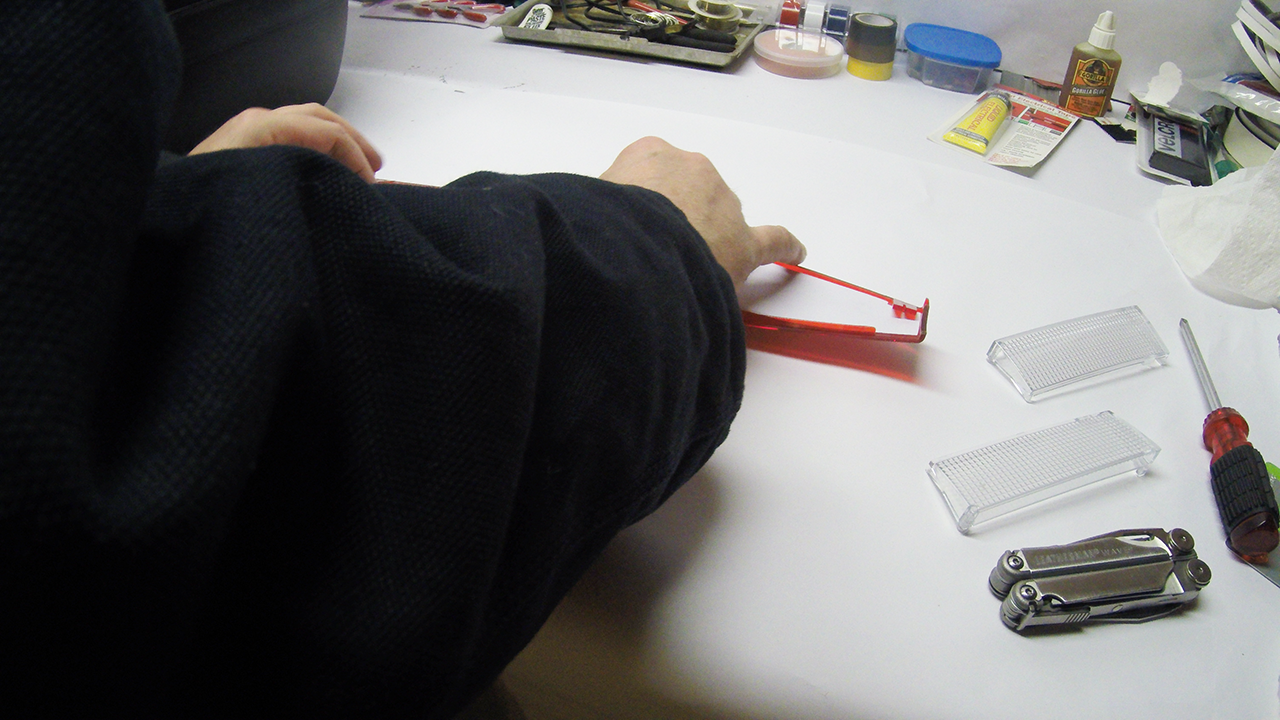
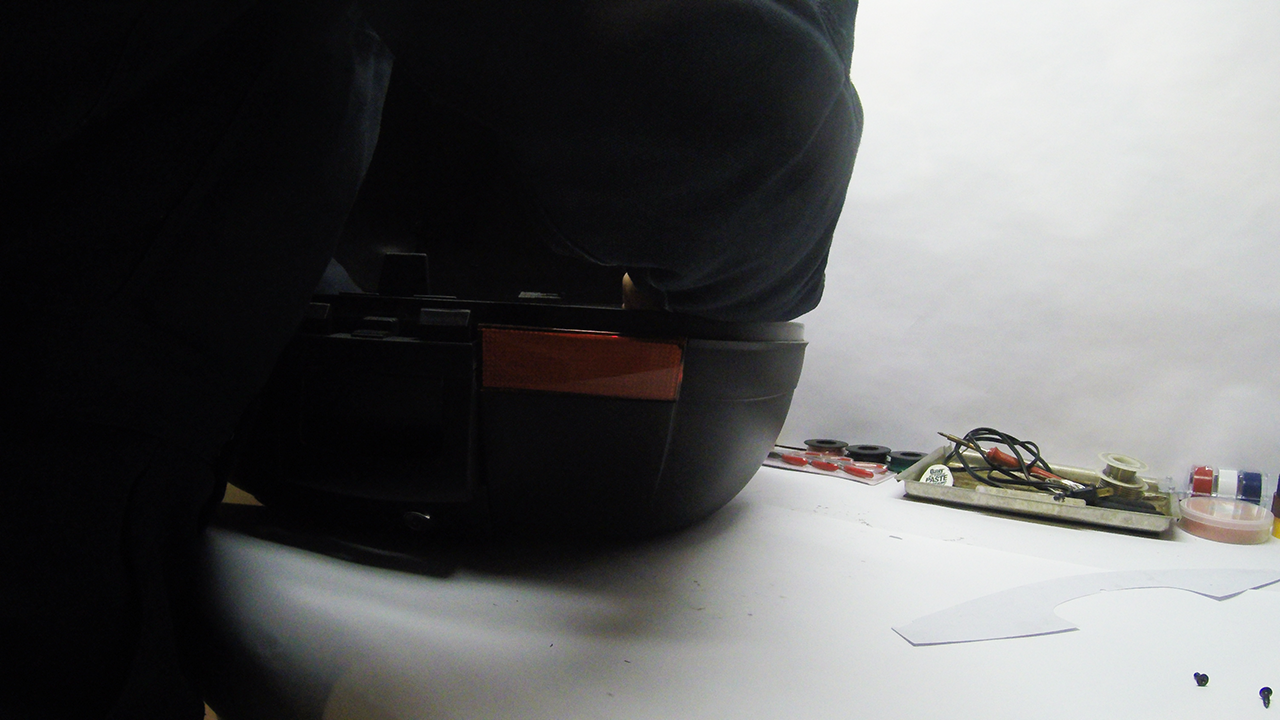
Now onto the base lenses. Pay mind to the tiny plastic tabs on the lens pictured above. Twisted Throttle asked me over the phone to grab a credit card and use it to separate each lens from the case. DON'T! DOING SO WILL BREAK EITHER THE LENS OR THE CASE ITSELF!
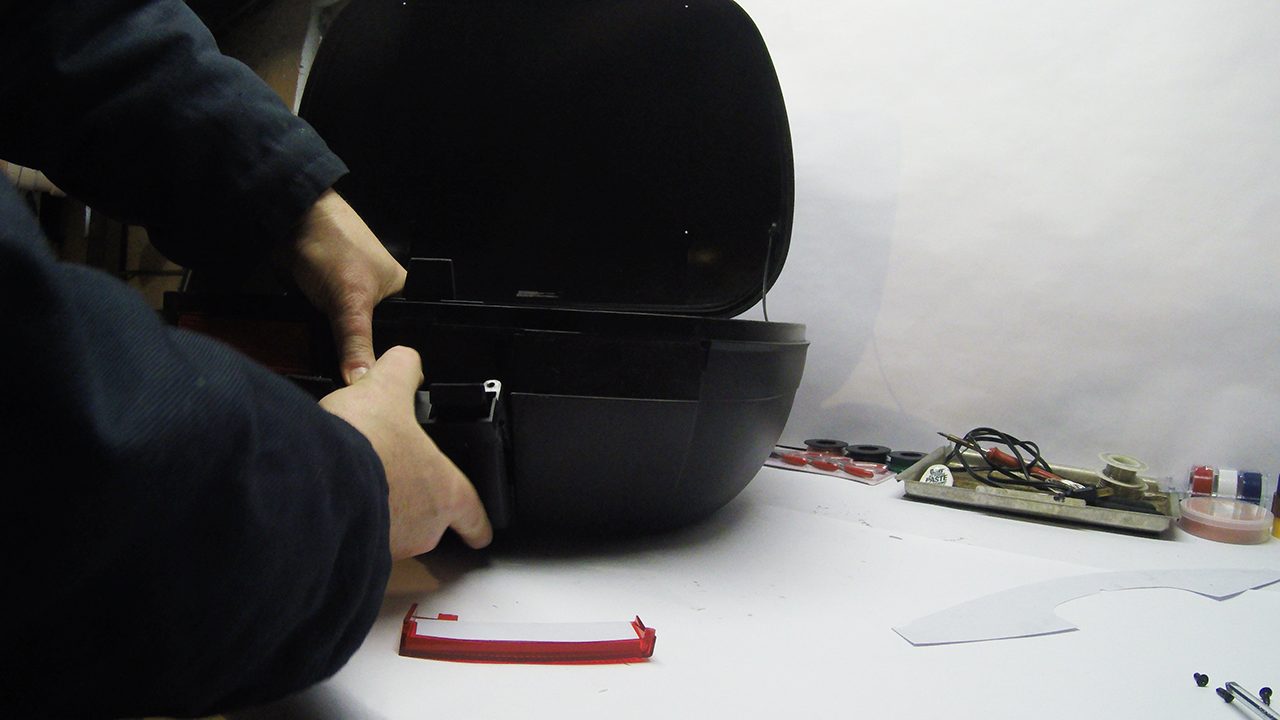
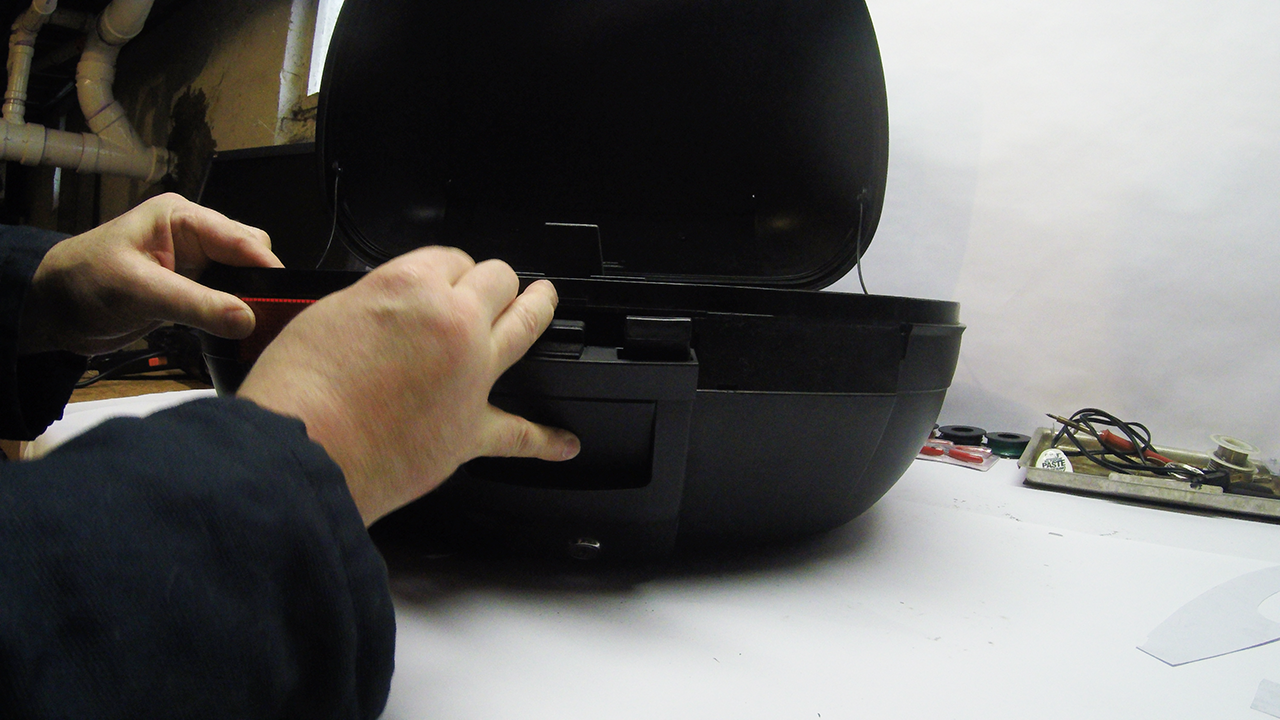
If you're unsure where to pry, check the lower edge of the Shad SH45 lenses. The locking panel relief gives just enough room when released properly.
Here's the actual method ...
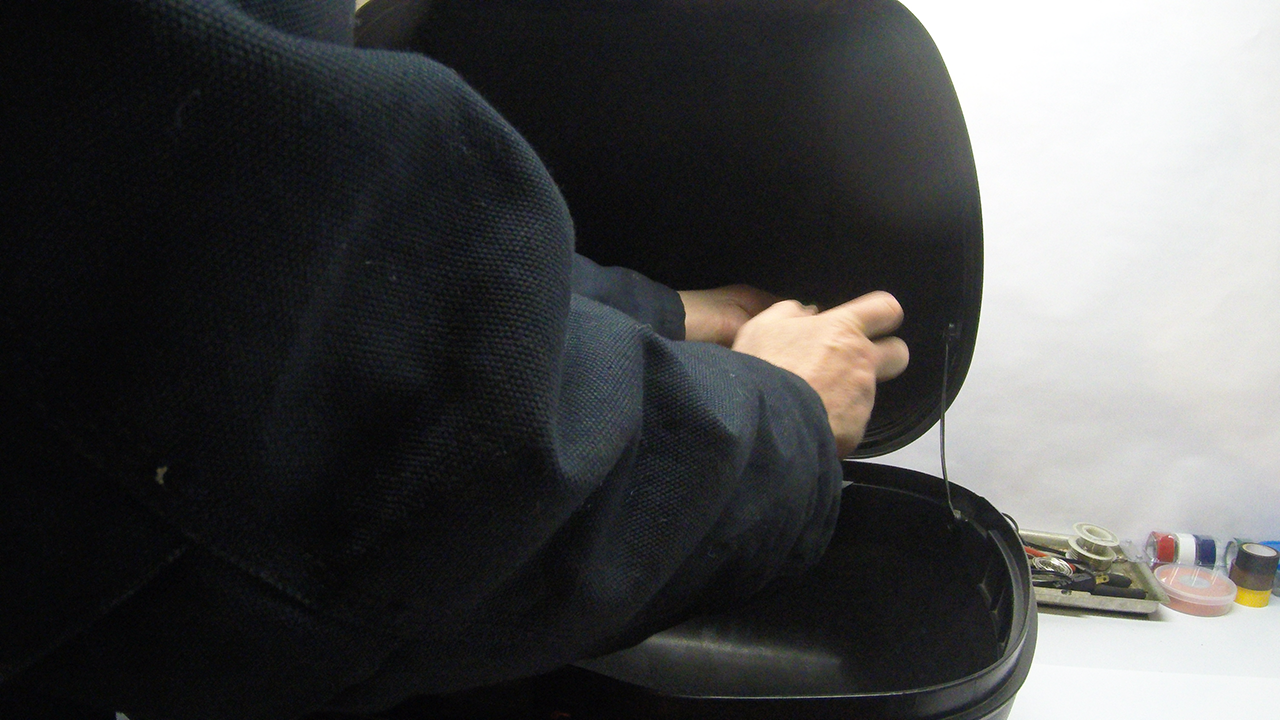
First, remove the singular screws from each lens. You'll find them on the inside to the far right/left at the visible corner (pointed at you). We'll also need to disengage the locking panel.
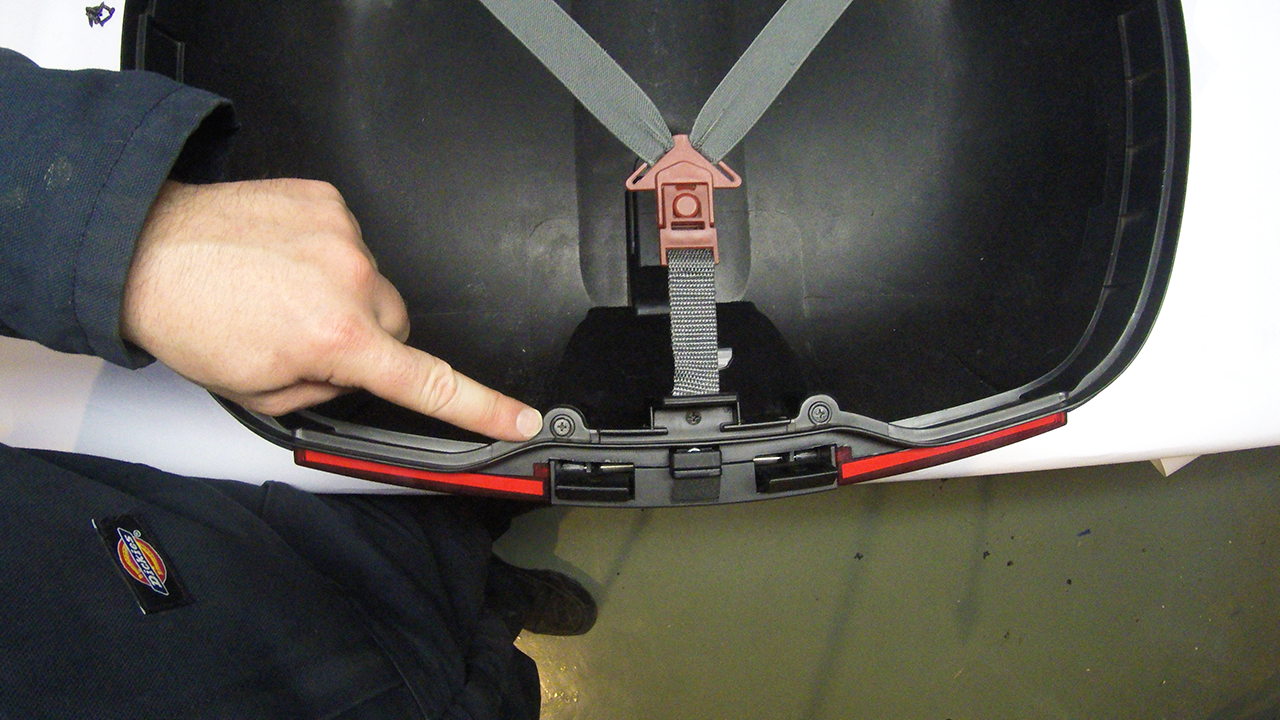
Remove the four screws situated left/right of the panel. Two sit toward the top (pictured above) while the other pair hides at the interior base. Once removed, use a bit of slow-and-steady muscle to pull back on the top of the very same locking mechanism. The spring-loaded panel should flex outward, allowing you to easily remove and install the lower lenses (see below).
Reassembly is largely a matter of reversing the steps above. Just be careful and use minimal torque when tightening the screws back into their designated locations. With plastics, a little goes a long way so a bit of care and focus is in order.

What Use-Extending Modifications Have You Made To Your Motorcycle?
Luggage and plastics are only the beginning. What installations and adjustments have you made to your bike? What do you like about them and why? Your input is invited. Leave a comment and/or write an article!
Share Link ...

About Robin Dean
Motorcycle advocate, enthusiast and traveler. Founder, The Riding Obsession (2014). MSF RiderCoach credentials: "loosely regarded adult supervisor, probably good enough for rock 'n' roll" ~ Tidal Playlist | Rabid Neon


Thoughts gone wild? Write an article!