Take a gander at our FTC disclosure opus here. The following article was last updated on Nov 20, 2025 ...
No-Mar Tire Changer (1 of 2): Demounting
In our riding circle, I'm the "Tire Guy". I've changed tires for just about everyone in our group and also many for people I don't even know (friends of friends or people on motorcycle forums I frequent). I once changed thirty-three tires in one day at a forum gathering. I'd like to attribute this to my charming personality or extreme generosity but it's much more likely due to the fact that I possess both a No-Mar Classic Motorcycle Tire Changer and the experience to use it efficiently. The No-Mar changer makes changing tires an easy task compared to tire irons and brute force.
A No-Mar tire changer pays for itself quickly if you tackle a few sets a season.
Once upon a time, many years ago, when the internet was in its early beginnings (yes, AOL with a dial-up connection) I started changing my own motorcycle tires. I both credit and blame the web for pushing me in this direction. Because of this newfangled invention, I was able to research both tire cost and articles on DIY motorcycle maintenance.
“No-Mar tire changer is the obvious pick after one brutal swap, turning sweat and busted knuckles into fast, clean results.”
I was surprised to discover just how much of a profit dealers were making on tire changes. I'd like to point out that I'm in favor of supporting local brick-and-mortar motorcycle shops because I like having them around. I also realize they have to make a profit to stay in business but I question what people consider a "reasonable" profit.
Keep in mind that I live in a large metropolitan area and there aren't any small independent shops around that will perform tire changes for significantly less than large shops. If you live in a less metropolitan area, you likely have access to a local shop that will change your tires for a more reasonable sum. A bit of web research will clue you in on who's doing honest work.
Tire Irons And Improvised Tools
I started out changing tires with nothing more than a set of tire irons. This is tough, knuckle-busting, back-breaking work. I was much younger back then, with more time than money if not wisdom. Again using the internet and a bit of ingenuity, I constructed some tools to make the job easier. I used two-by-four lumber to build a bead breaker that attached to my workbench and a simple square supported the wheel, helping to avoid brake rotor and wheel damage.
Sliced-up, heavy-duty plastic containers worked as rim protectors. I built a balance stand from four-by-four lumber, scrap steel plates and rollerblade wheel bearings. These tools made the chore easily more efficient but still involved tire irons and physical exertion. I continued changing tires this way for years. At the time I knew of No-Mar and their products and had even looked into them.
Their tire changers are somewhat expensive and I couldn't justify the investment to myself as my (basically free) setup got the job done, if not in the most efficient manner. Then one very hot August day, I changed a set of tires on my FJR1300. Its tires fought me viciously both coming off and going on. After several hours of wrestling, cursing, sweating and bleeding, I managed to finish the job. As I stood in the garage soaking wet with sweat, bleeding from both hands and aching from head to toe, I made the immediate decision to purchase a No-Mar tire changer.
I've since changed probably a hundred or more tires using the No-Mar tire changer. The task has been much easier. While I look back somewhat fondly to the "old days", I have no desire to return.
What Exactly Is A No-Mar Tire Changer?
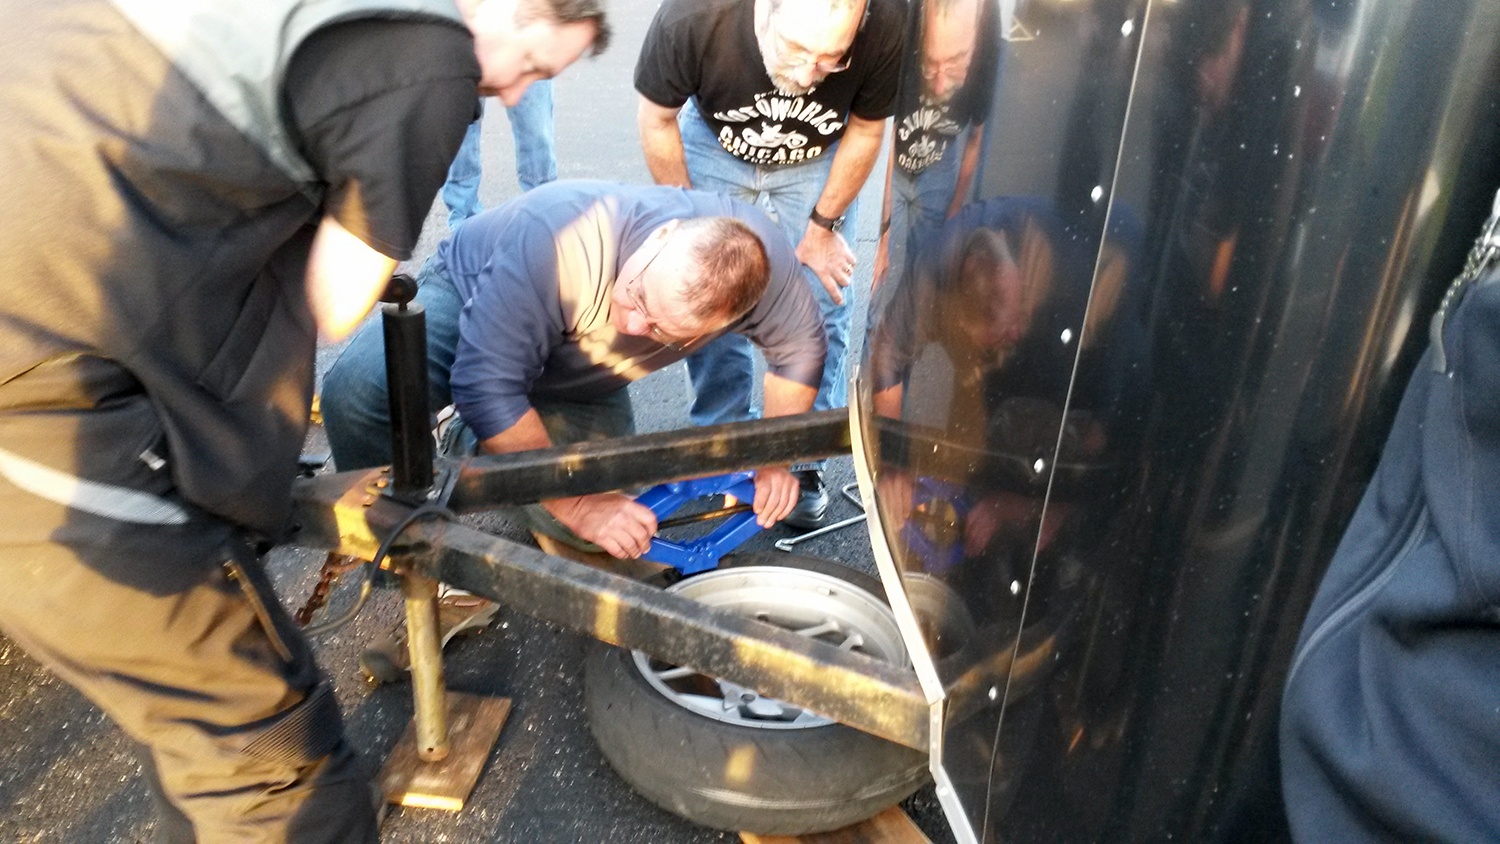
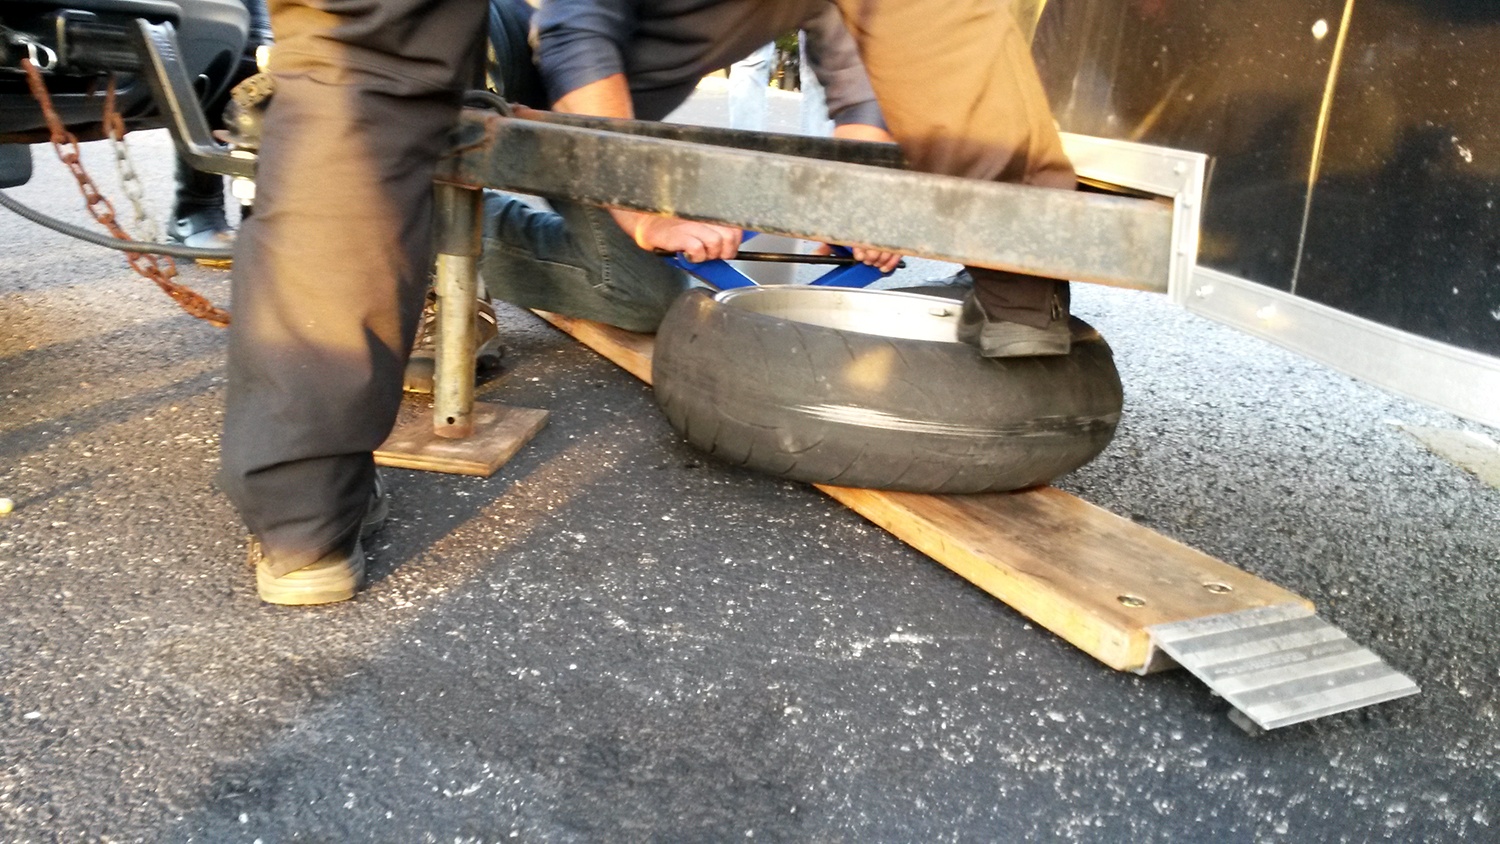
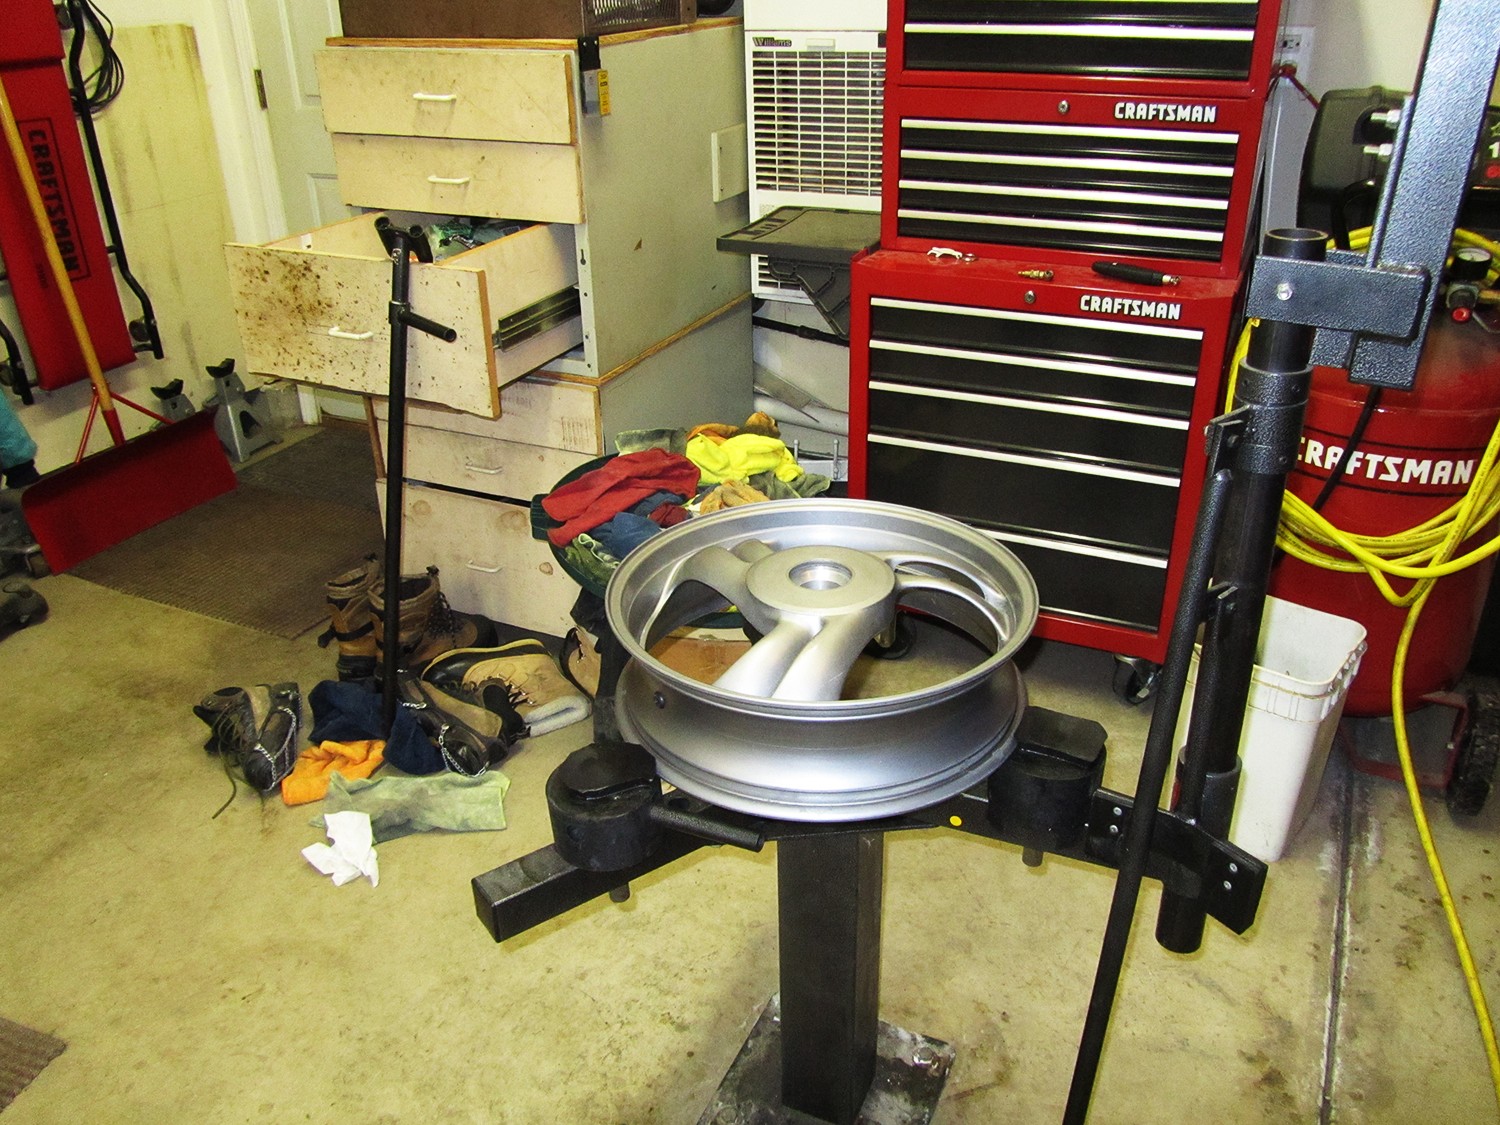
It's a nicely designed and built combination wheel clamp, bead breaker and tire changer. A No-Mar tire changer uses non-marring contact points that protect expensive wheels. The design incorporates "ultra high molecular weight polyethylene" into all contact points, which prevents damage to wheels and reinforces the company's "No-Mar" moniker. I bought their Classic Motorcycle Tire Changer Ultimate Package, including a stand, floor or trailer hitch mounting system, integrated bead breaker, dog/cam/blocks to lock the wheel into place, mount/demount bar with spare tip, balancer stand with rod, two cone sizes, hand clamps and spray/paste lubricant. I've since added their Posi-Lock clamps and large cone threaded balancer rod (more on these later).
Before proceeding with my usage tutorial, let me point out the advantages of DIY tire changes:
First is the financial benefit. I figure I save $150-$200 each time I change my own tires. It's common for me to change three or four sets of tires a season. You can see that this adds up very quickly and can offset the No-Mar purchase price in just one or two seasons. Given the number of tires I change for others, I could easily augment my income but generally settle for a twelve-pack of nice beer or sometimes some good bourbon-not exactly income but nice stuff to have around and a light financial burden on friends compared to the alternative.
Second, I believe I do a better job than most dealers do. Again, I'm not dealer-bashing but their profitability depends on performing maintenance tasks quickly. Not to say that they cut corners or do anything dangerous but I always include additional tasks and methods in tire changes that dealers do not. I'll delve into these during the tutorial. I've heard many stories of wheel damage done by shops including several friends who don't live close enough to do their tires at my place.
Third, there's a nice feeling of satisfaction realized by doing your own maintenance. Nobody will care for your bike better than you. Even basic efforts are at the core of the enthusiast mindset.
No-Mar Tire Changer Usage Tutorial
I'll break down the tire-changing process into six steps:
- removing the wheel from the motorcycle
- breaking the tire beads
- demounting the tire
- mounting the tire
- balancing the wheel/tire combination
- re-installing the wheel on the motorcycle
I'll also point out tips and tricks I've learned through the years that make the tasks easier.
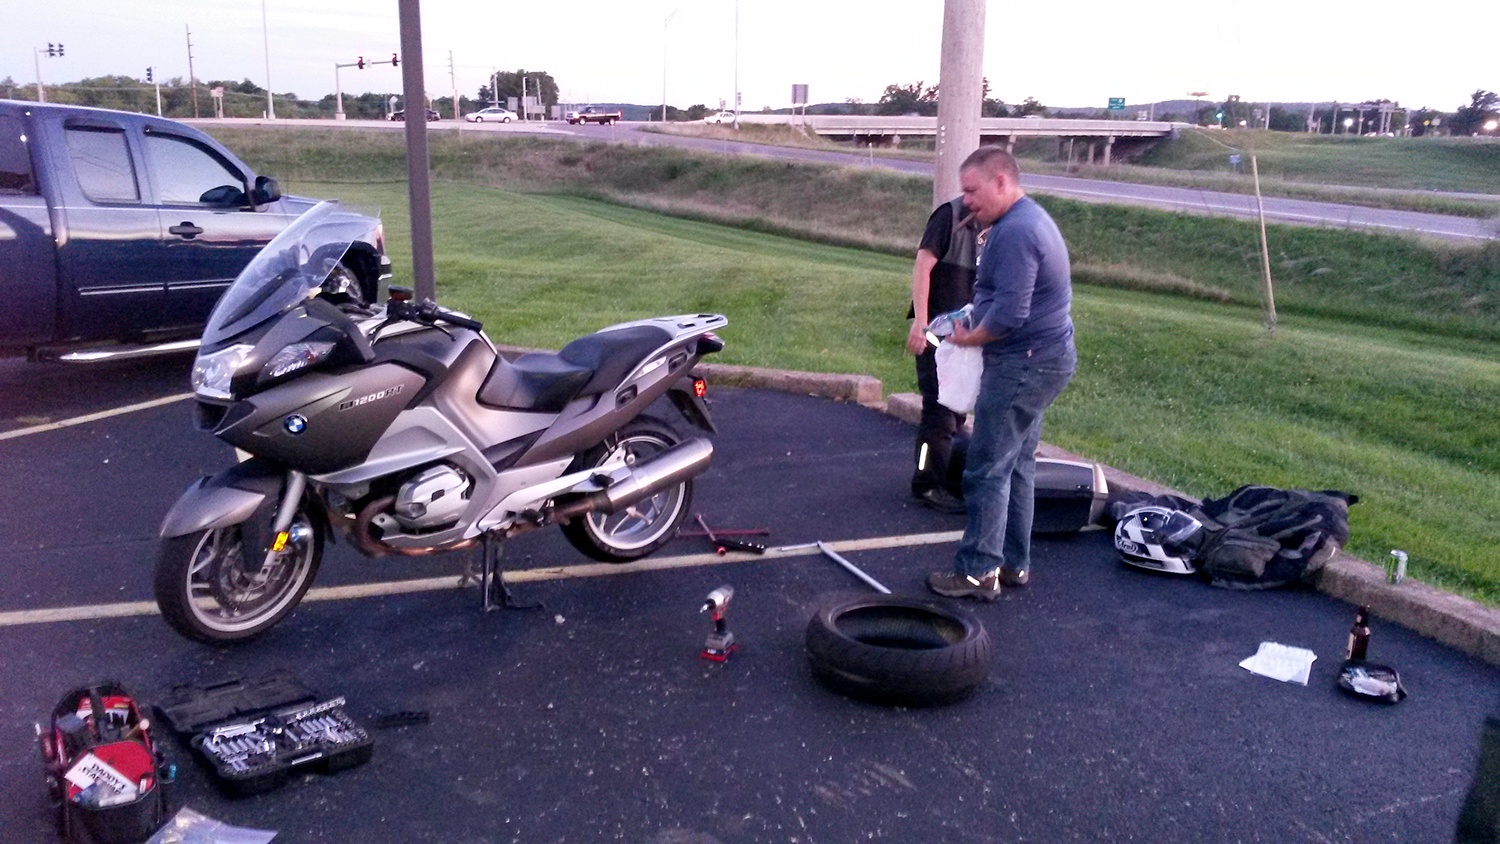
The first step is to remove the wheel from the motorcycle. This requires a stable method of suspending the front or rear of the motorcycle off the ground. If the bike has a centerstand, you won't need any additional accessories to remove the rear wheel. If no centerstand is available a rear track stand is the best alternative. Suspending the front wheel is a bit more challenging, especially if you don't have a centerstand.
A front wheel track stand is again the best option but you can use jack stands with a rear track stand or centerstand to suspend the bike's front end. I've also seen tie-down straps used to suspend the front end by connecting them to garage beams and lifting the front end by the handlebars. Whatever method is chosen, it's imperative to have a safe and stable platform to ensure the safety of both you and your treasured motorcycle.
Quick Tips (1)
- If using a centerstand, rear wheel removal will be easier if you raise the rear wheel further from the ground by placing a block of wood under the centerstand. This will increase the force needed to lift the bike onto the centerstand but will also provide additional clearance between the tire and fender.
- Remove the valve stem core from the valve stem as soon as the bike is in a stable lifted position. This serves two purposes. it will allow further room for wheel removal and also start loosening the tire bead seal making the bead breaking process easier.
After you safely suspend the desired end of the bike, remove the wheel. Wheel removal is similar for most bikes. Typically this will involve loosening or removing axle clamp bolts, axle nuts and/or axle, chain adjusters, drive chain, brake calipers (front), brake stay arms (rear) and fender. Consult your specific service manual for details. Remove the sprocket carrier from the wheel if your bike is chain driven. You don't need to remove the brake disks. Once you remove the wheel from the bike, break the beads on both sides of the wheel.
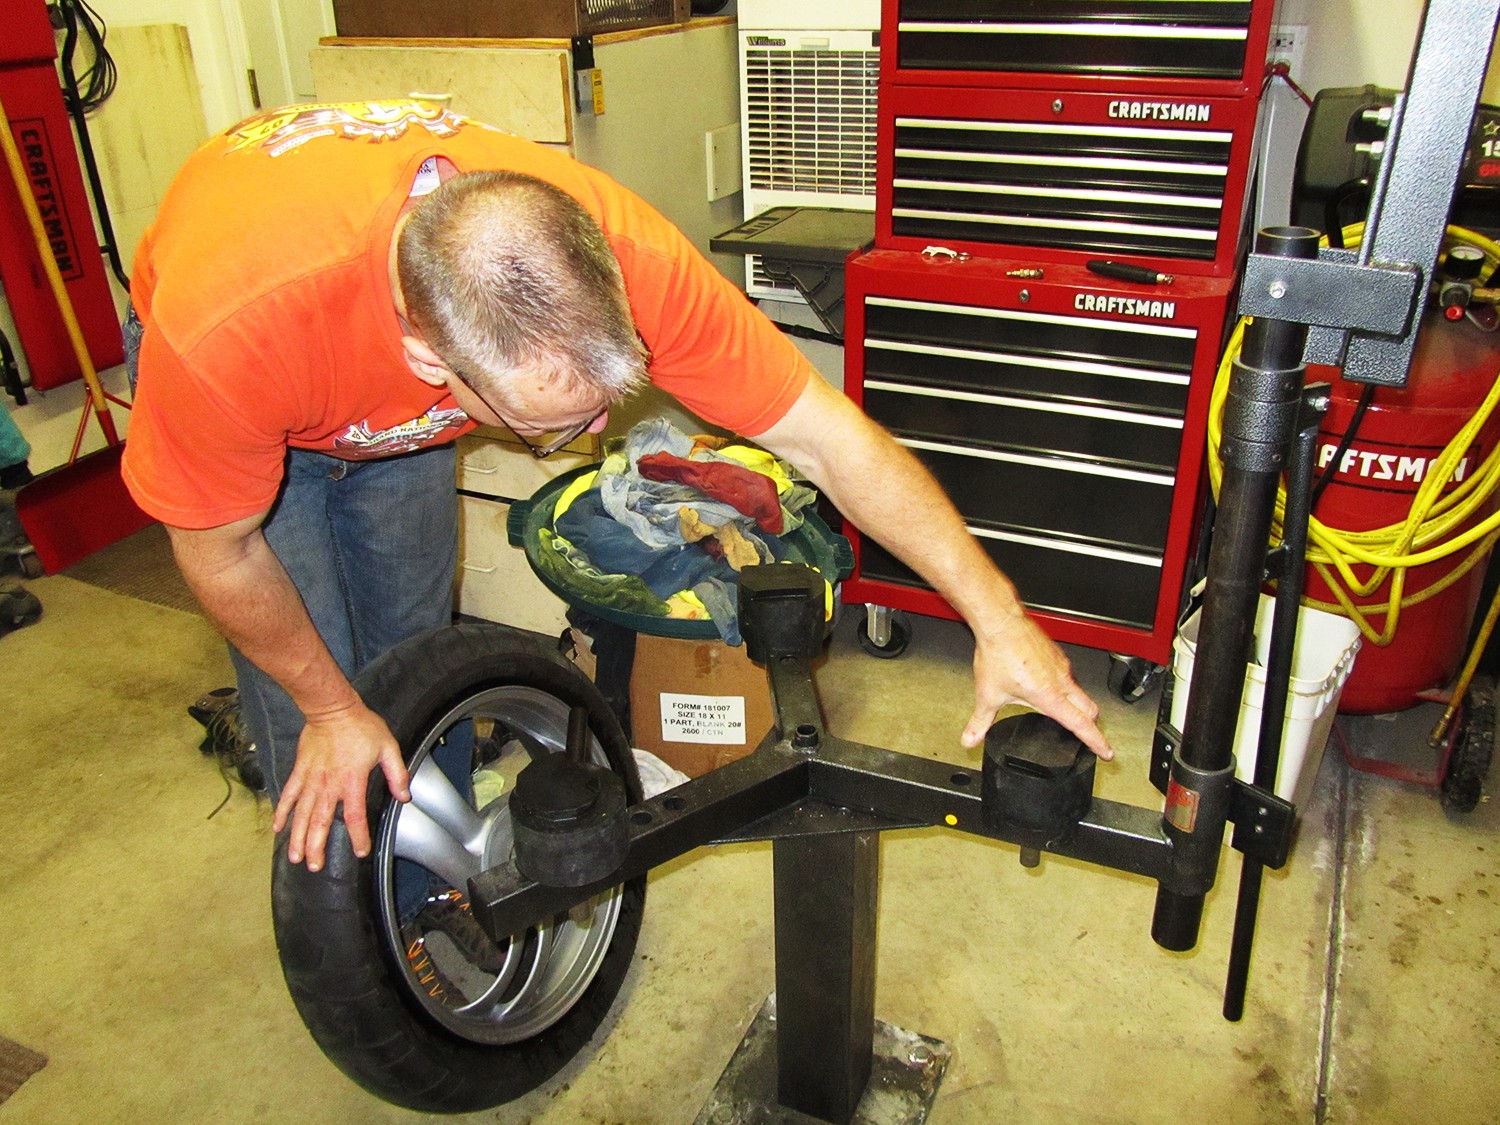
For DIYers without a No-Mar tire changer, this is often the most difficult part of the job. No-Mar did a great job with the design of its bead breaker, making this task much easier. Per the No-Mar instructions, position the rear cam block in the peg hole indicated by a yellow dot. Place the wheel (do not lock it) onto the dog and cam blocks. Break the bead by positioning the non-marring bead breaker on the tire at the edge of the rim.
Apply downward pressure to the bead breaker arm to break the bead. Again, No-Mar did a great job designing their bead breaker and a smile comes to my face every time I easily break a tire bead. Anyone who has struggled to break tire beads using other methods will be likewise impressed. Repeat the process on the opposite tire bead after you flip the wheel.
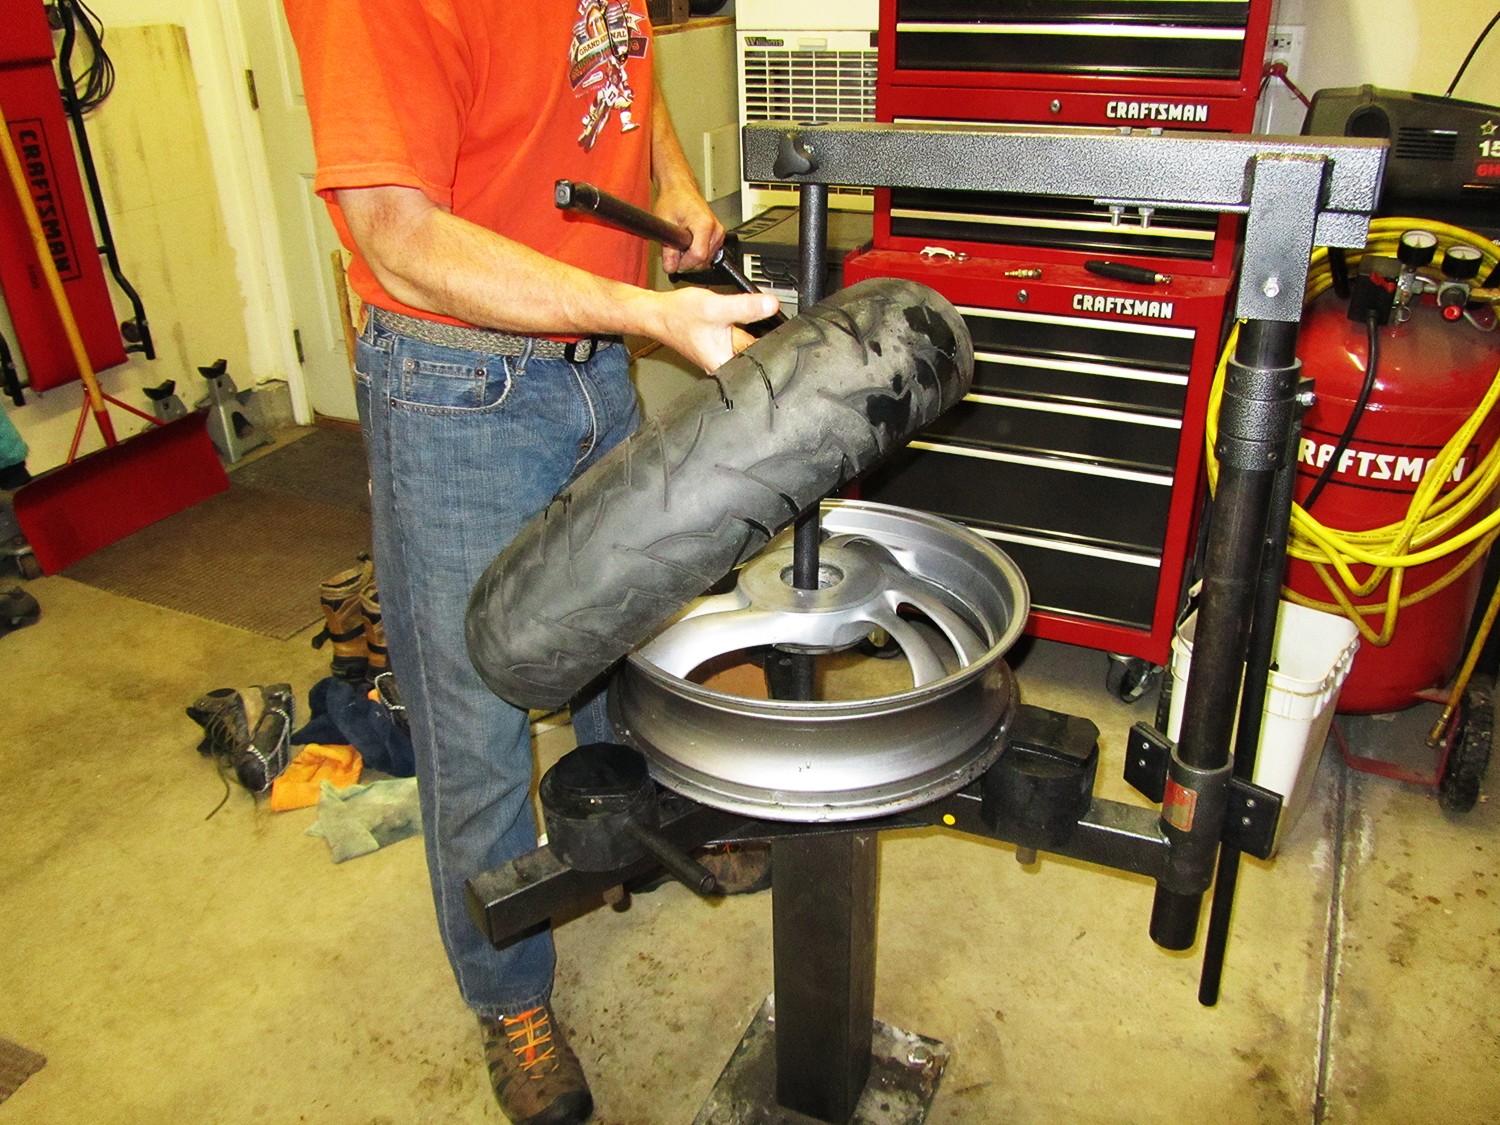
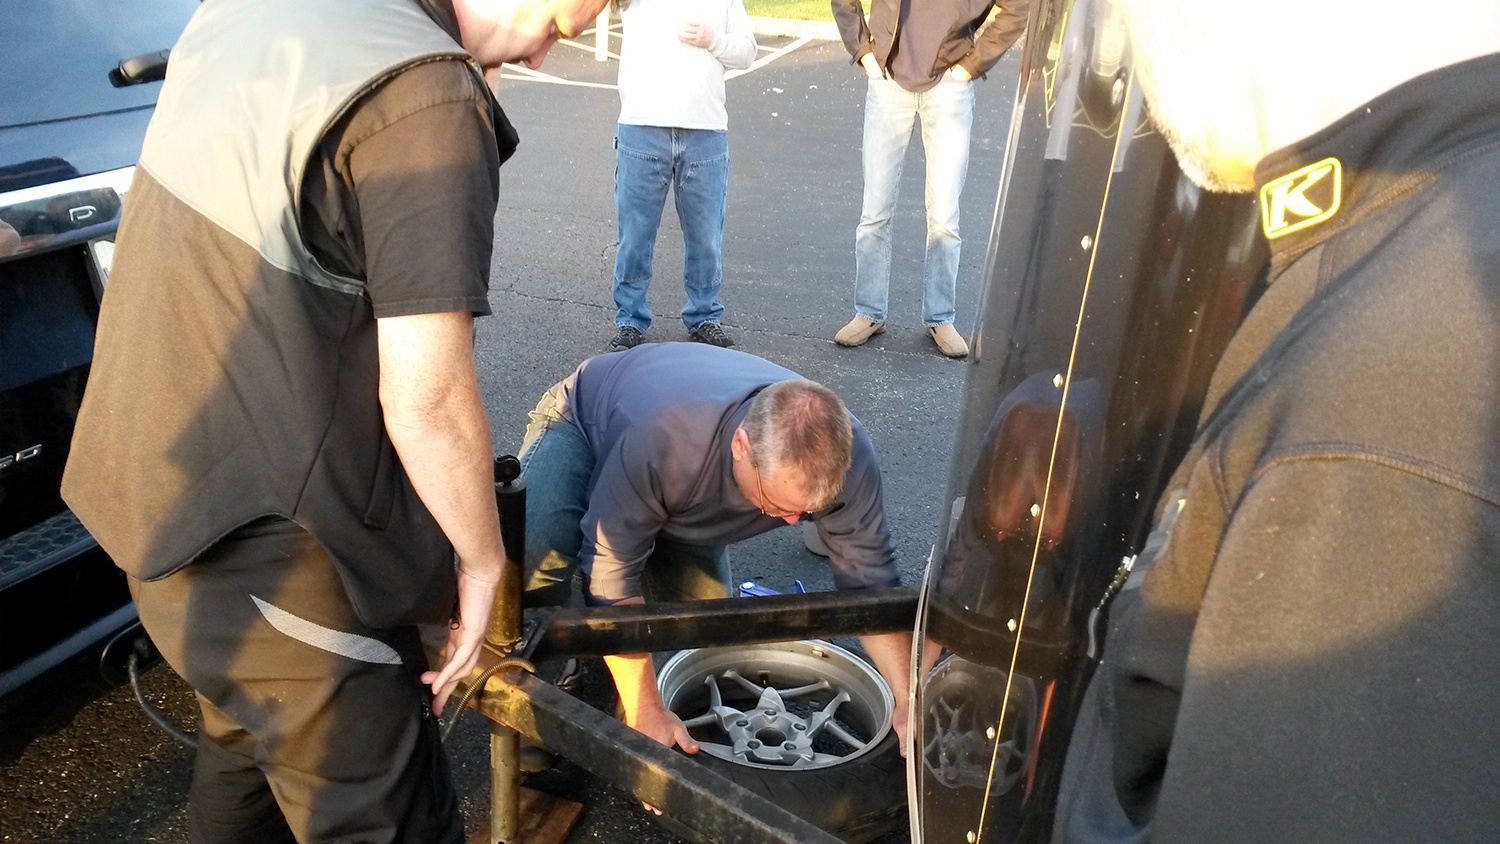
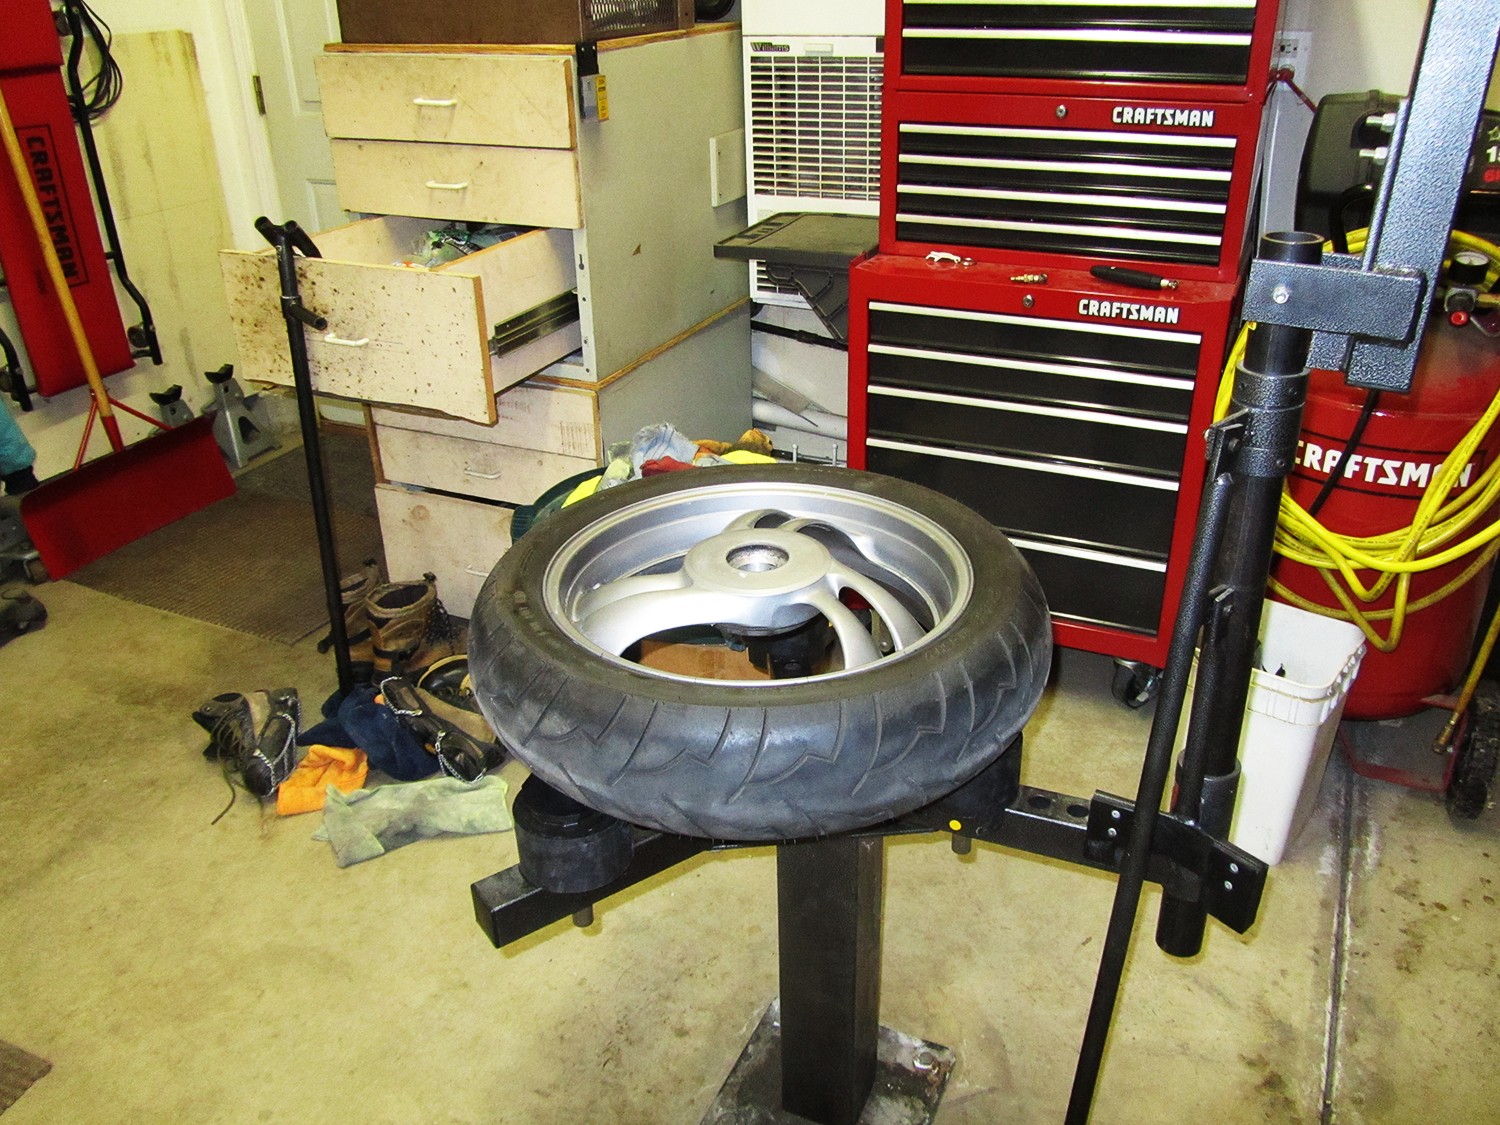
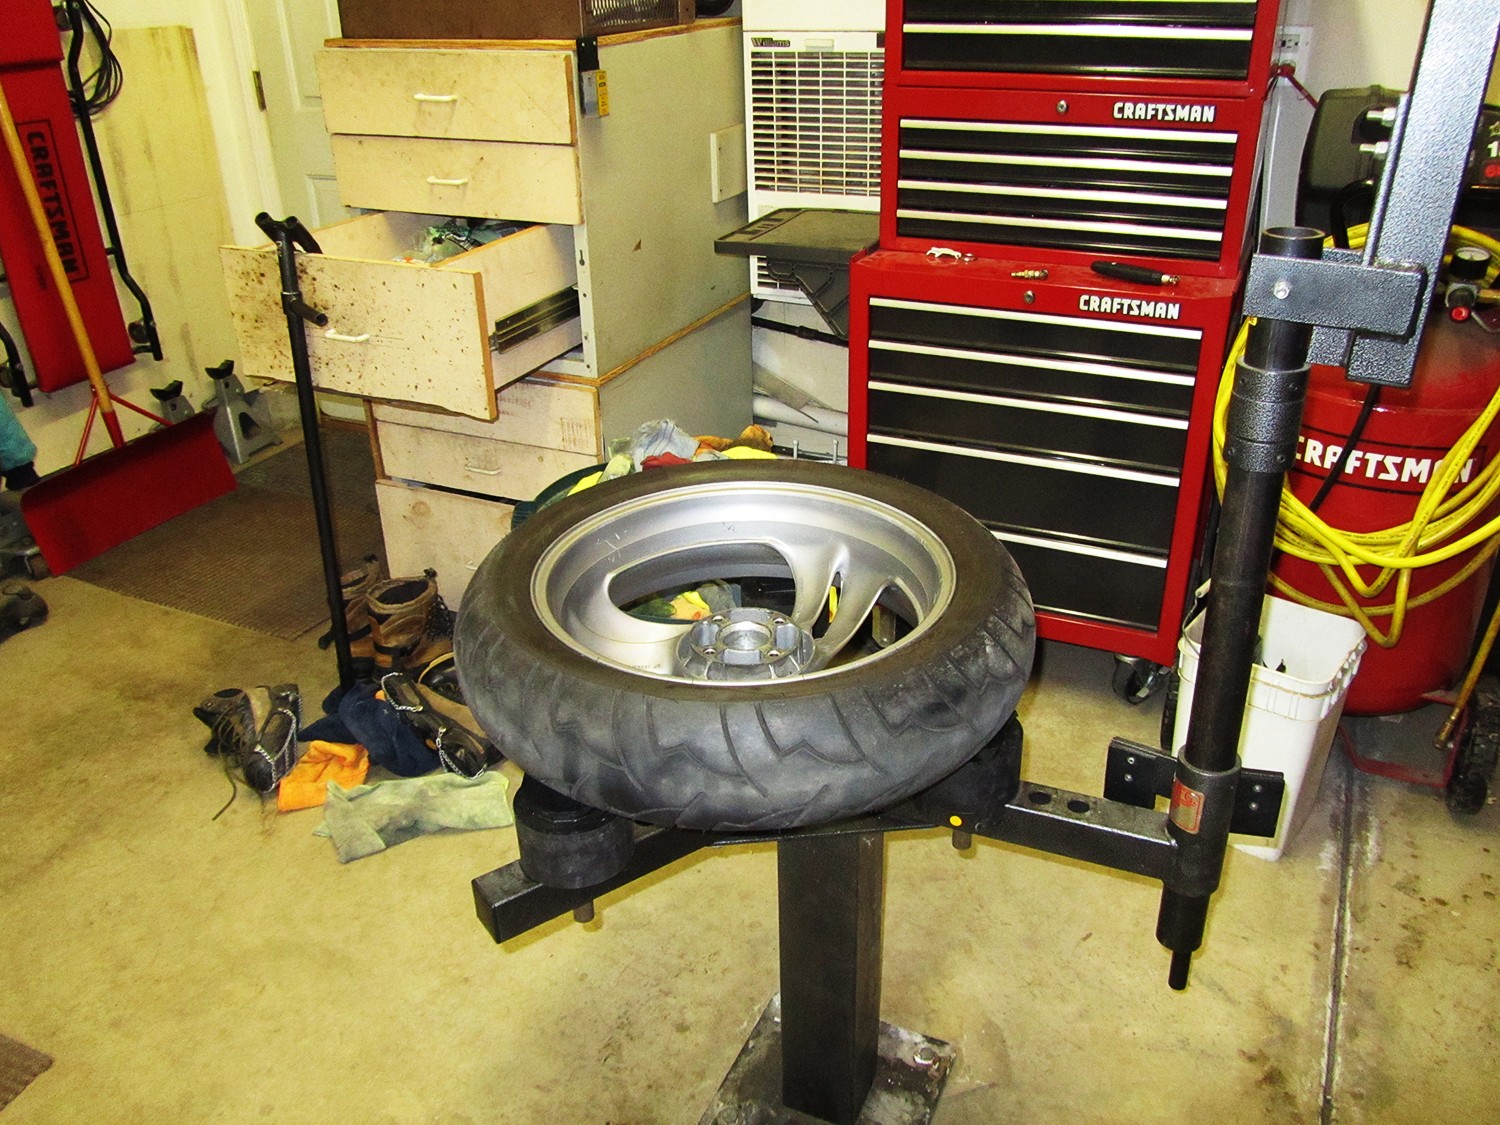
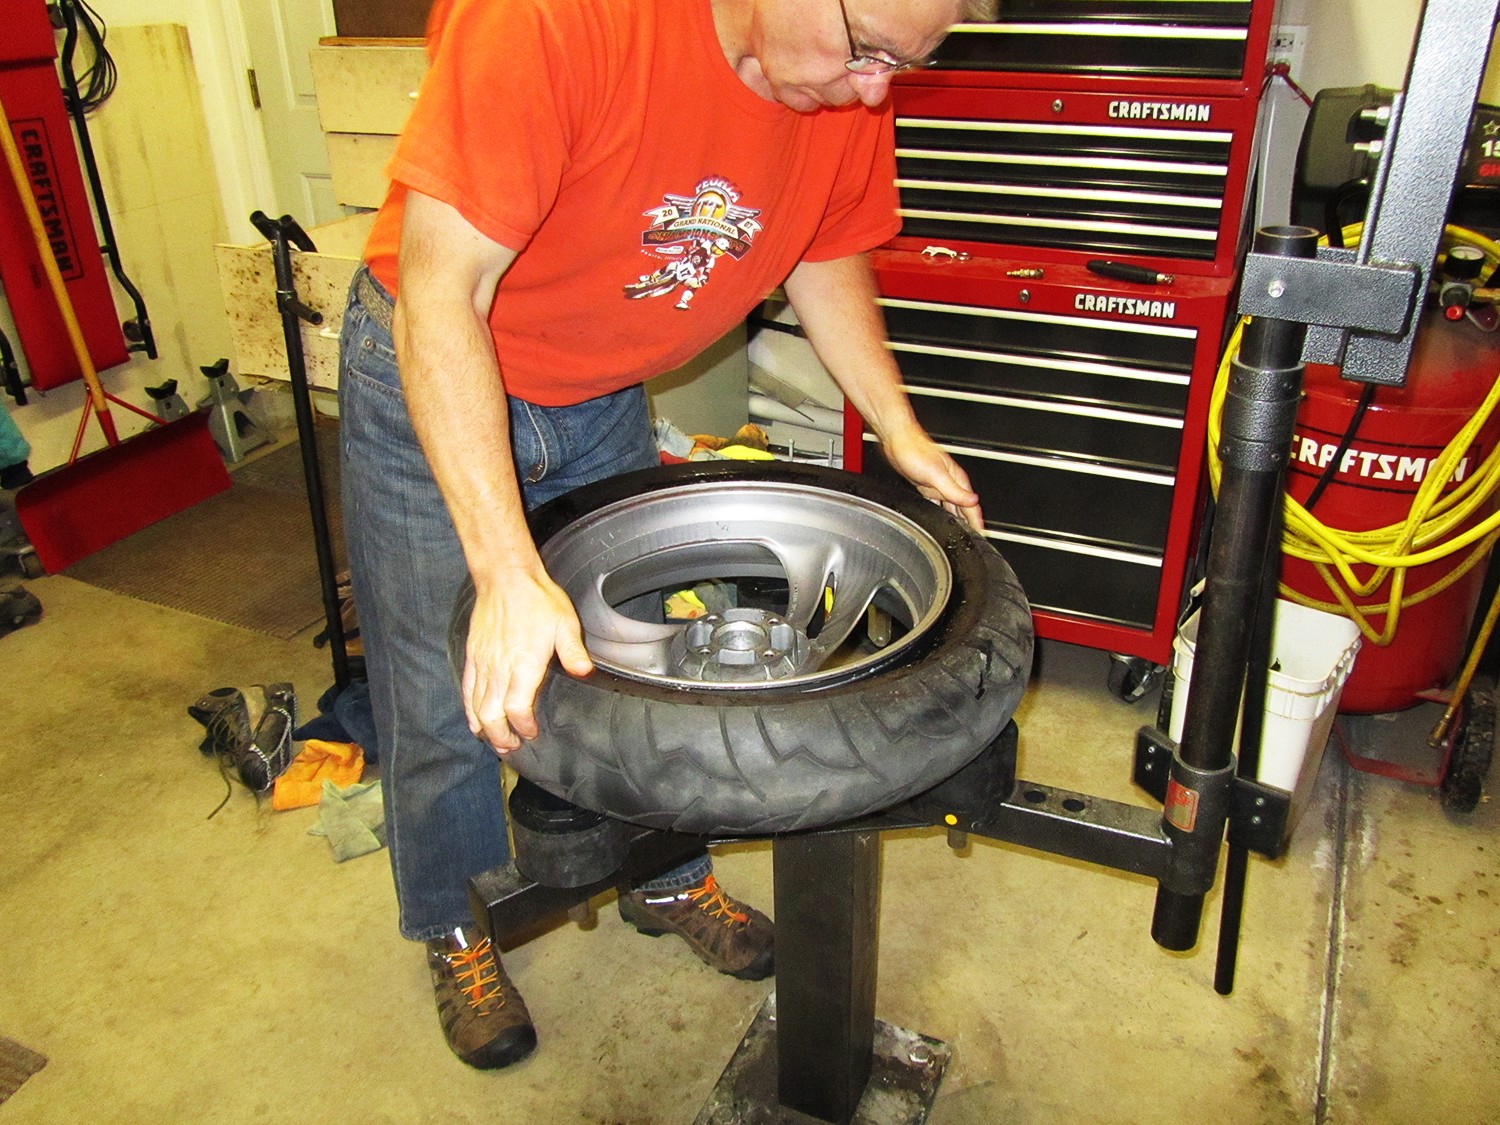
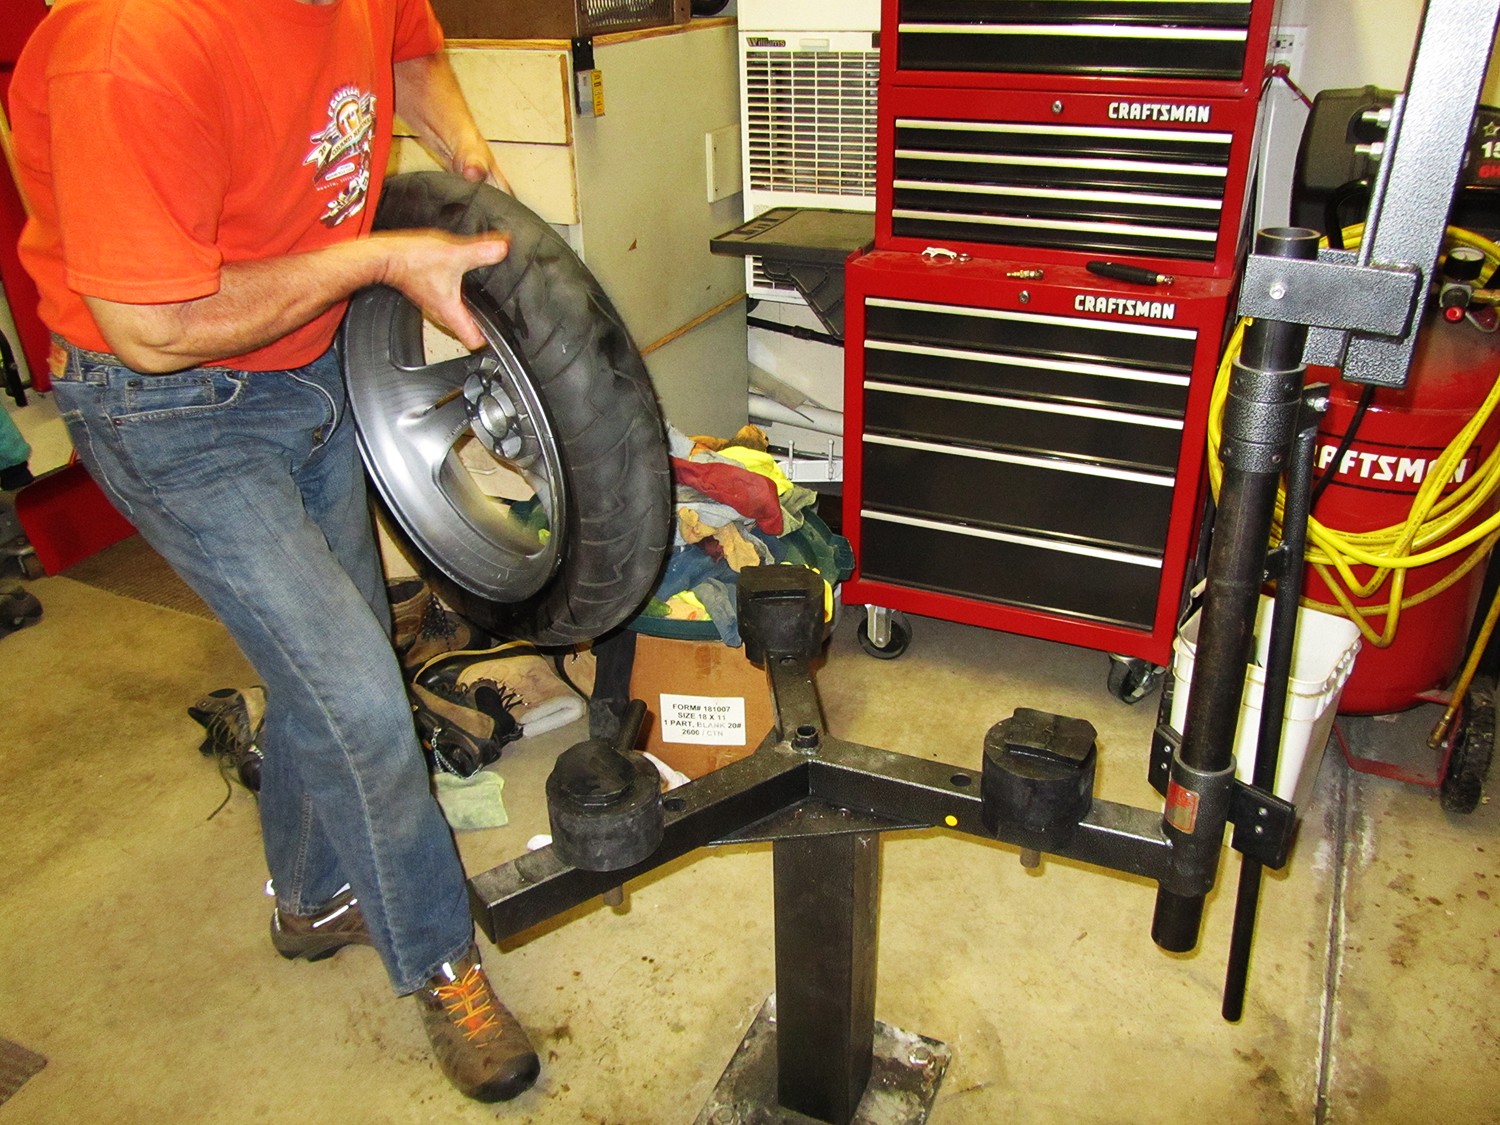
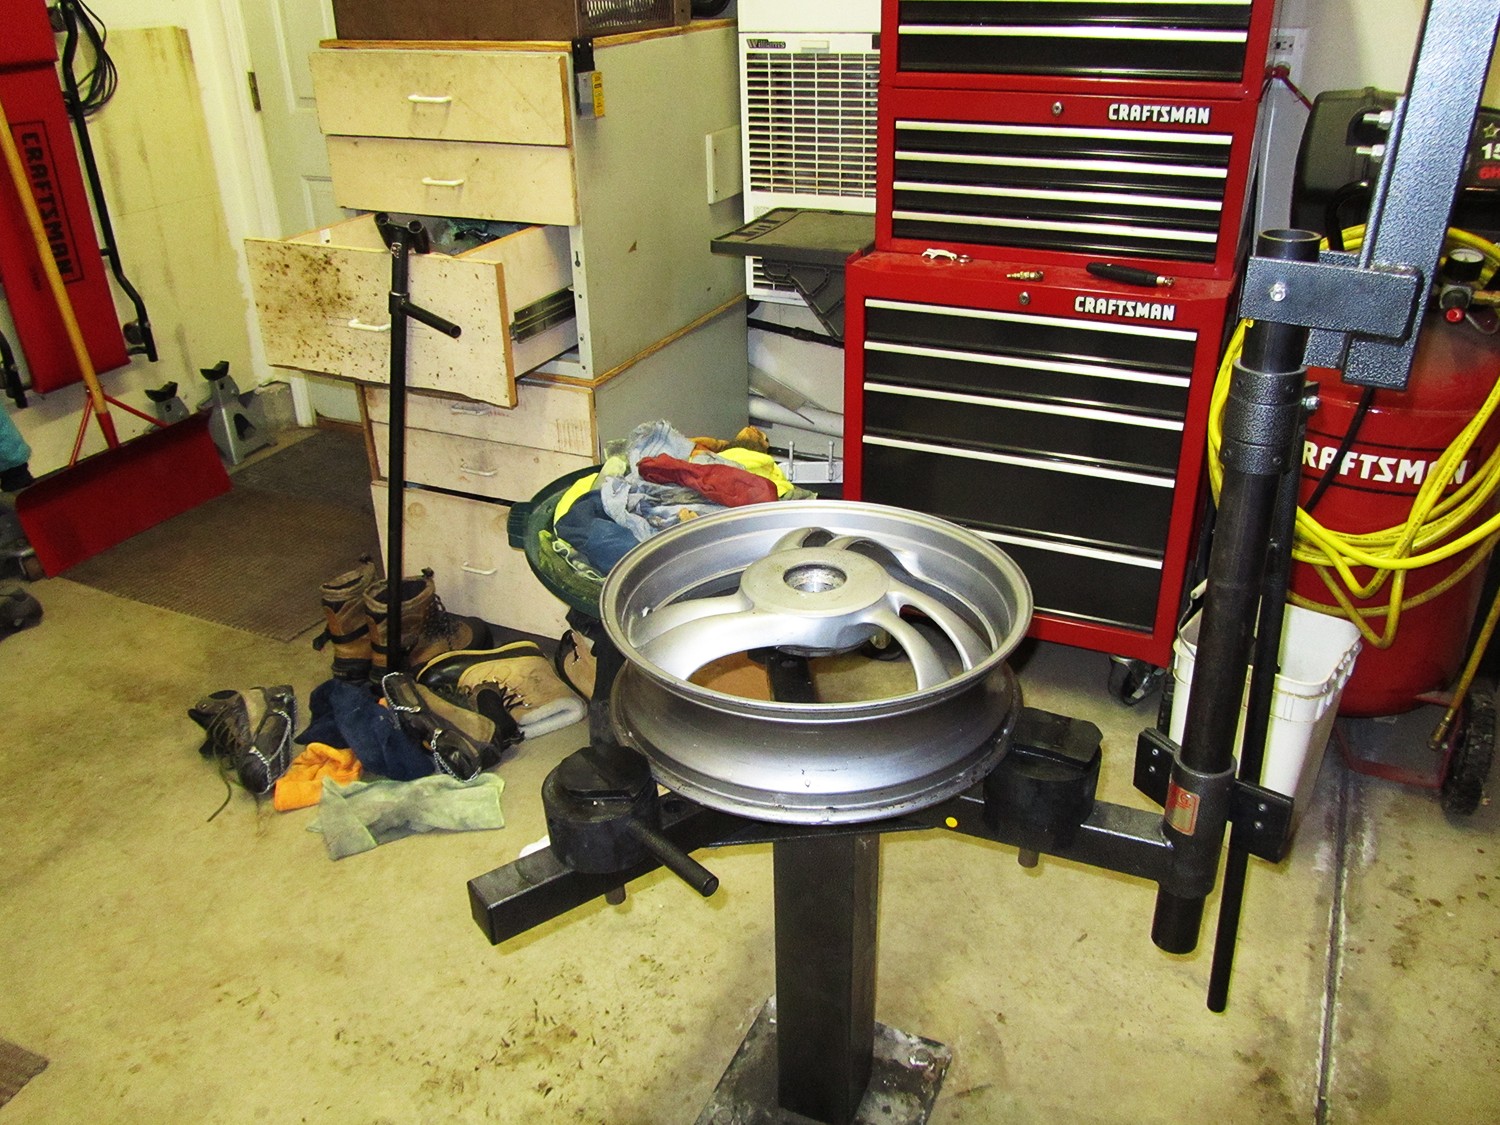
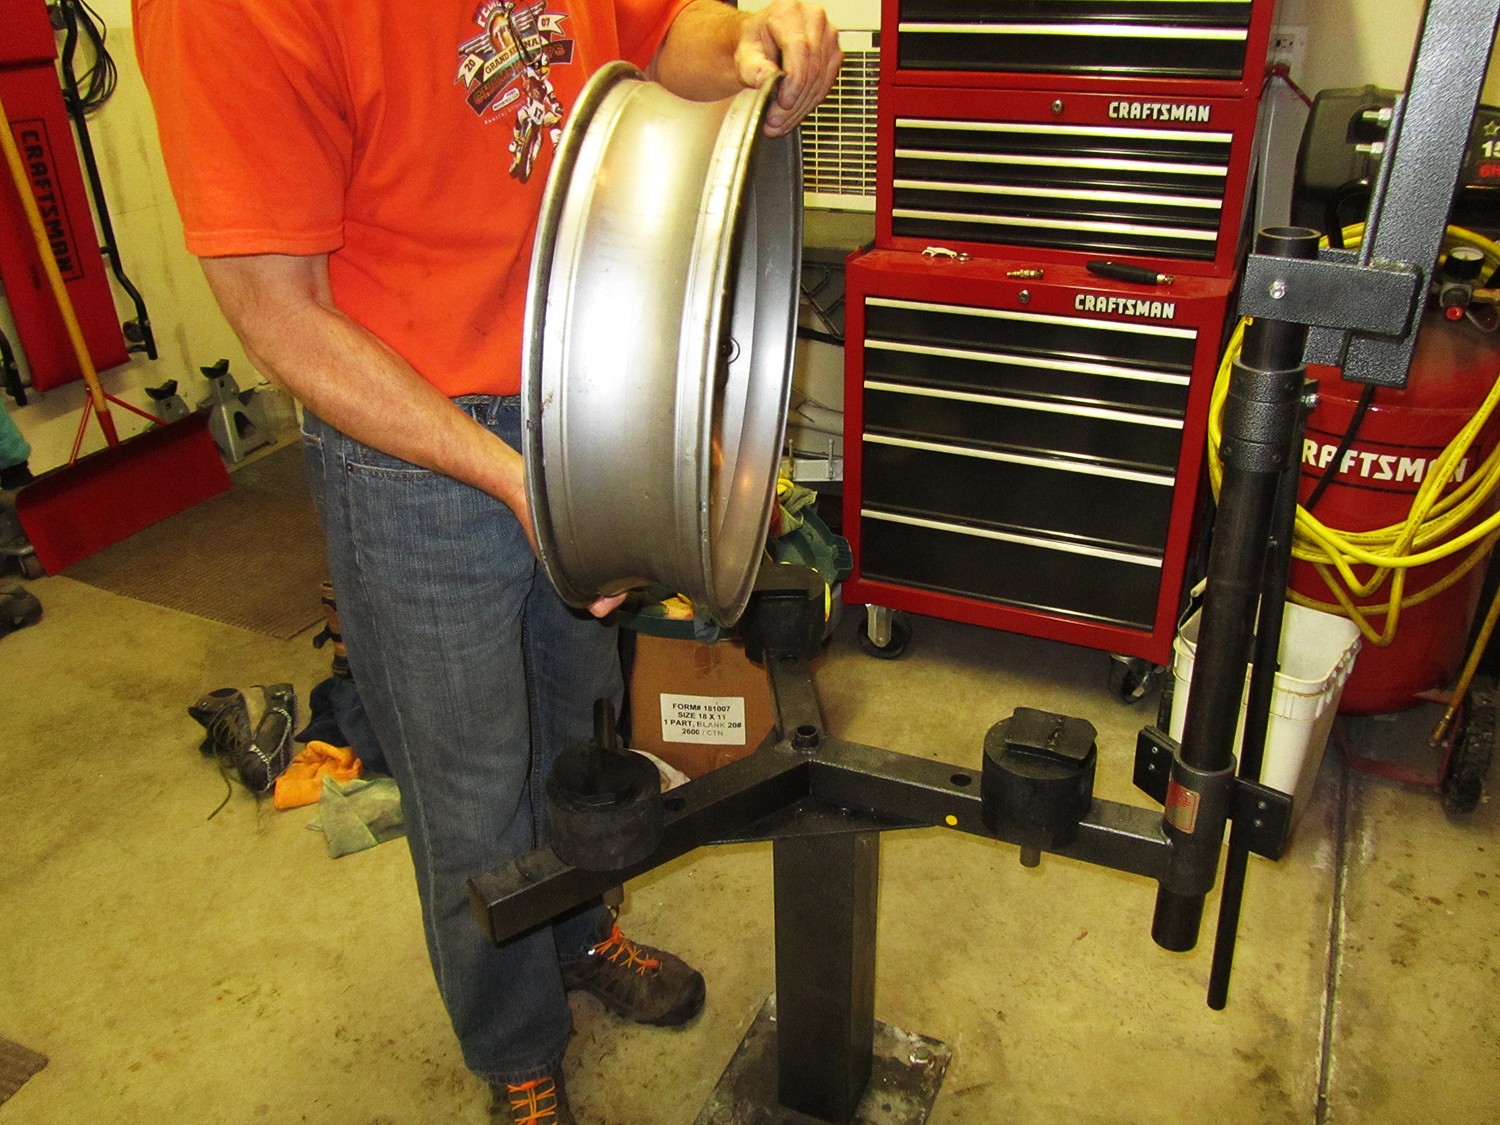
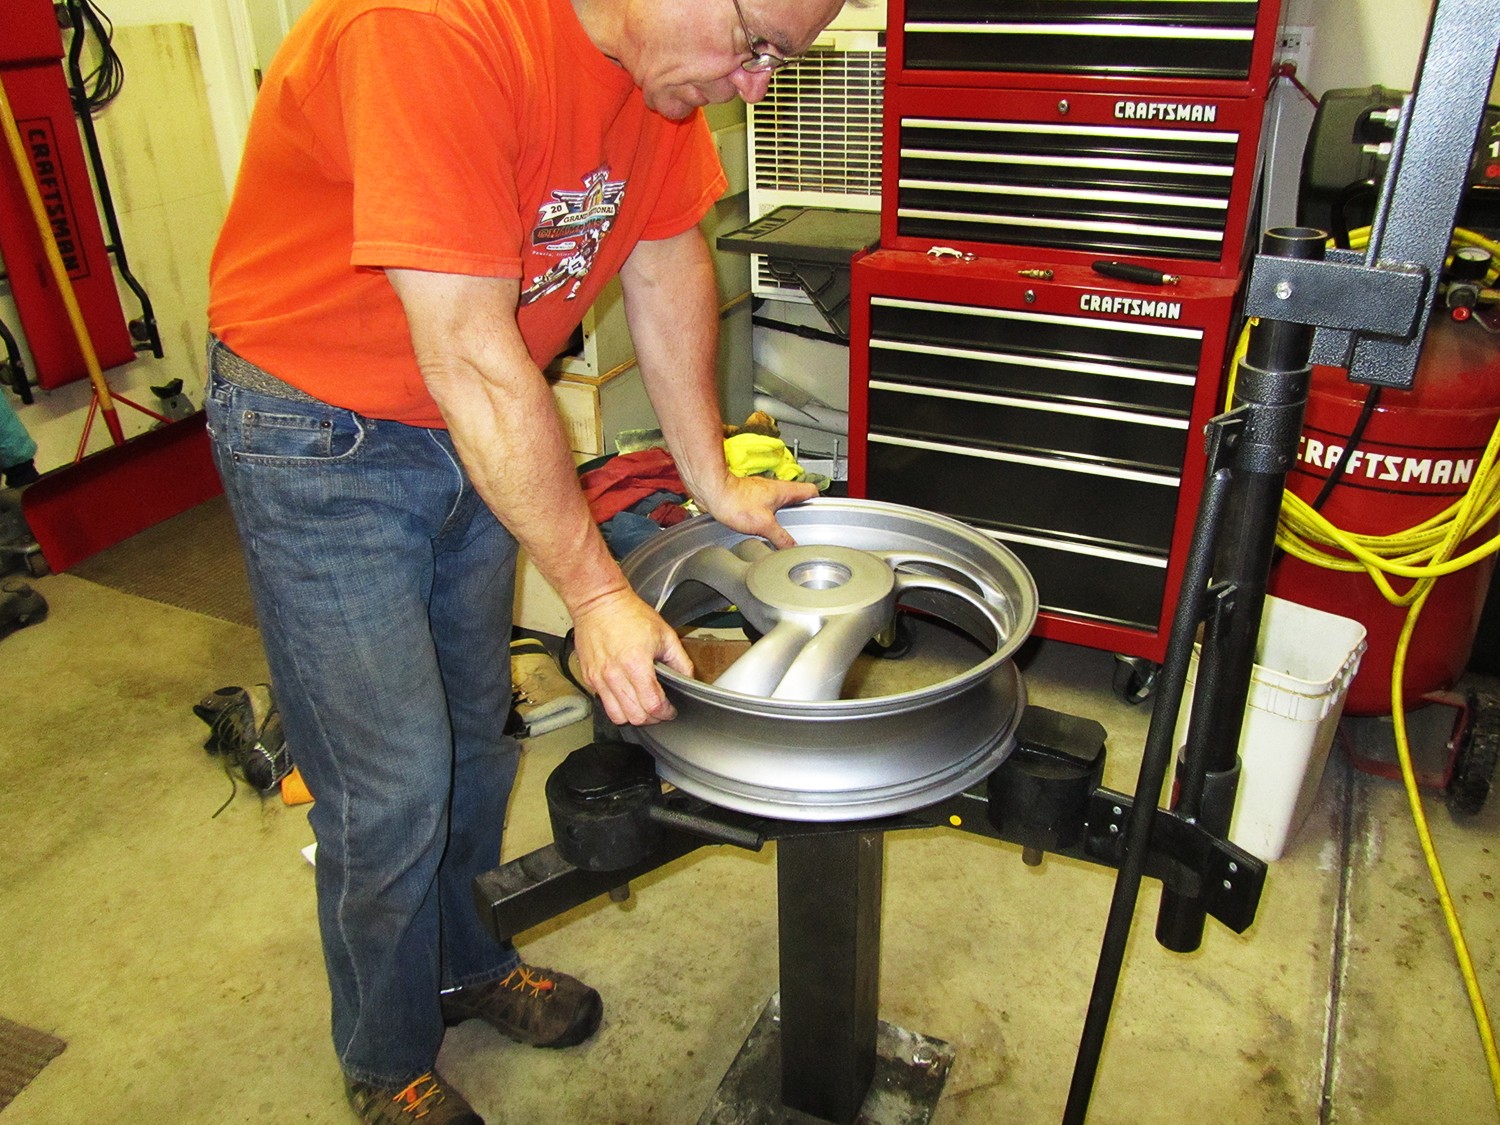
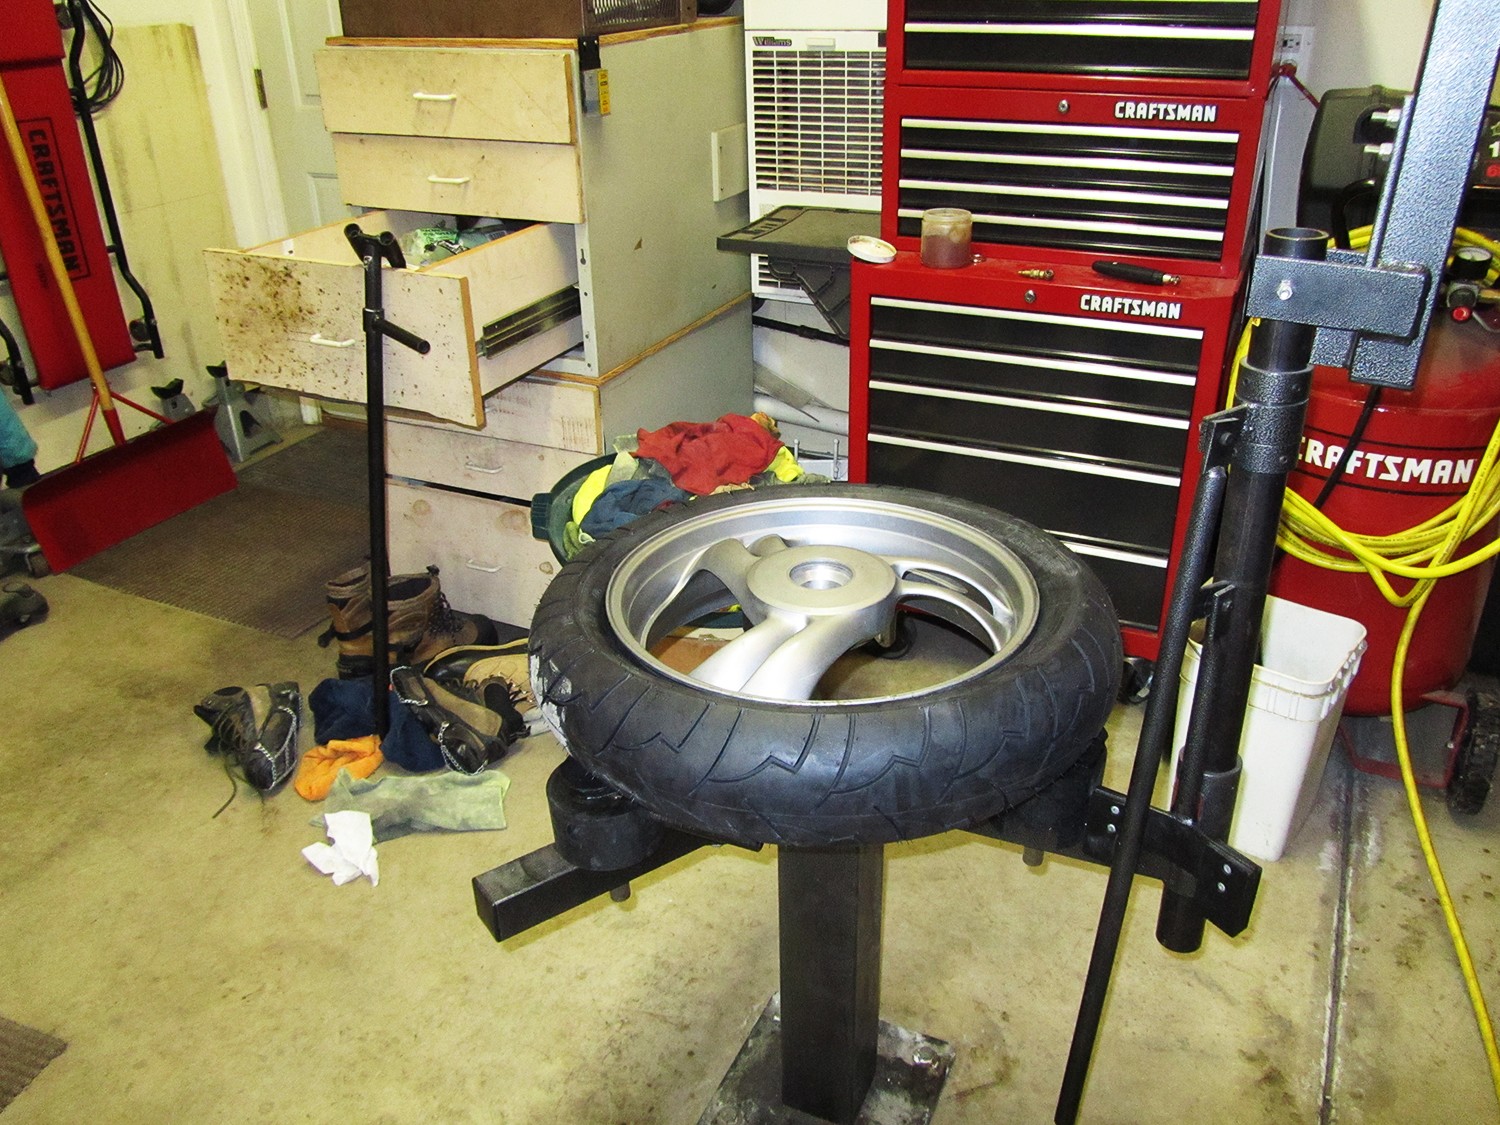
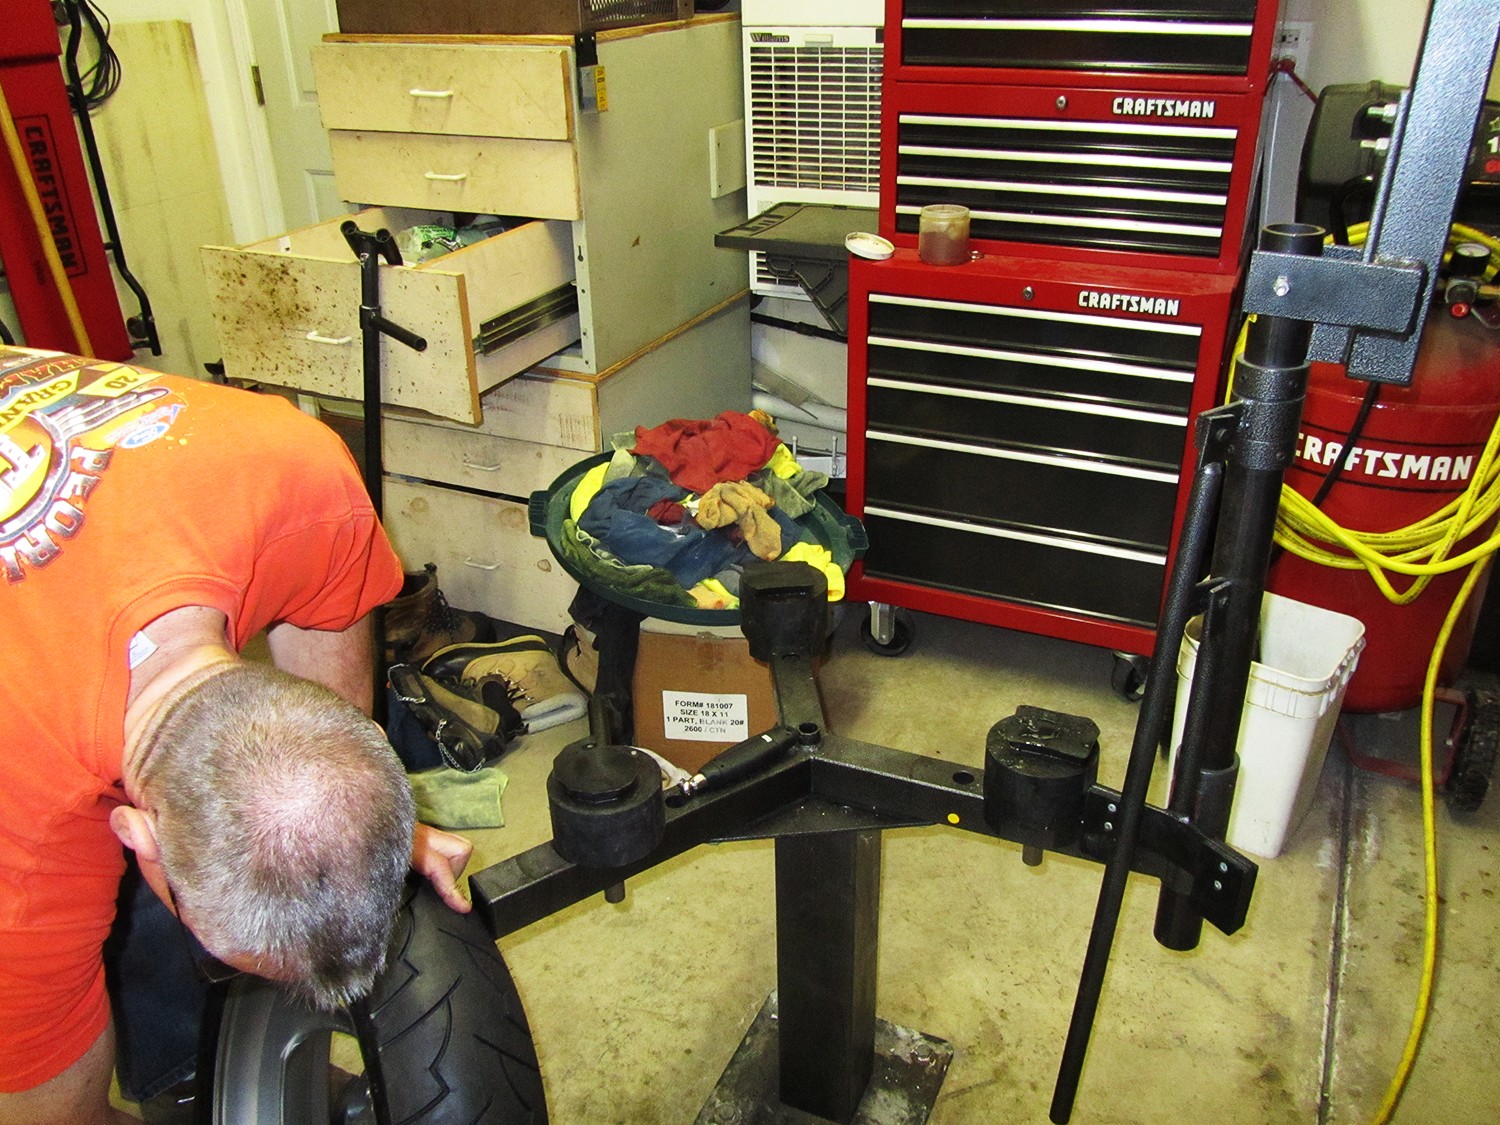
The next step is to demount the tire from the rim. No-Mar created an adjustable wheel clamping system that accommodates virtually any motorcycle wheel size. There are two dog blocks, positioned on the eight and twelve o'clock arms, that fit into one of four peg holes for coarse wheel-size adjustment. The dog blocks have rectangular offset clamping top blocks. Rotate the blocks to four different positions to fine-tune the wheel-size adjustment.
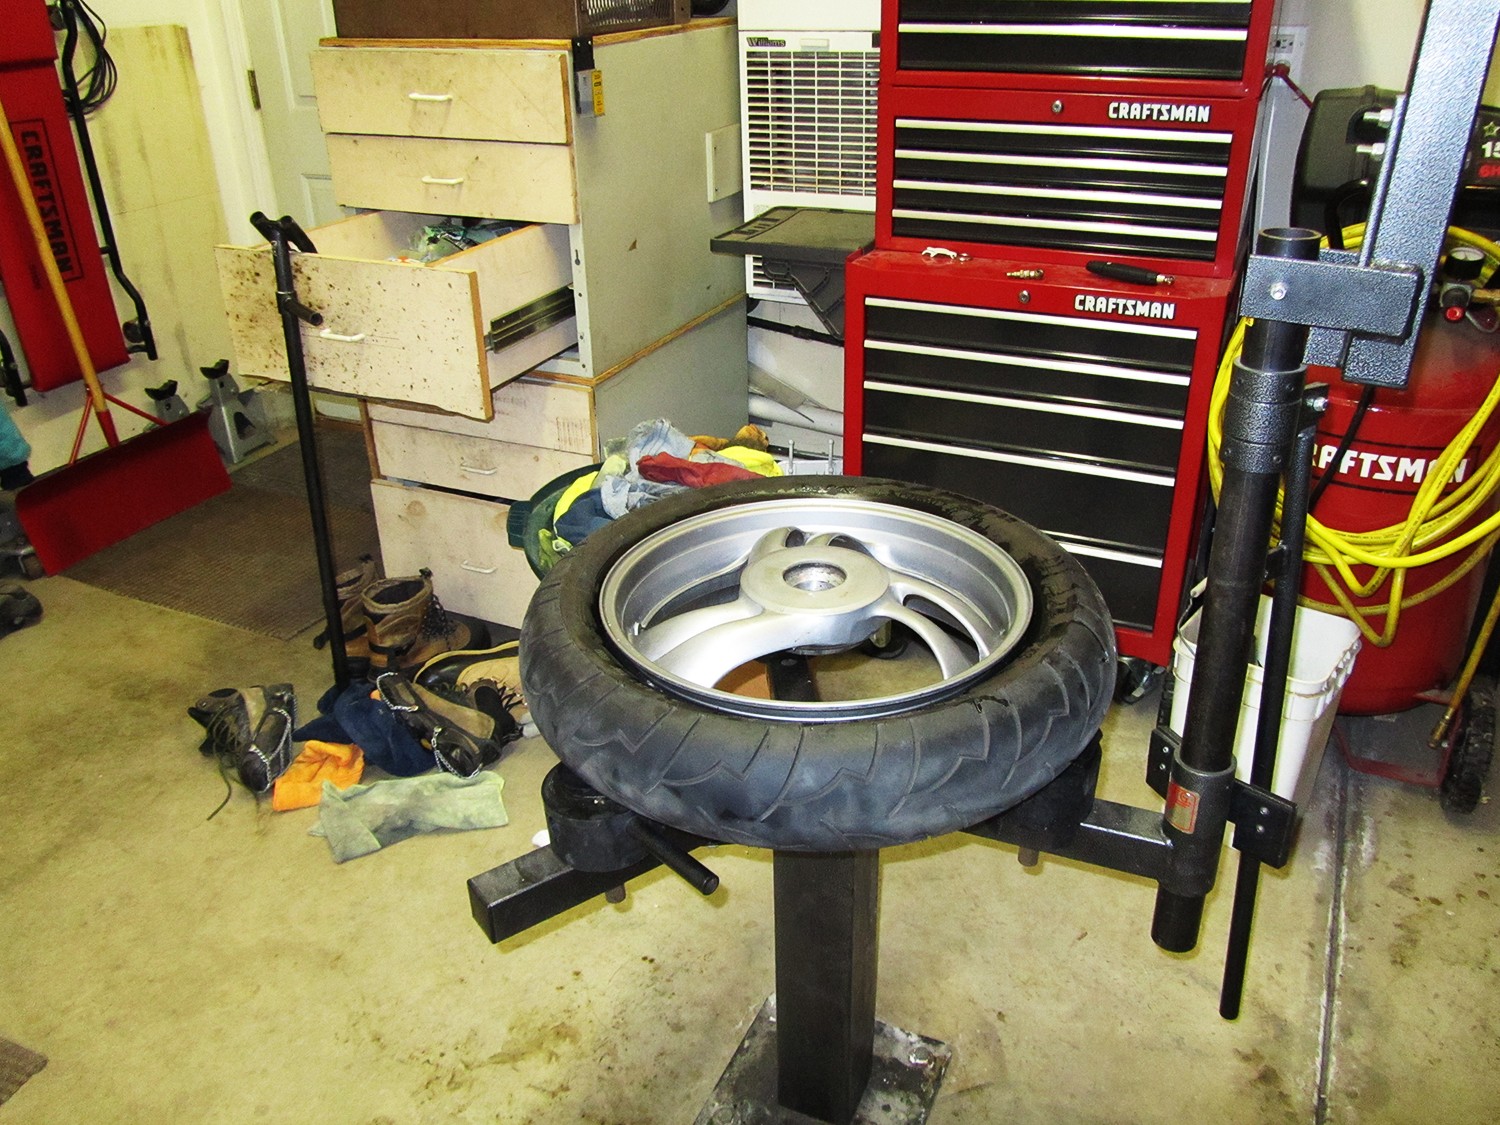
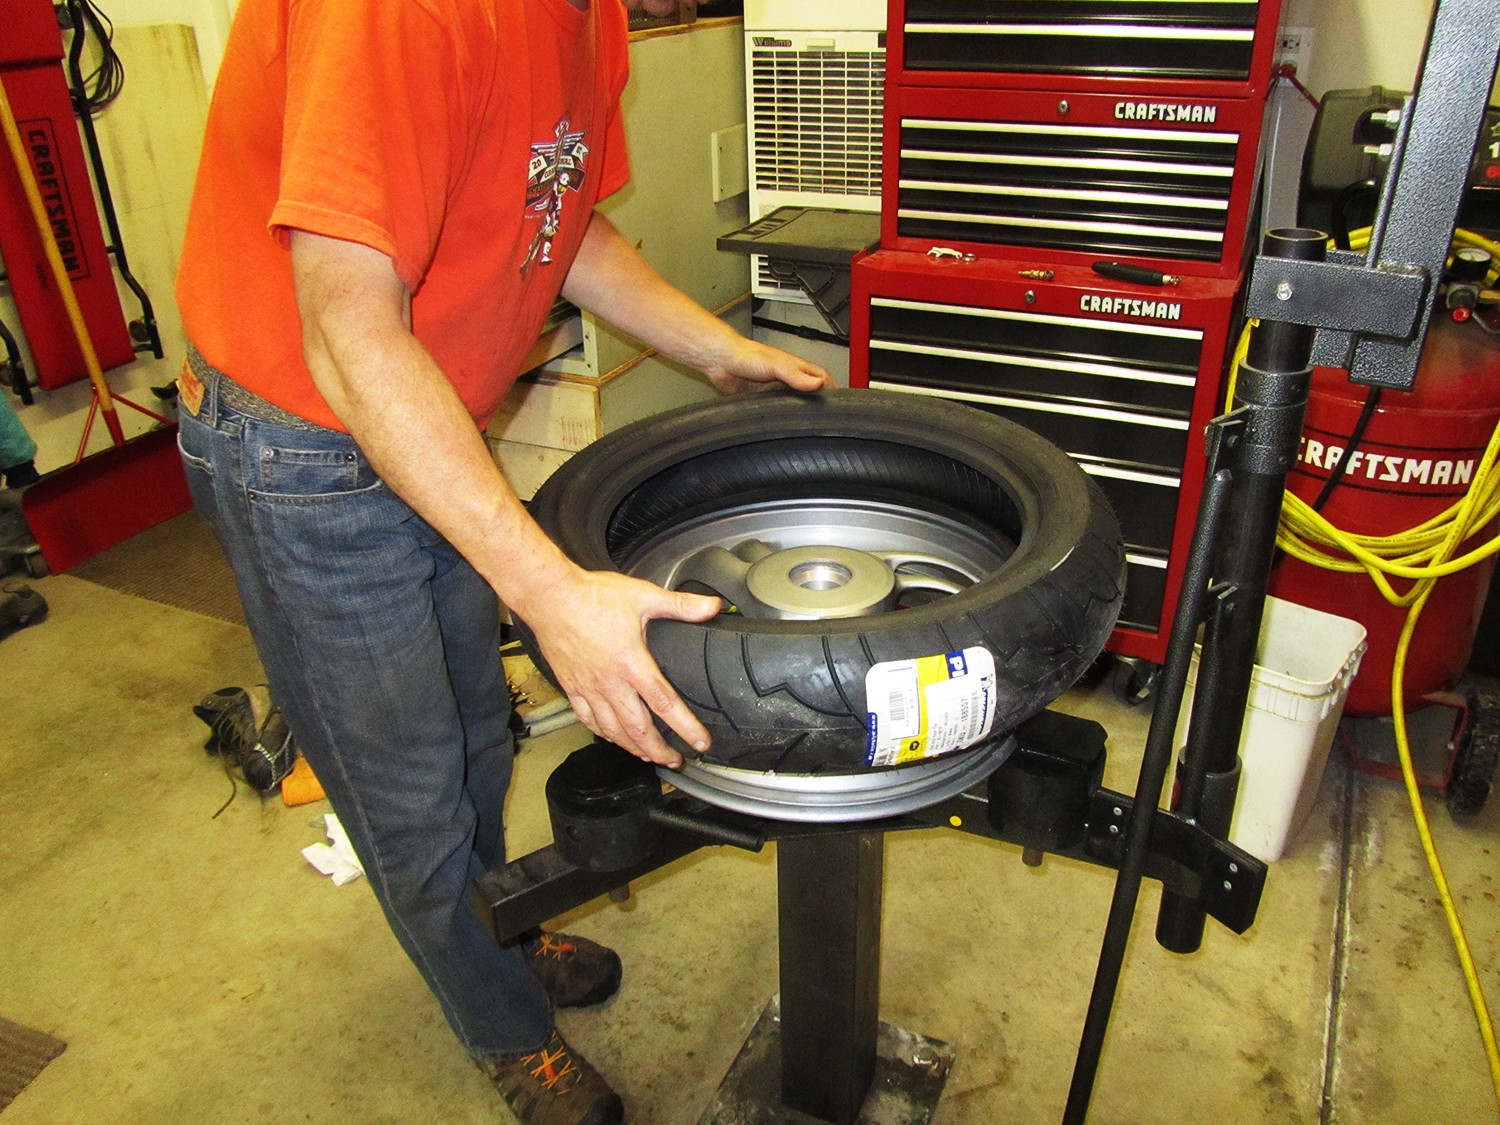
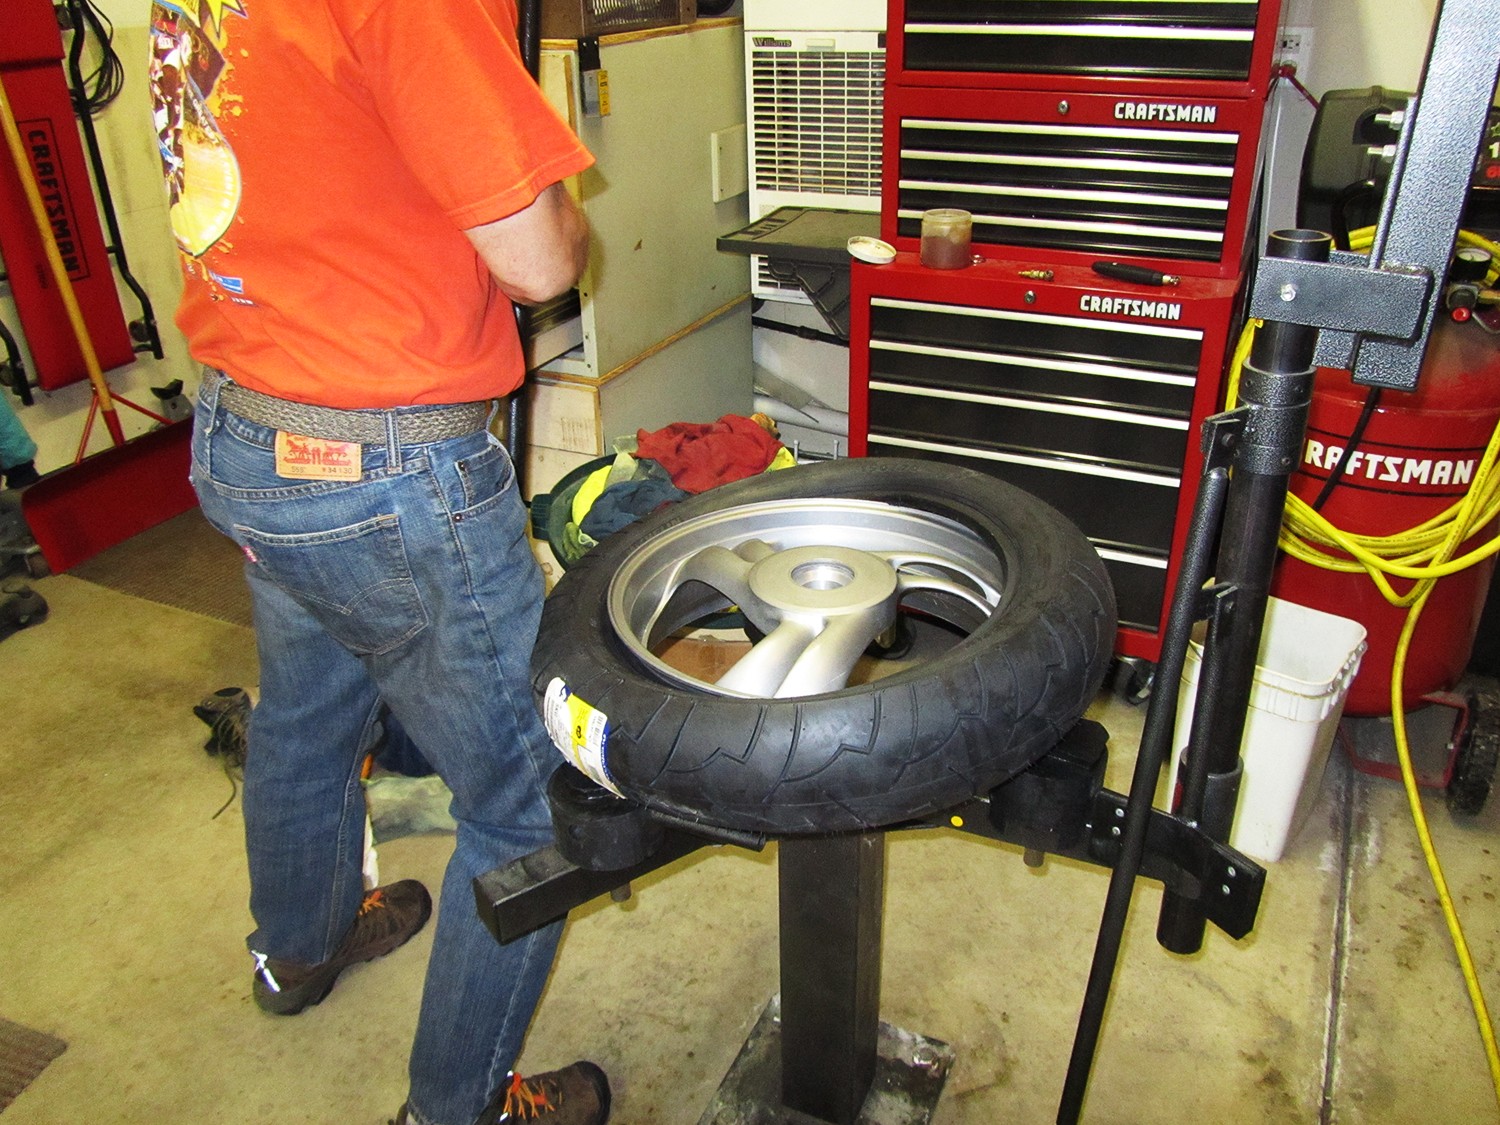
Position the third locking block-a cam lock-on the four o'clock arm, then rotate it with a lever arm to clamp the wheel firmly in place. If you deal most often with modern street bikes and 17 inch wheels only you'll be able to use the same block setup for just about any wheel you encounter. Changing wheel sizes requires some trial-and-error adjusting but is simple and quick enough to accomplish. After getting the blocks properly configured, clamp the wheel to the No-Mar tire changer with the brake disc on the bottom to prevent any disc damage. If you're working with a dual-disc front wheel, use caution to prevent damage.
You can't overemphasize the above information. It's the most common reason many struggle with tire changing. It will be impossible to change a tire without destroying the bead or bending the rim if you don't adhere to this principle!
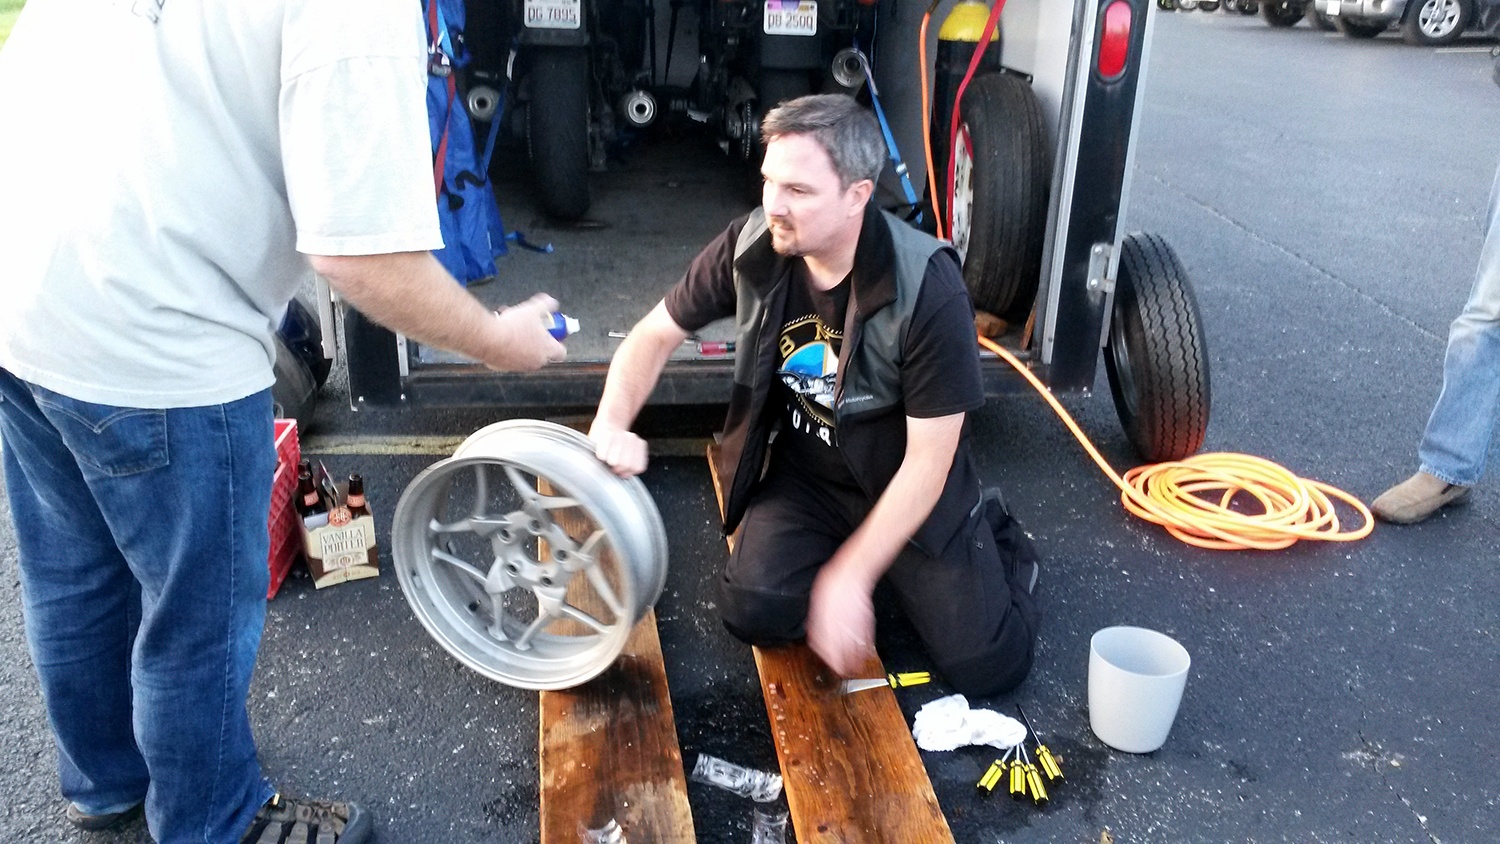
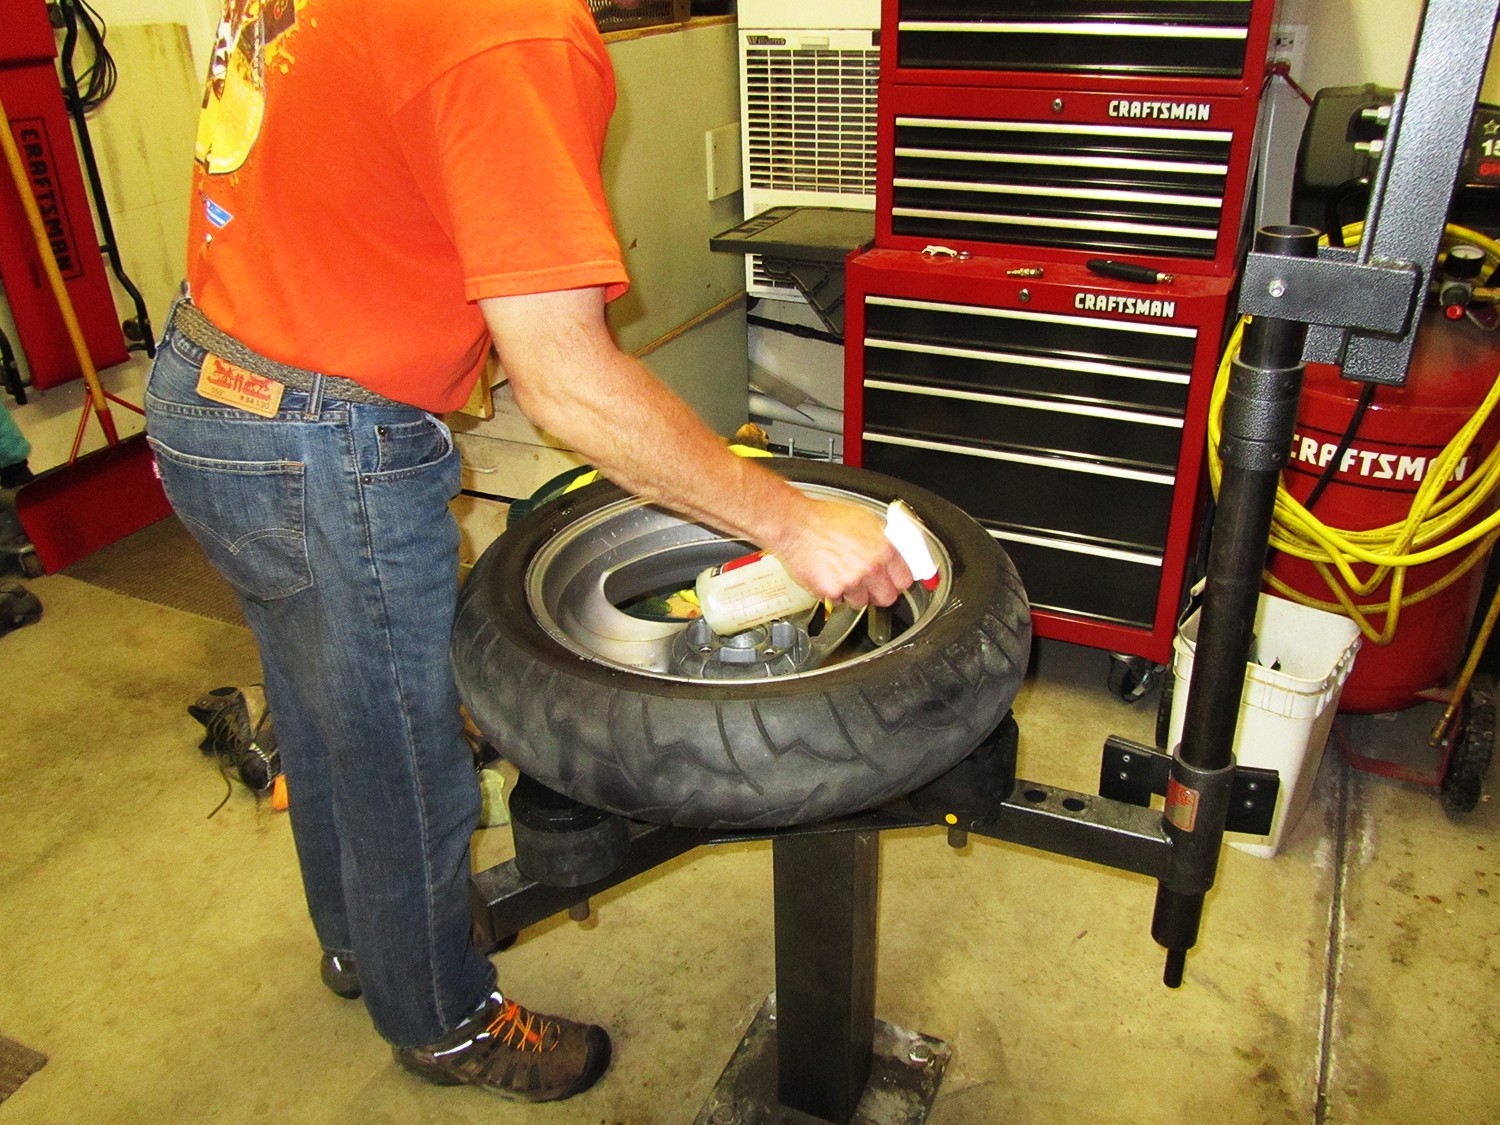
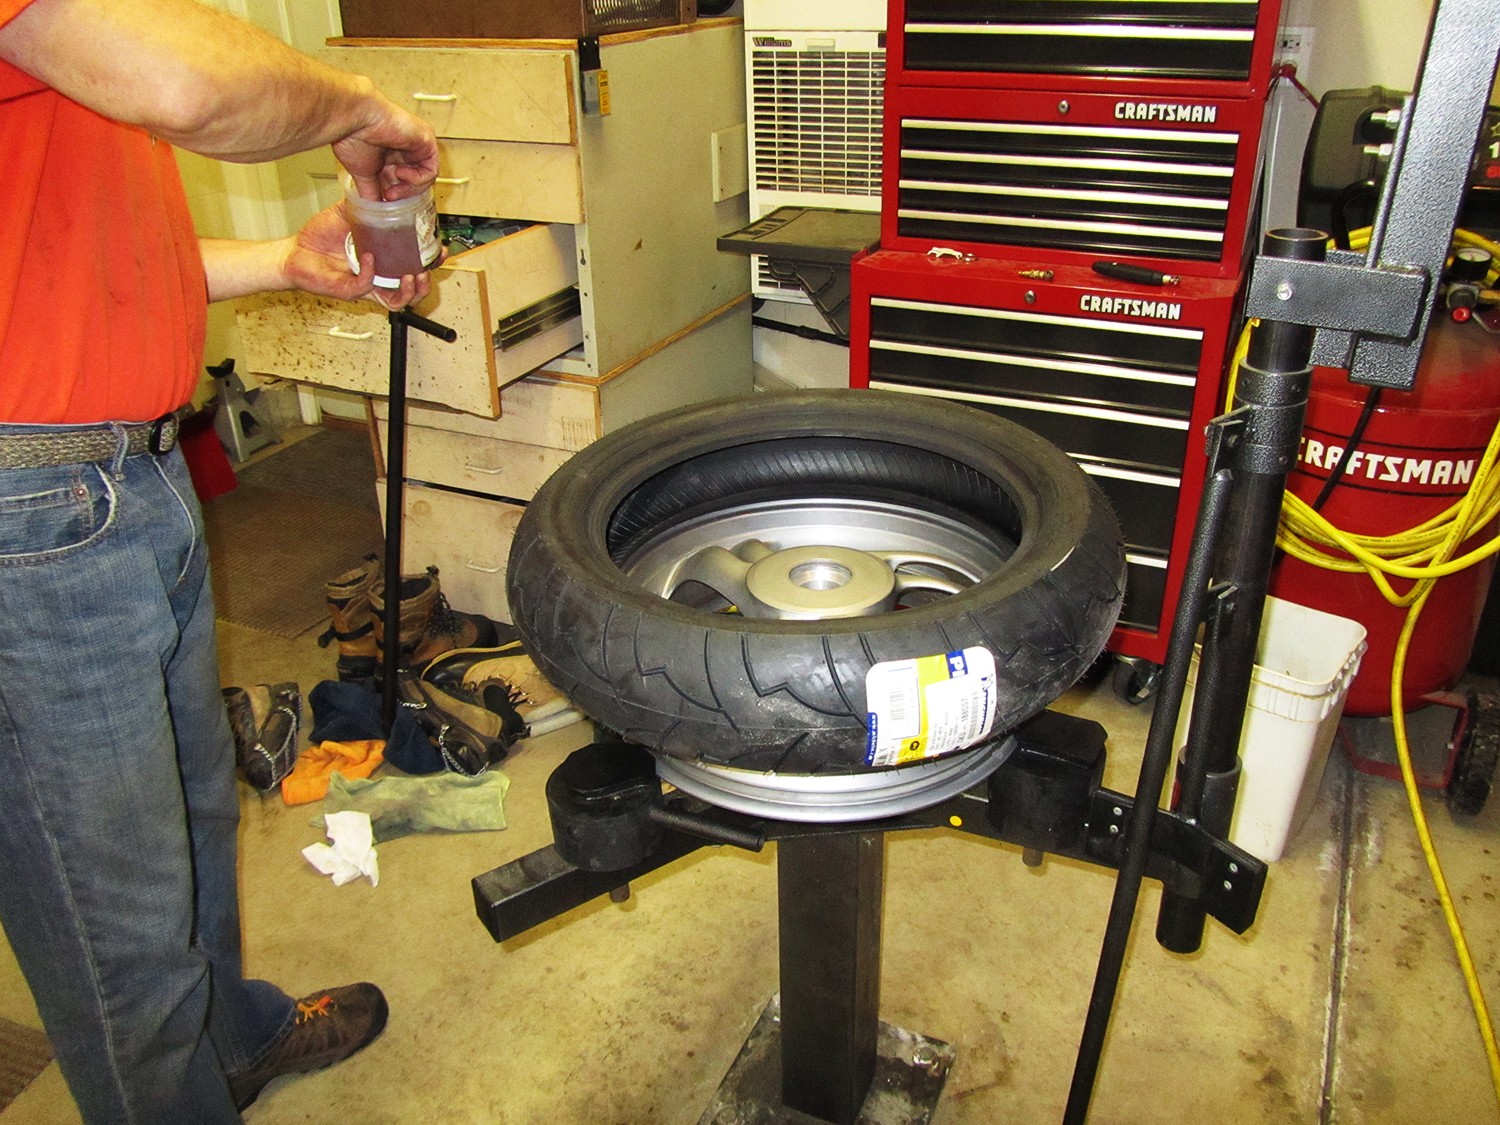
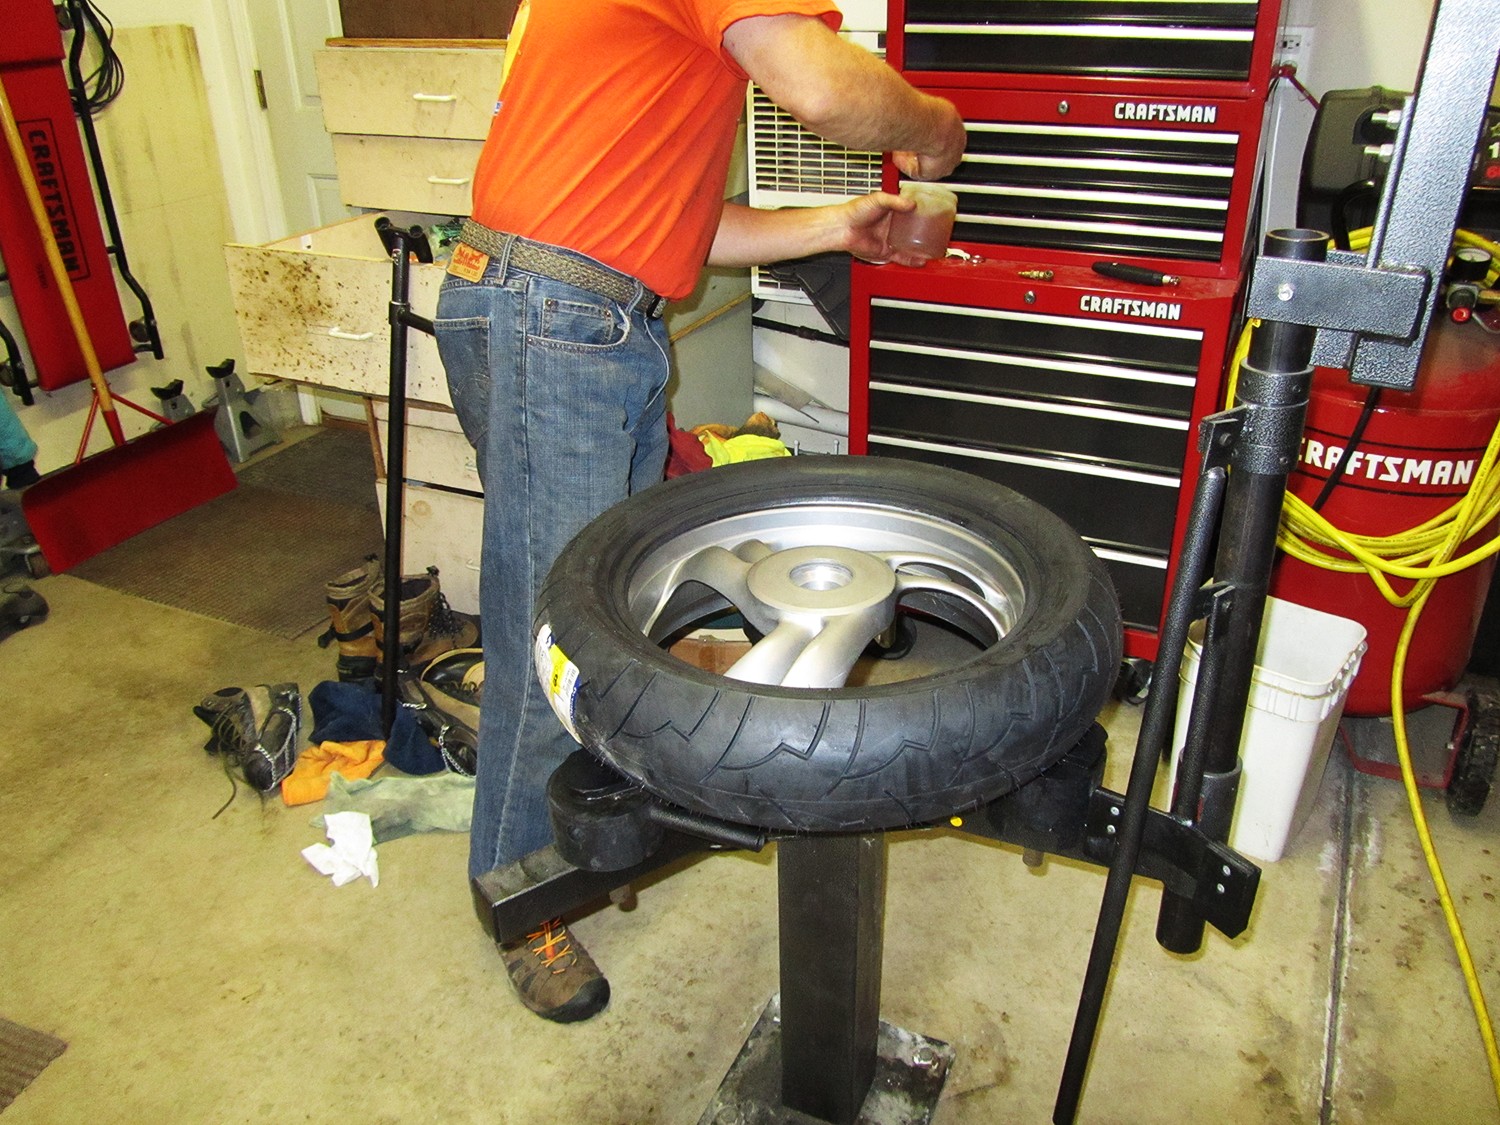
Lubrication is the second most important concept in tire changing. No-Mar includes two types of lubricant with its changers. Both are vegetable-based lubes. One is a spray lube used for demounting and the other is a paste lube used for mounting. Both make a world of difference in the amount of effort required to perform the task.
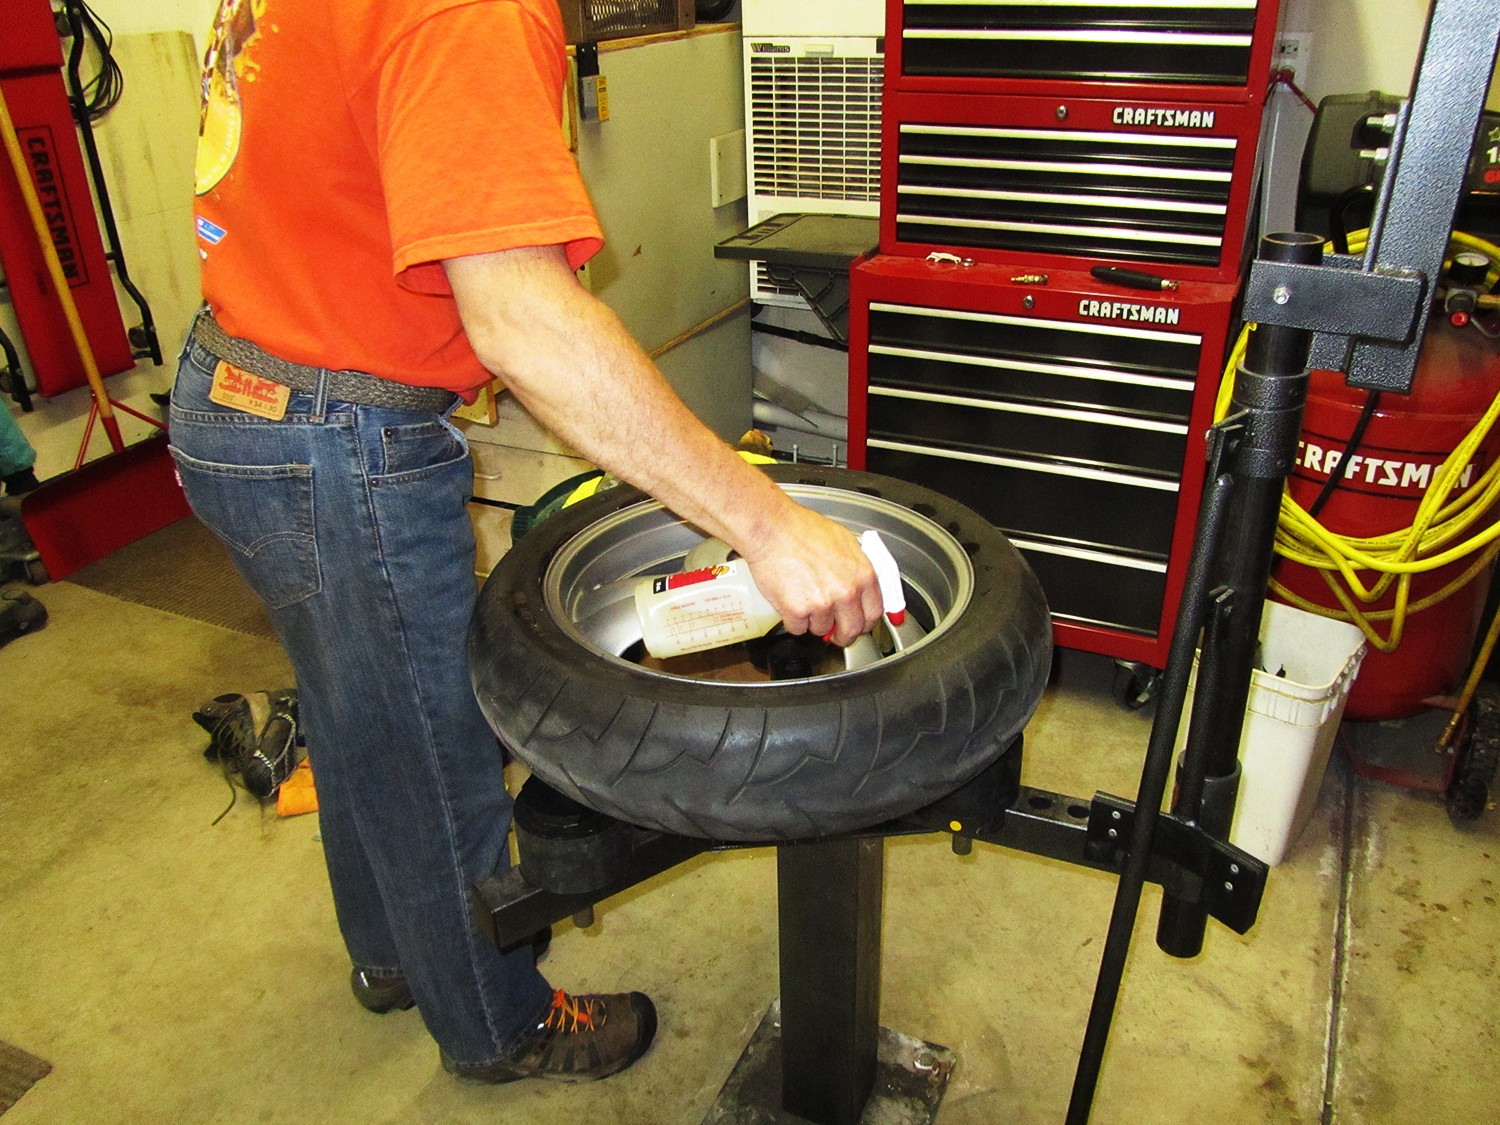
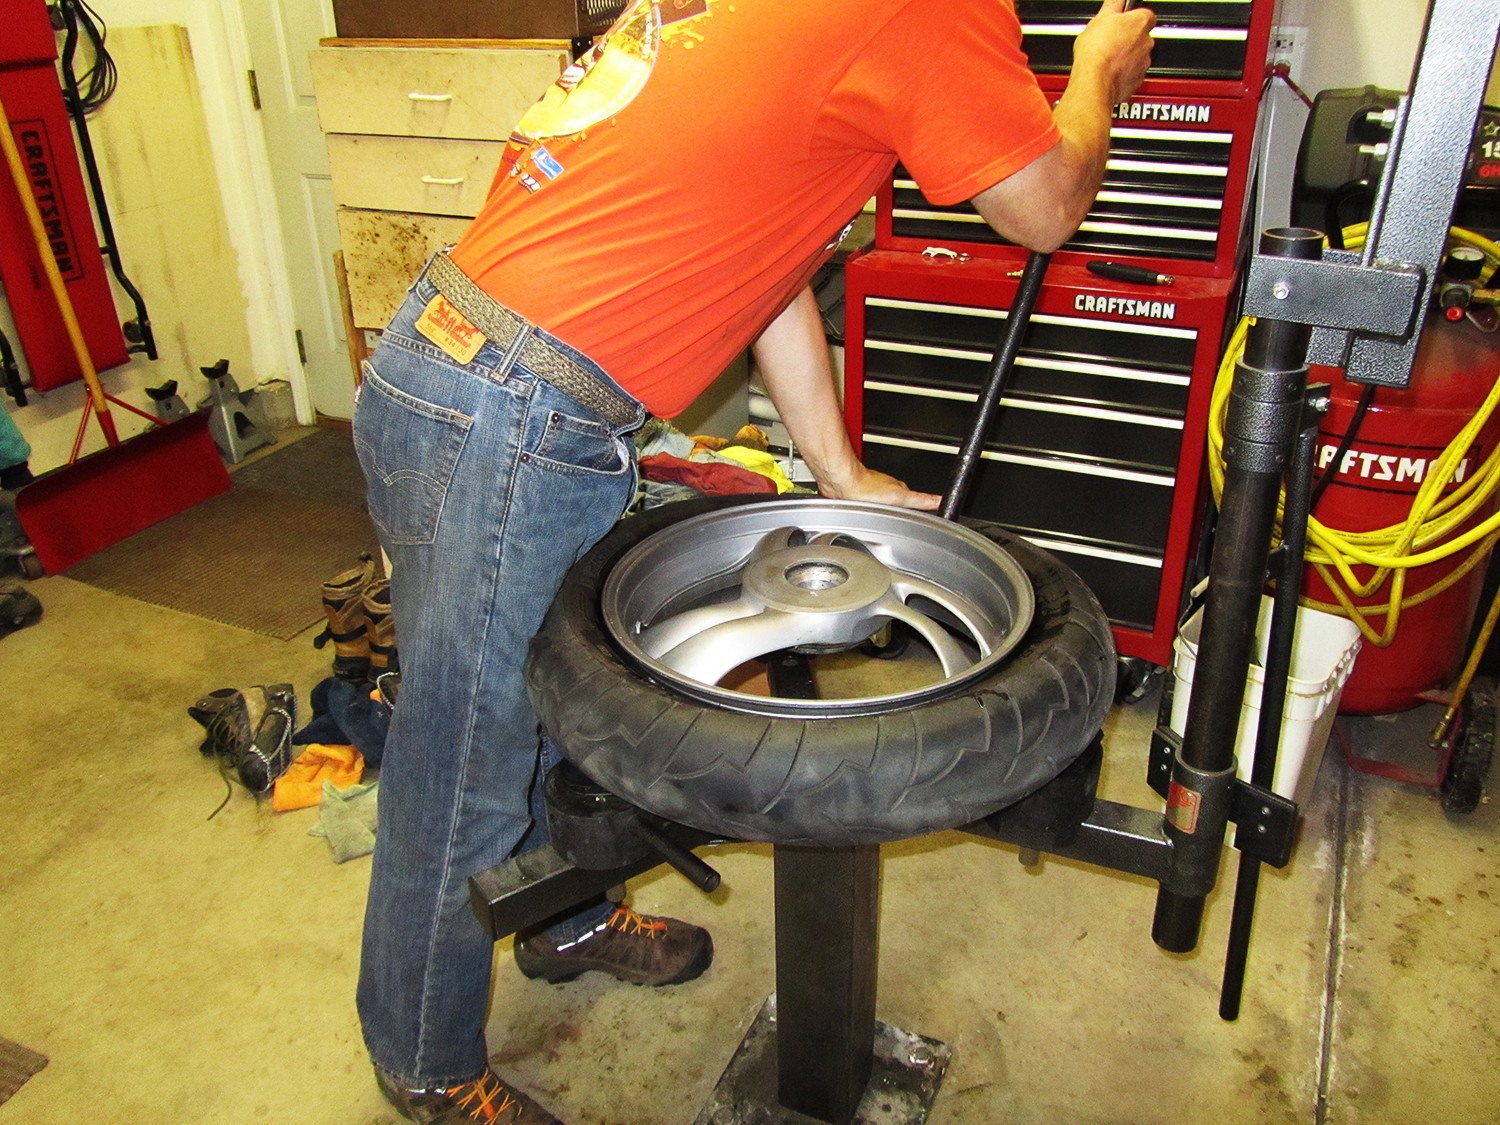
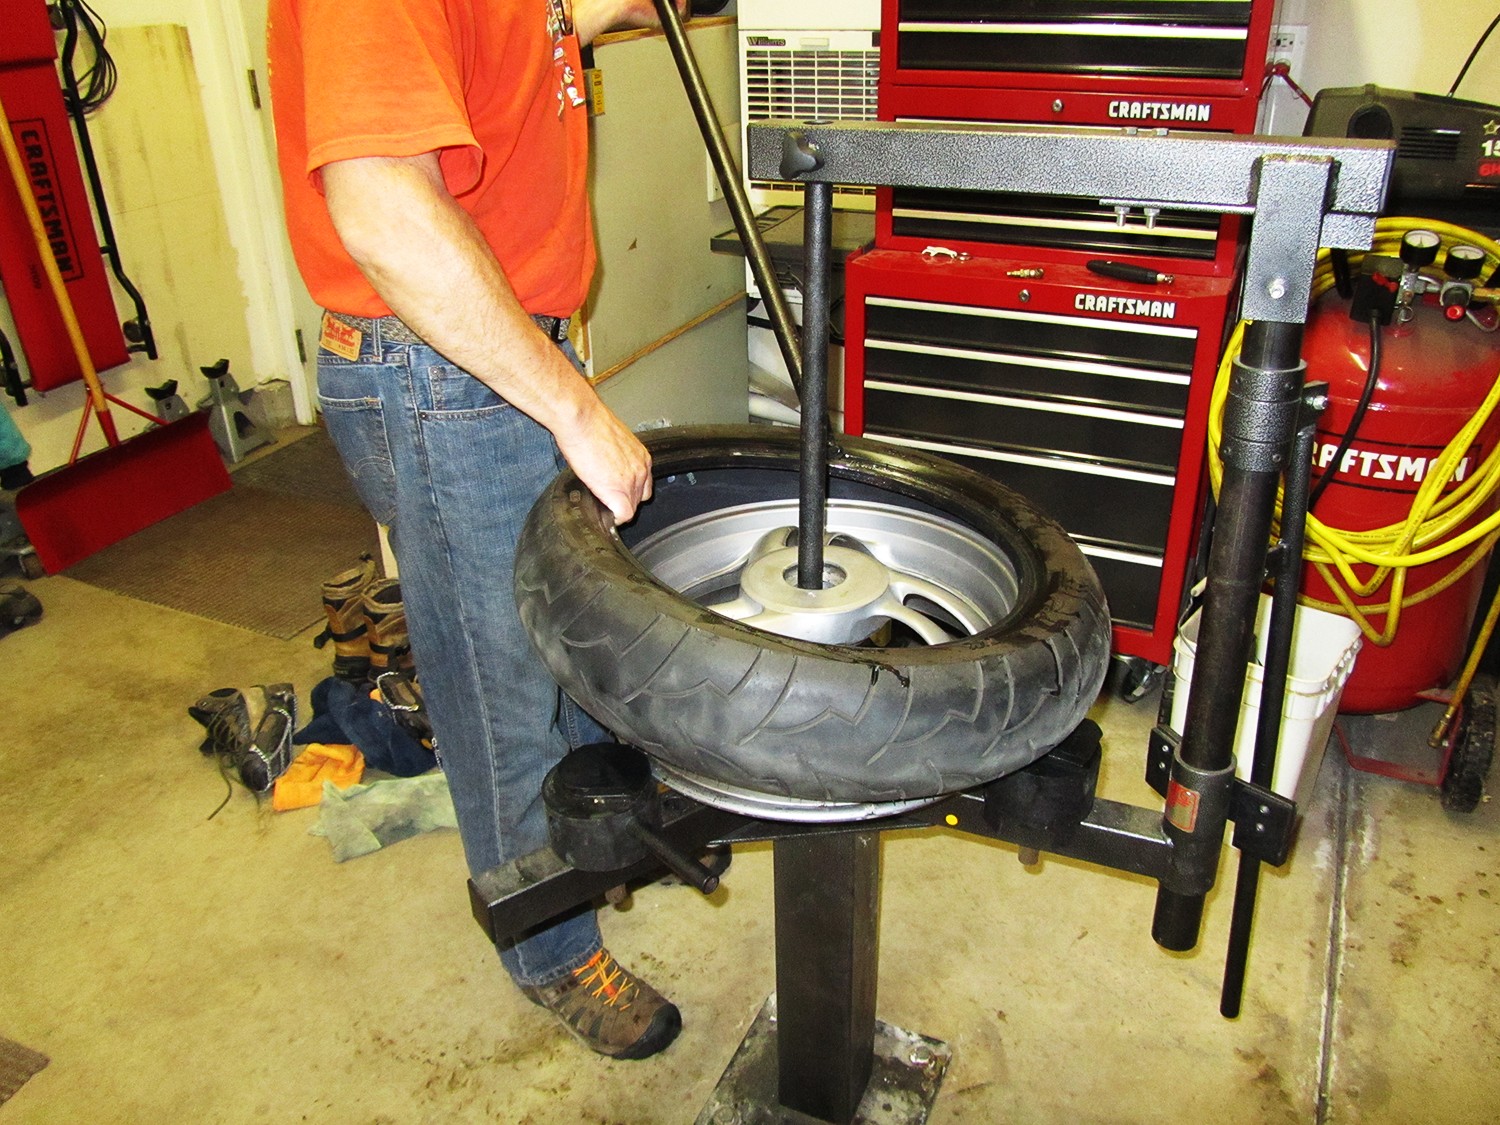
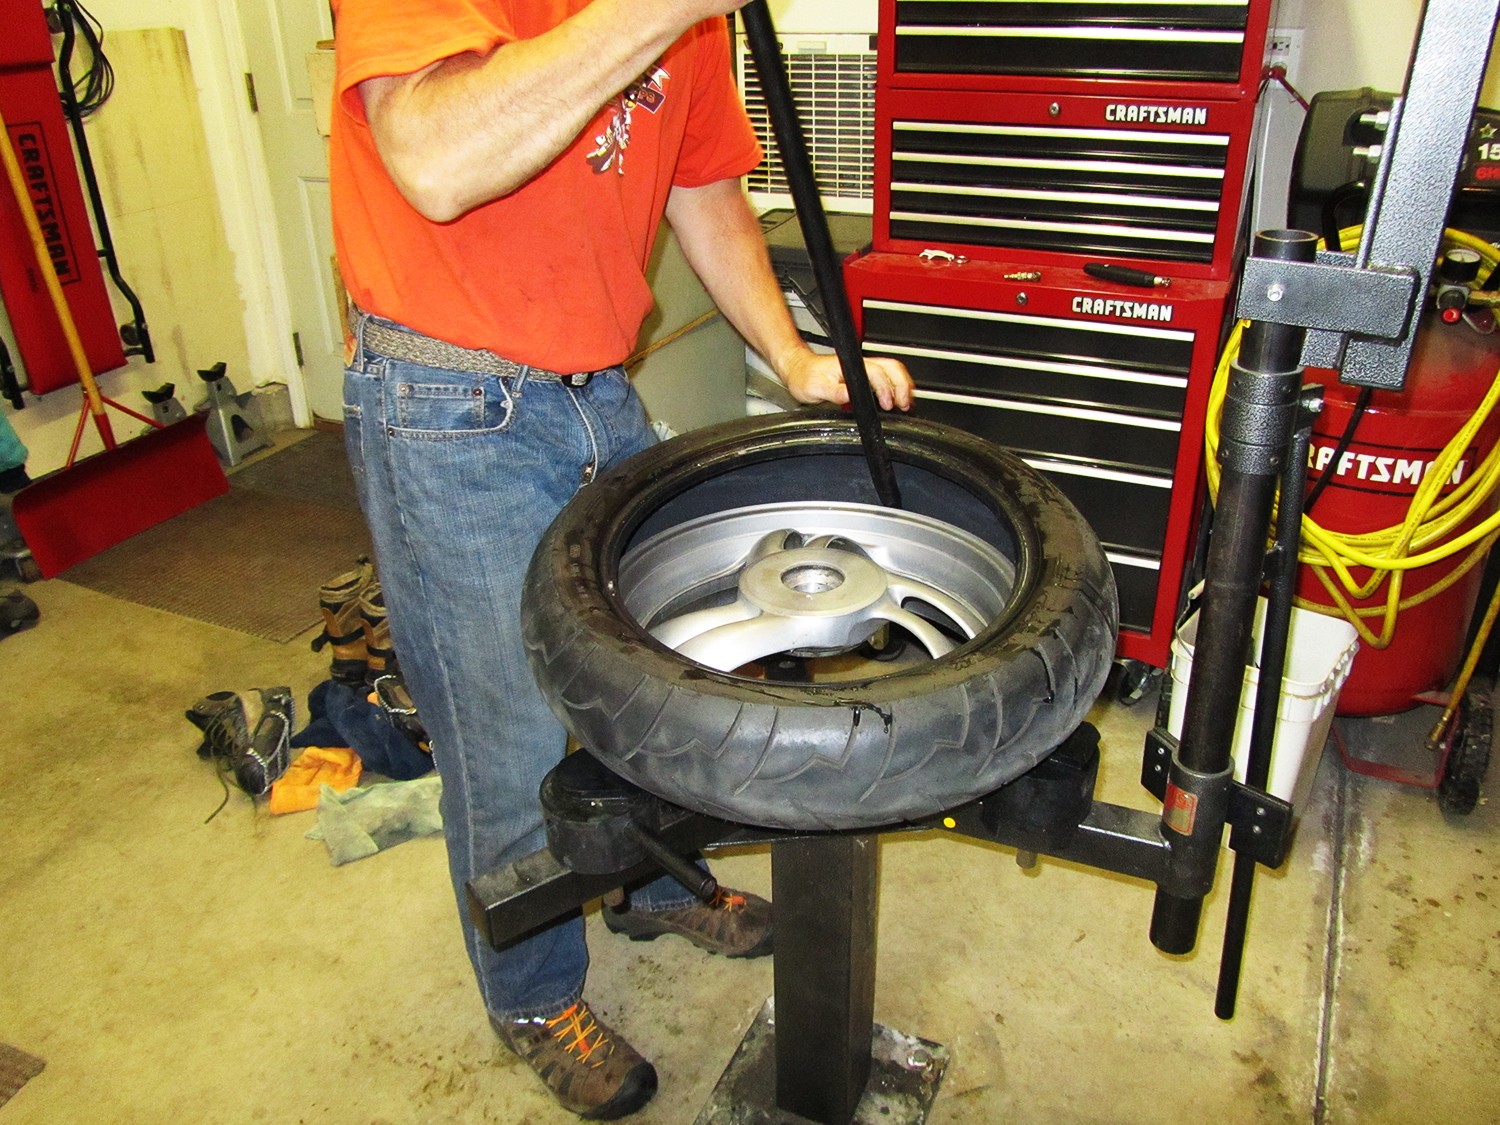
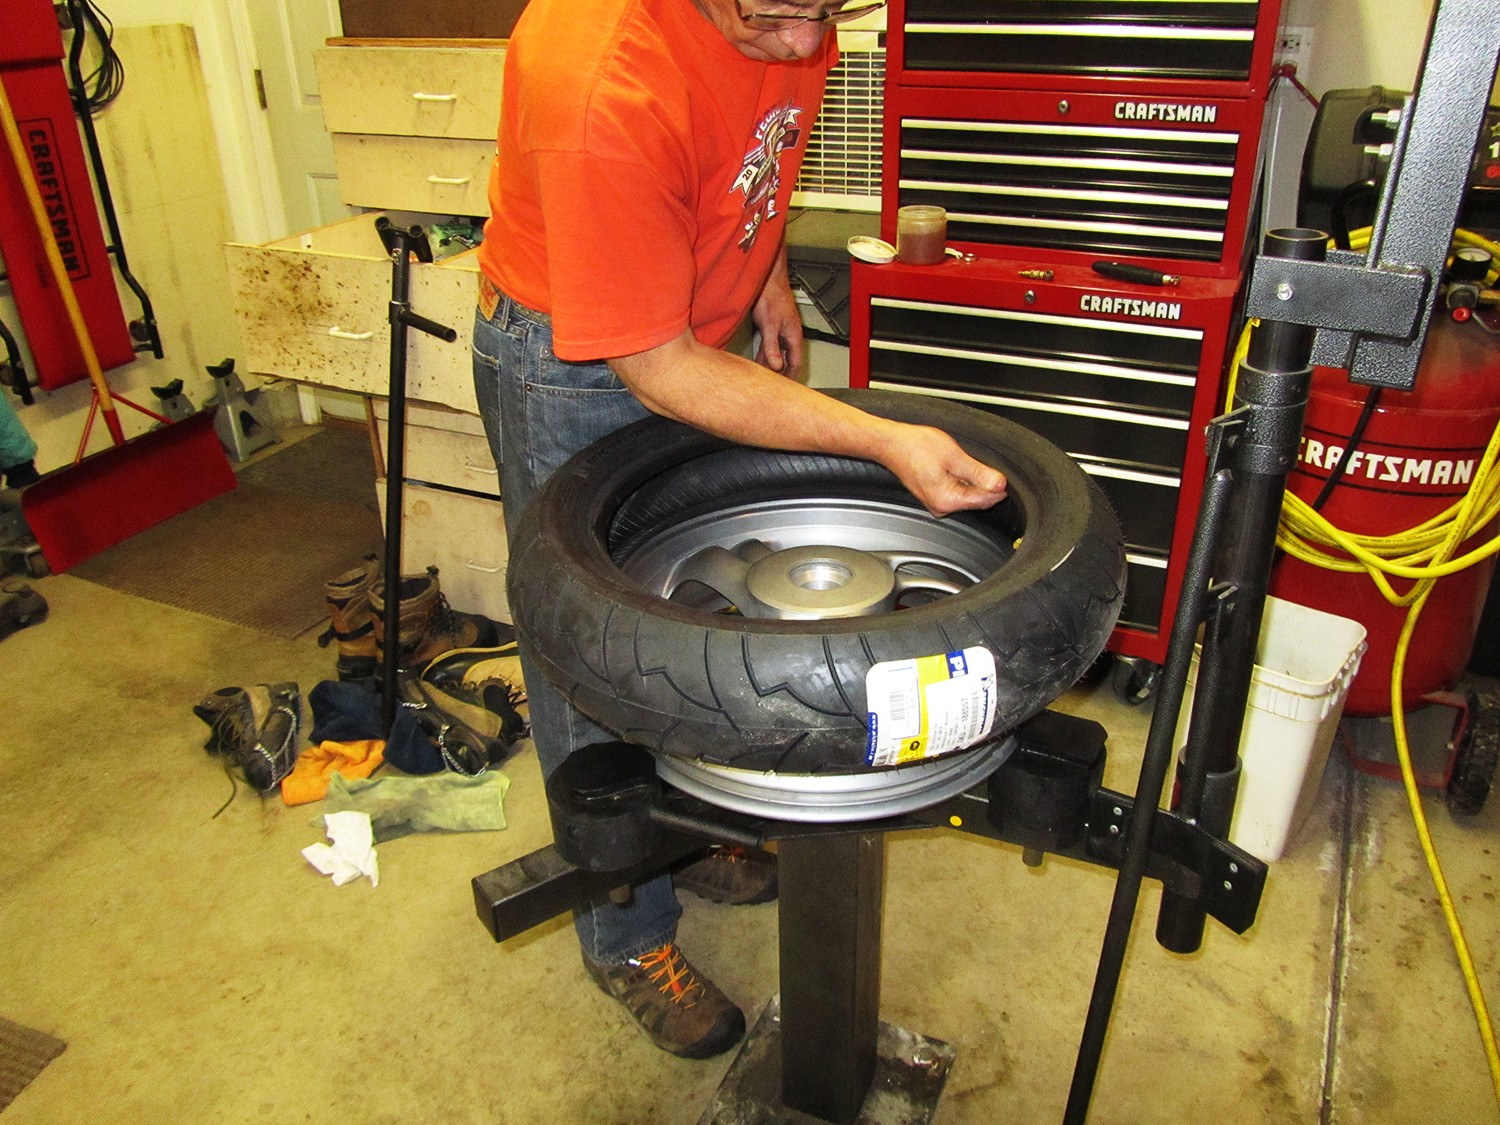
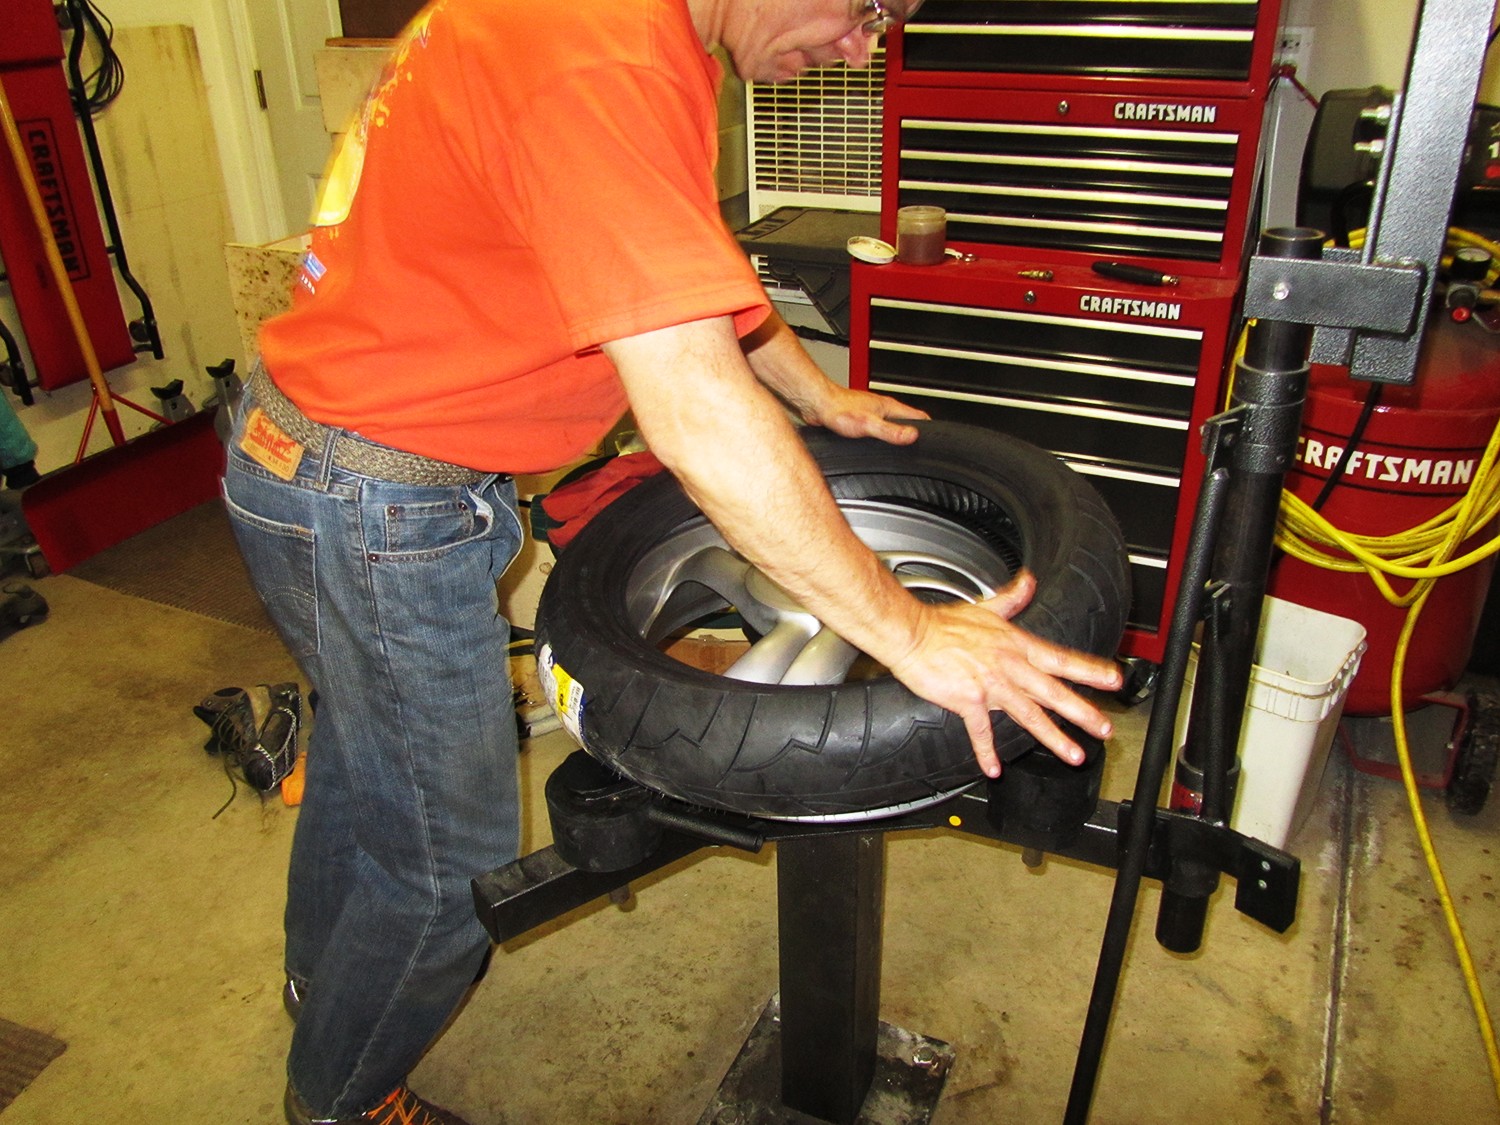
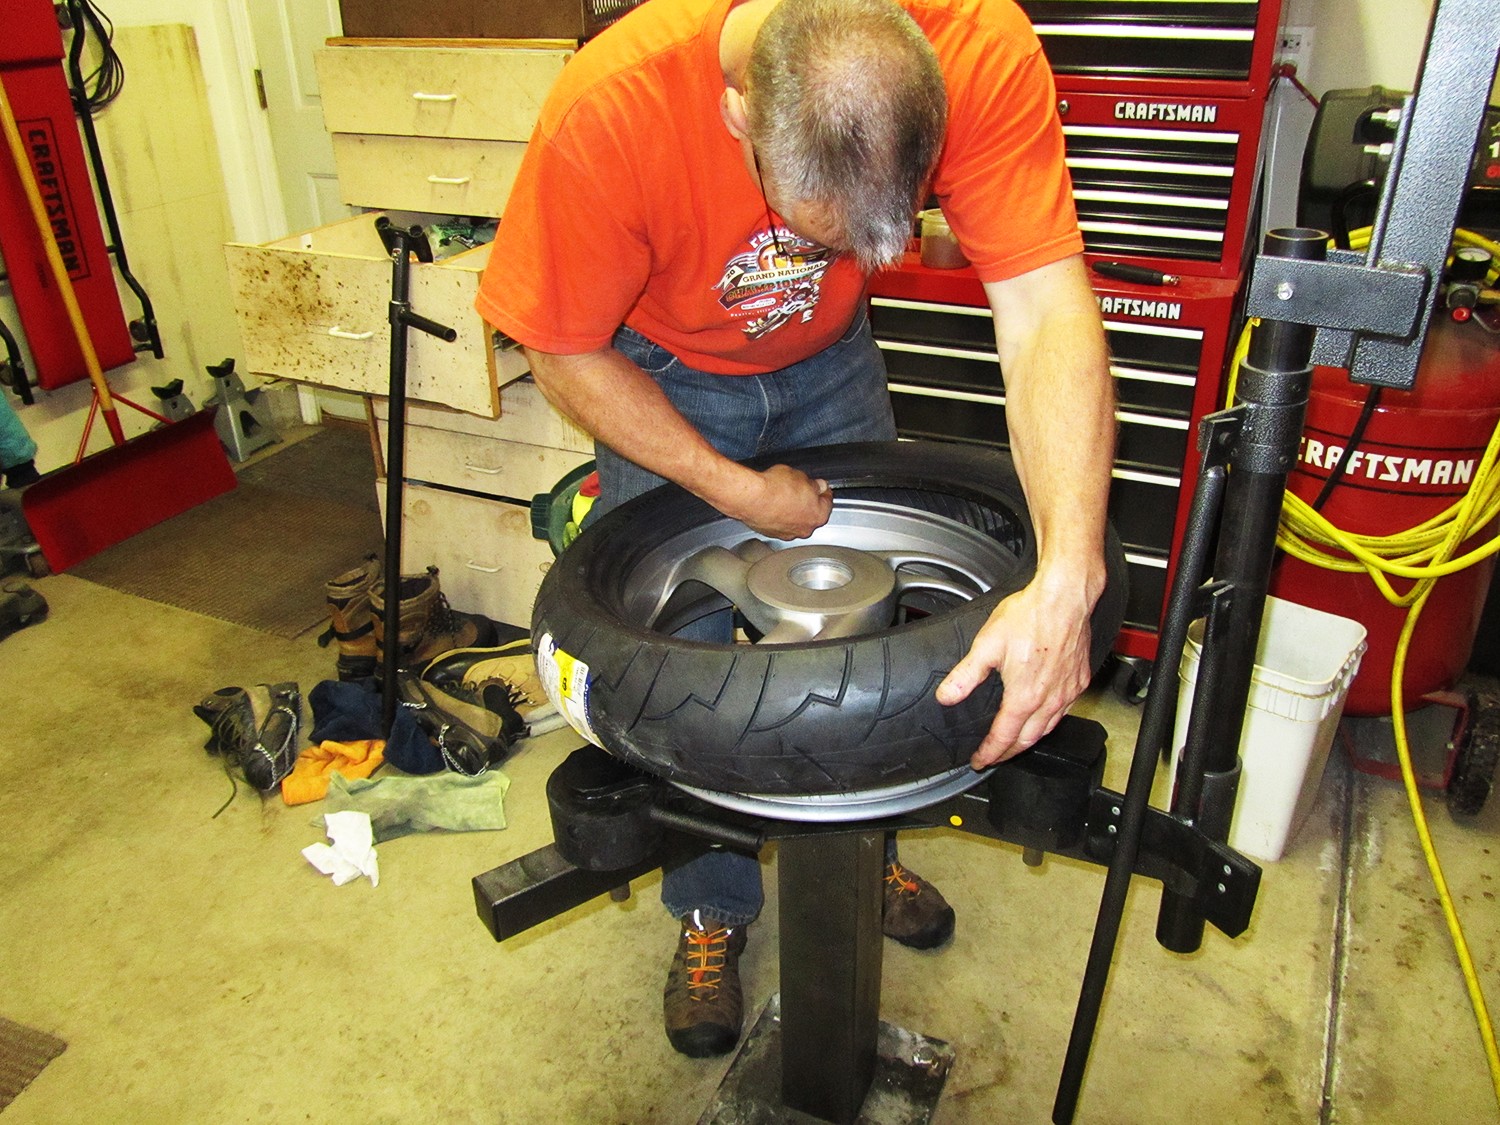
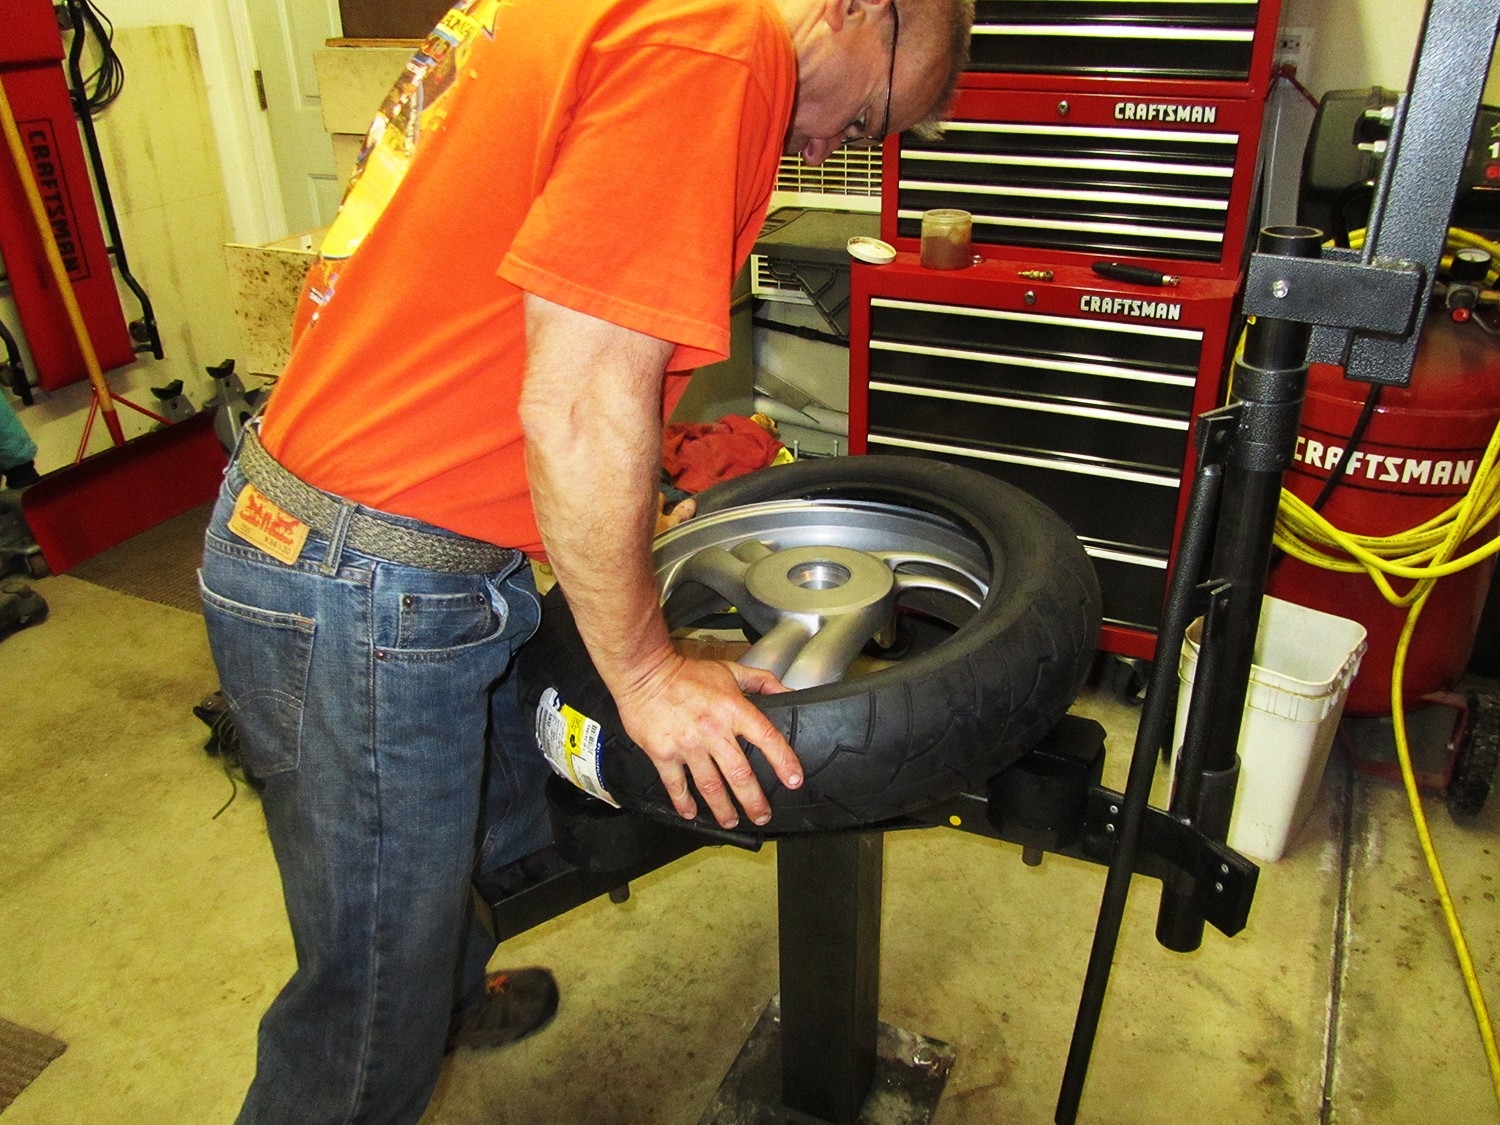
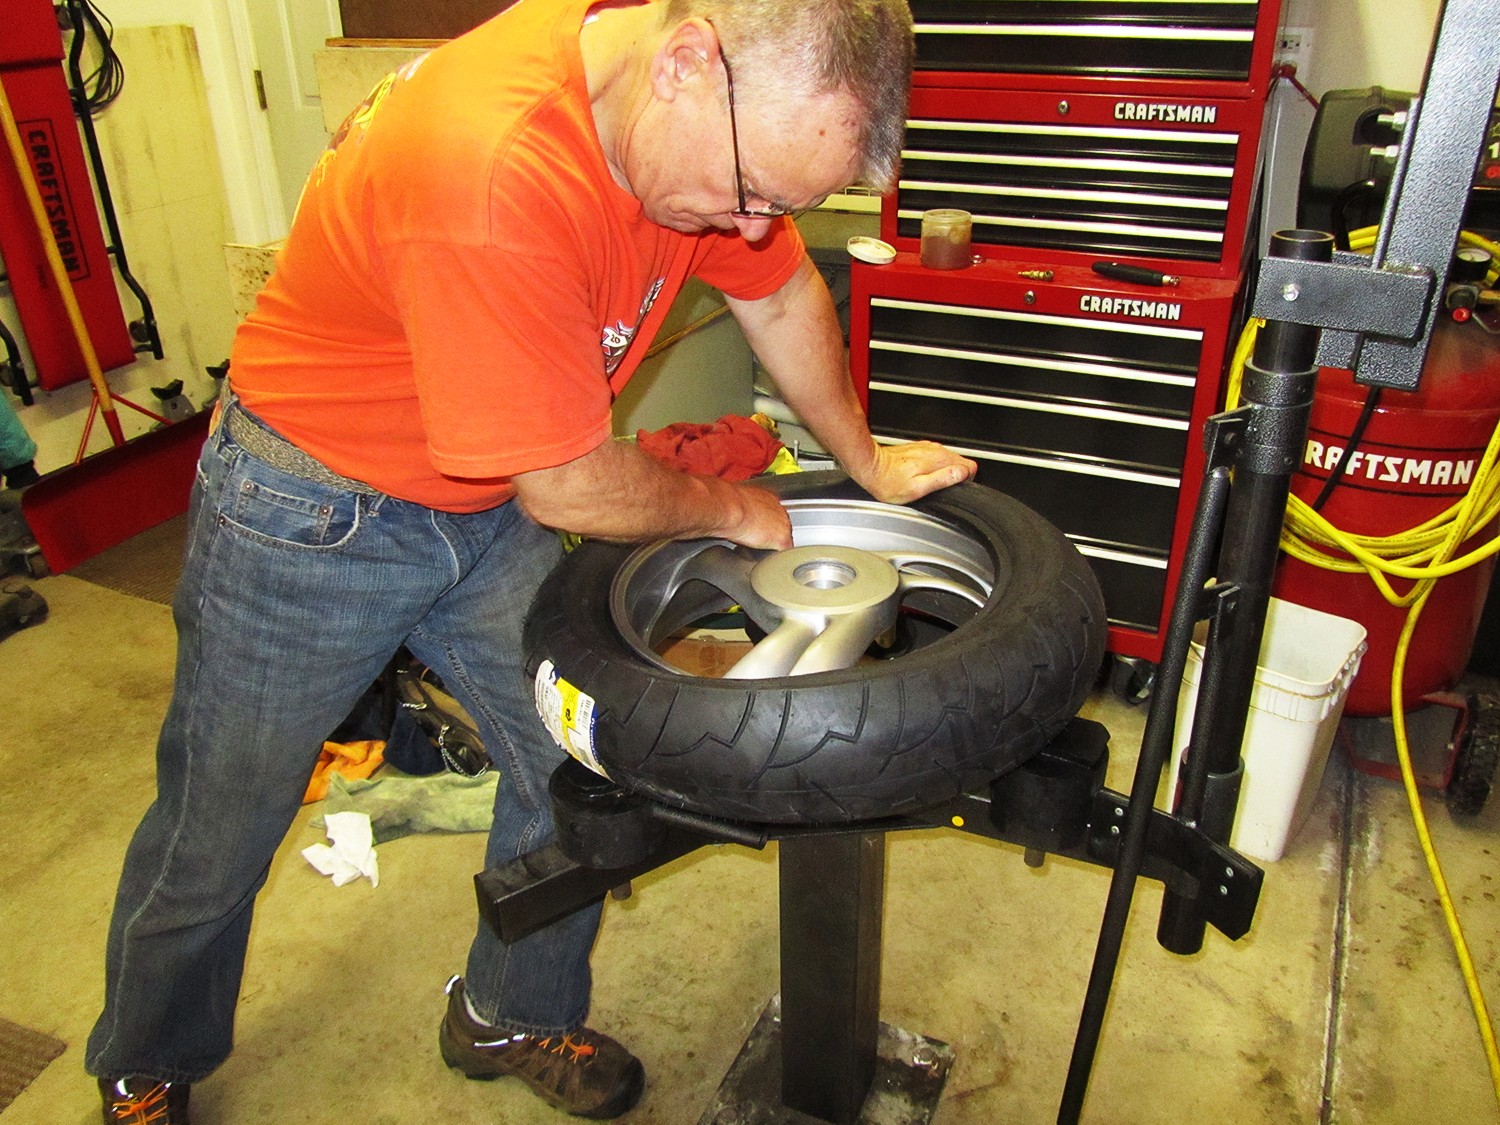
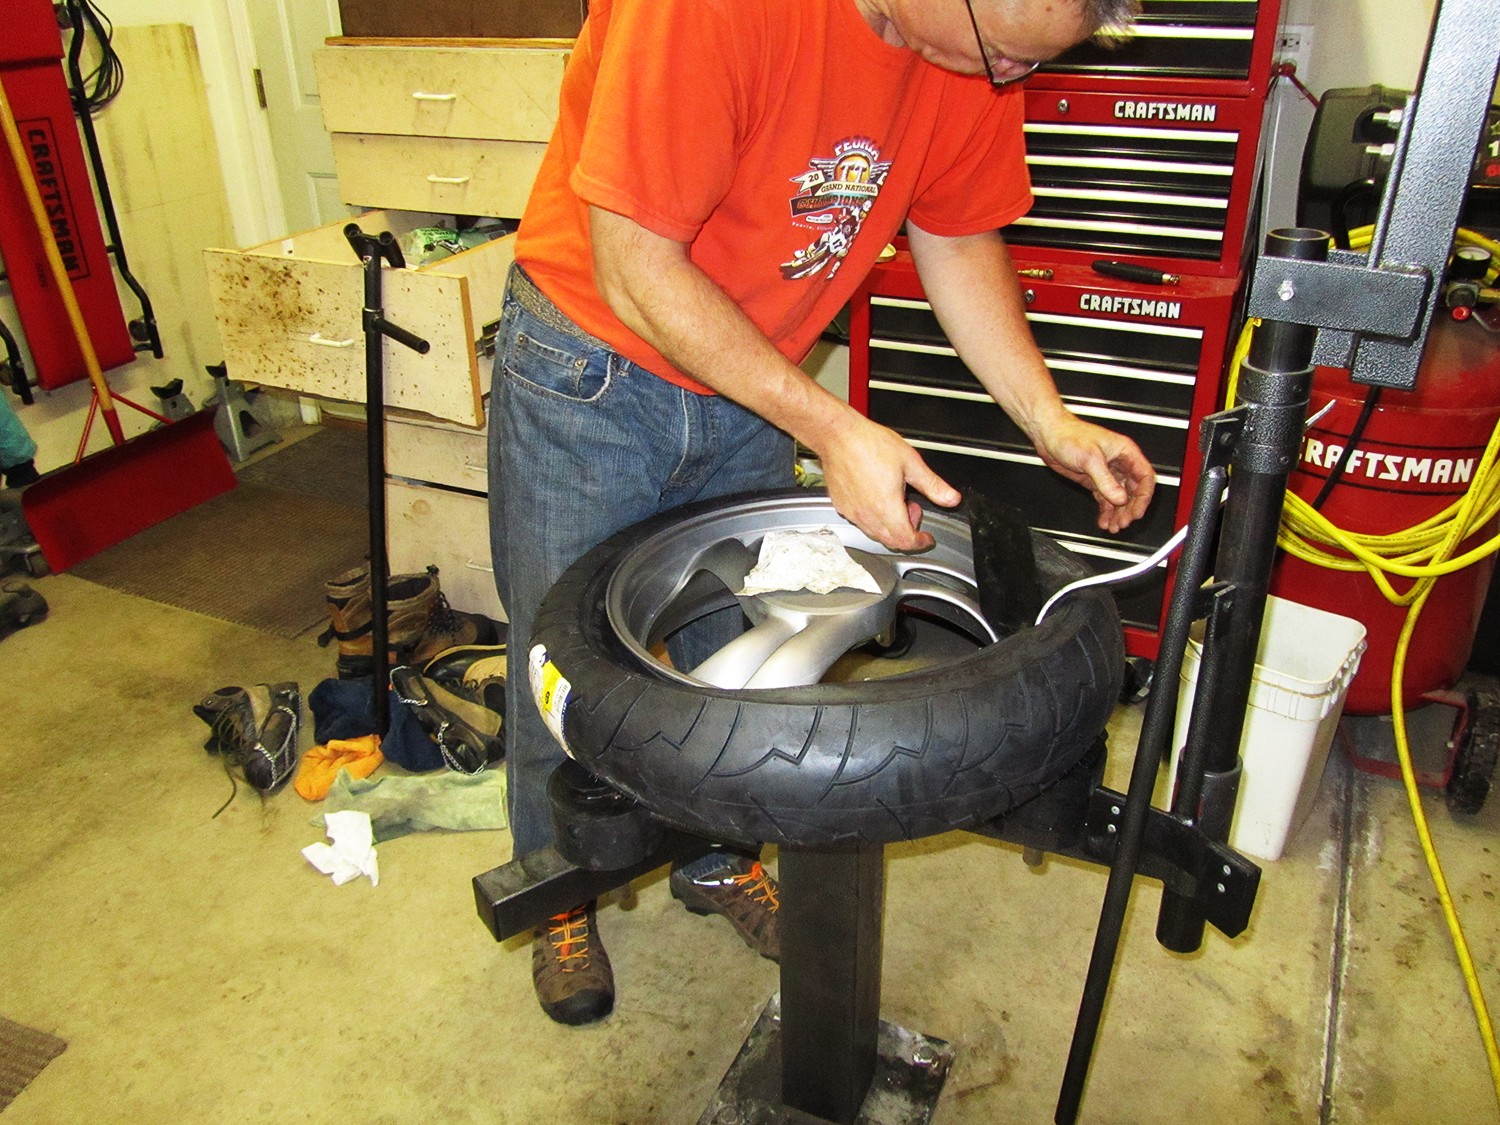
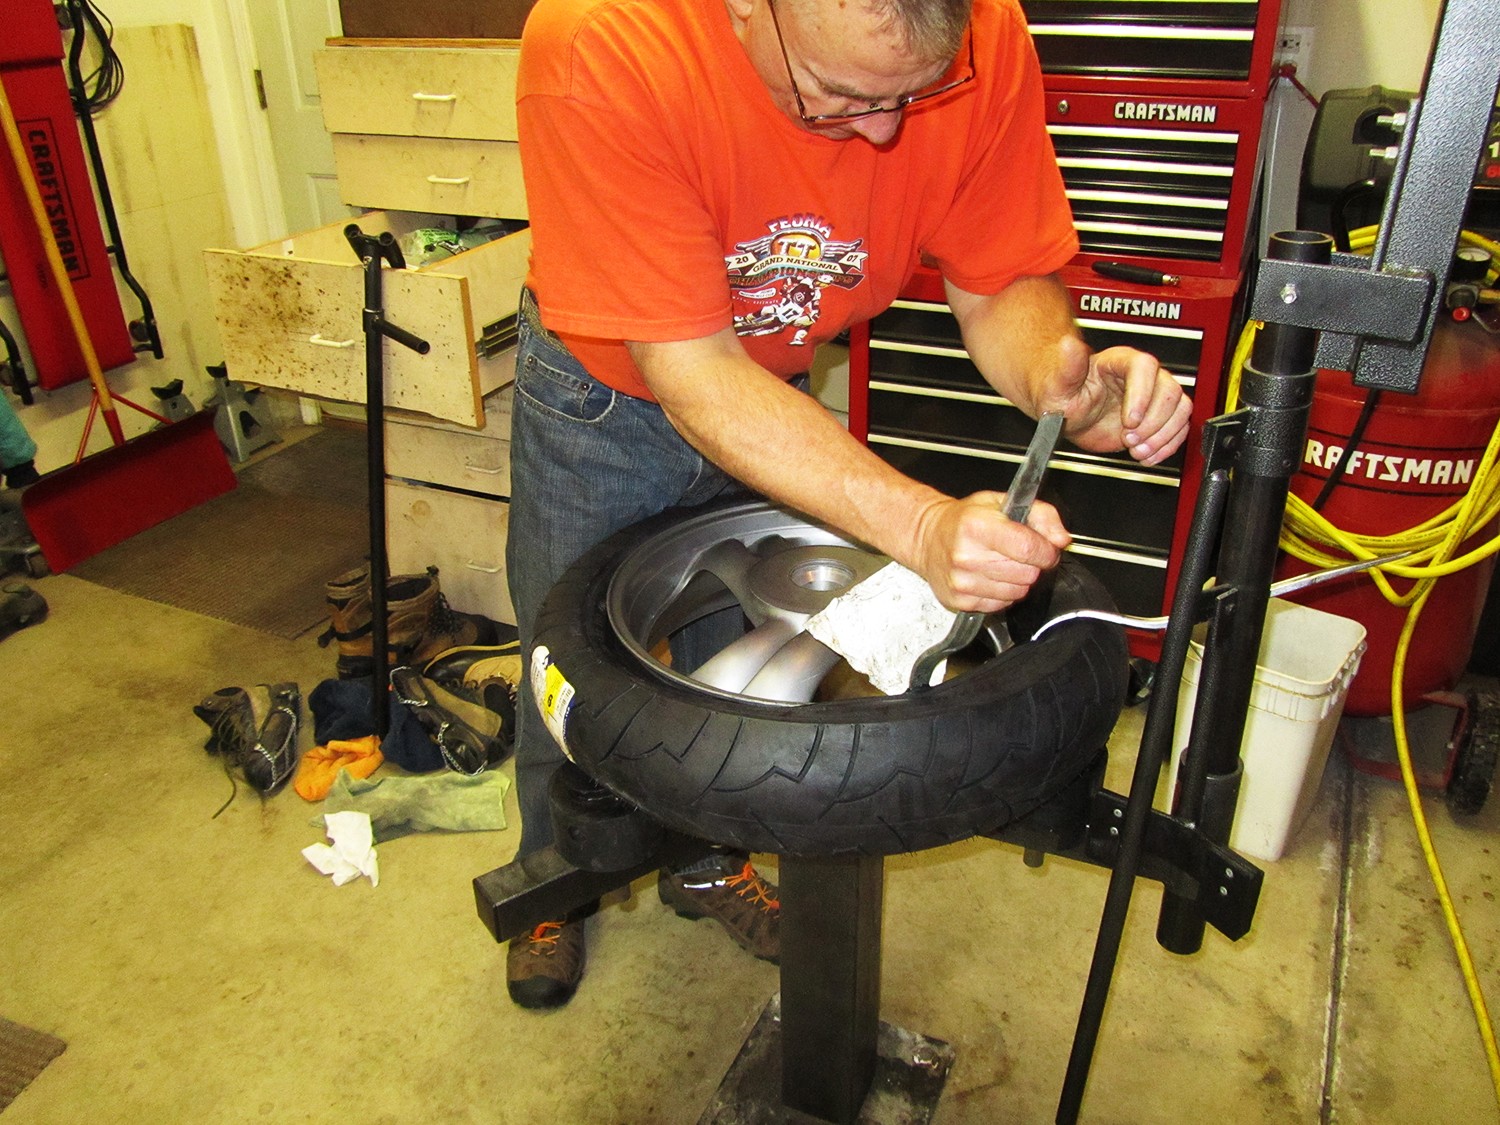
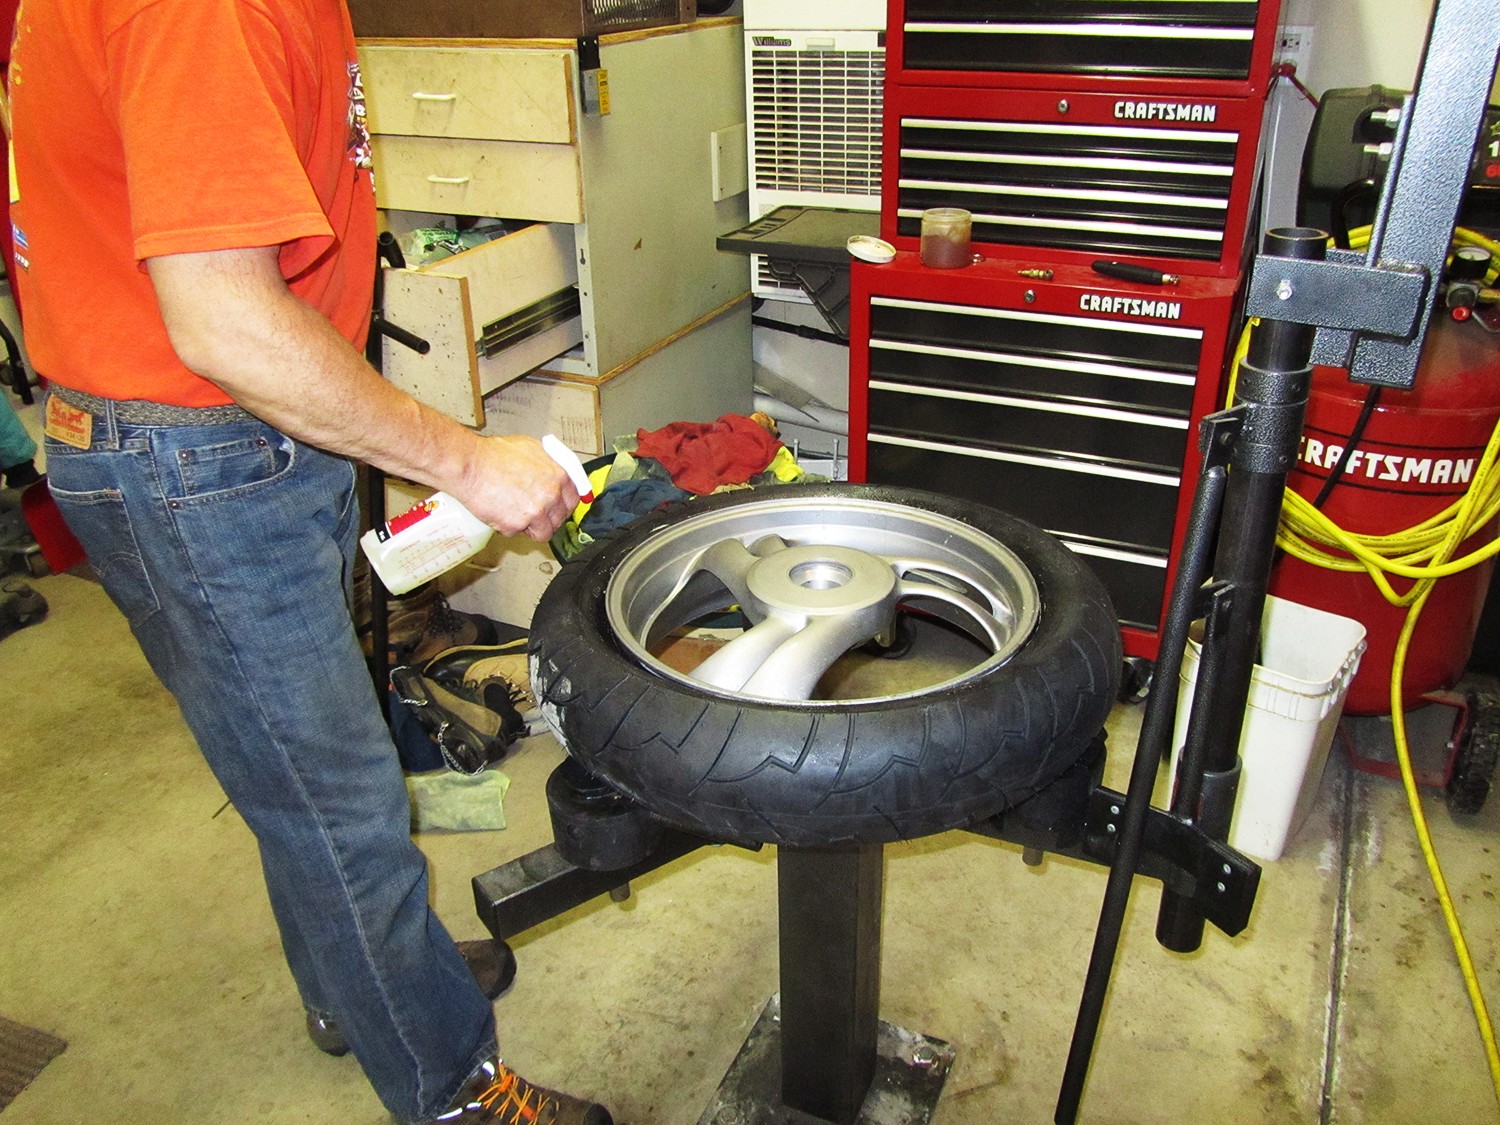
With the wheel secured in the clamps, spray a generous amount of lube around the top tire bead area. Then push the top tire bead down (around the three o'clock position) into the drop center of the wheel. No-Mar sells accessory "XtraHand Clamp Tire Tools" that hold the bead in the drop center but these are not a necessity. The bead may stay put on its own or you can hold it down by hand. Having a buddy handy is helpful if you're new to the process.
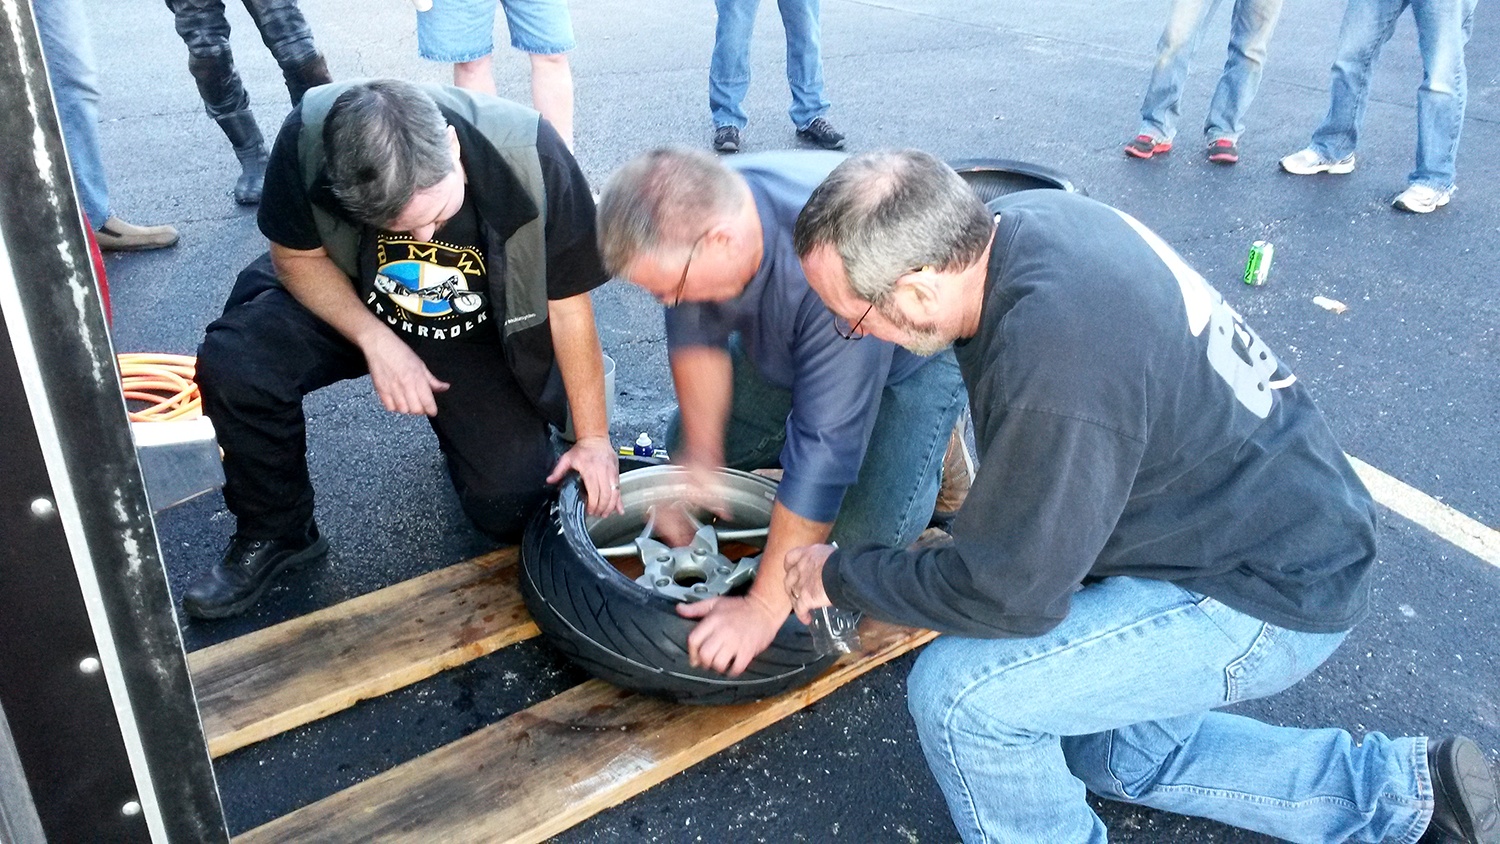
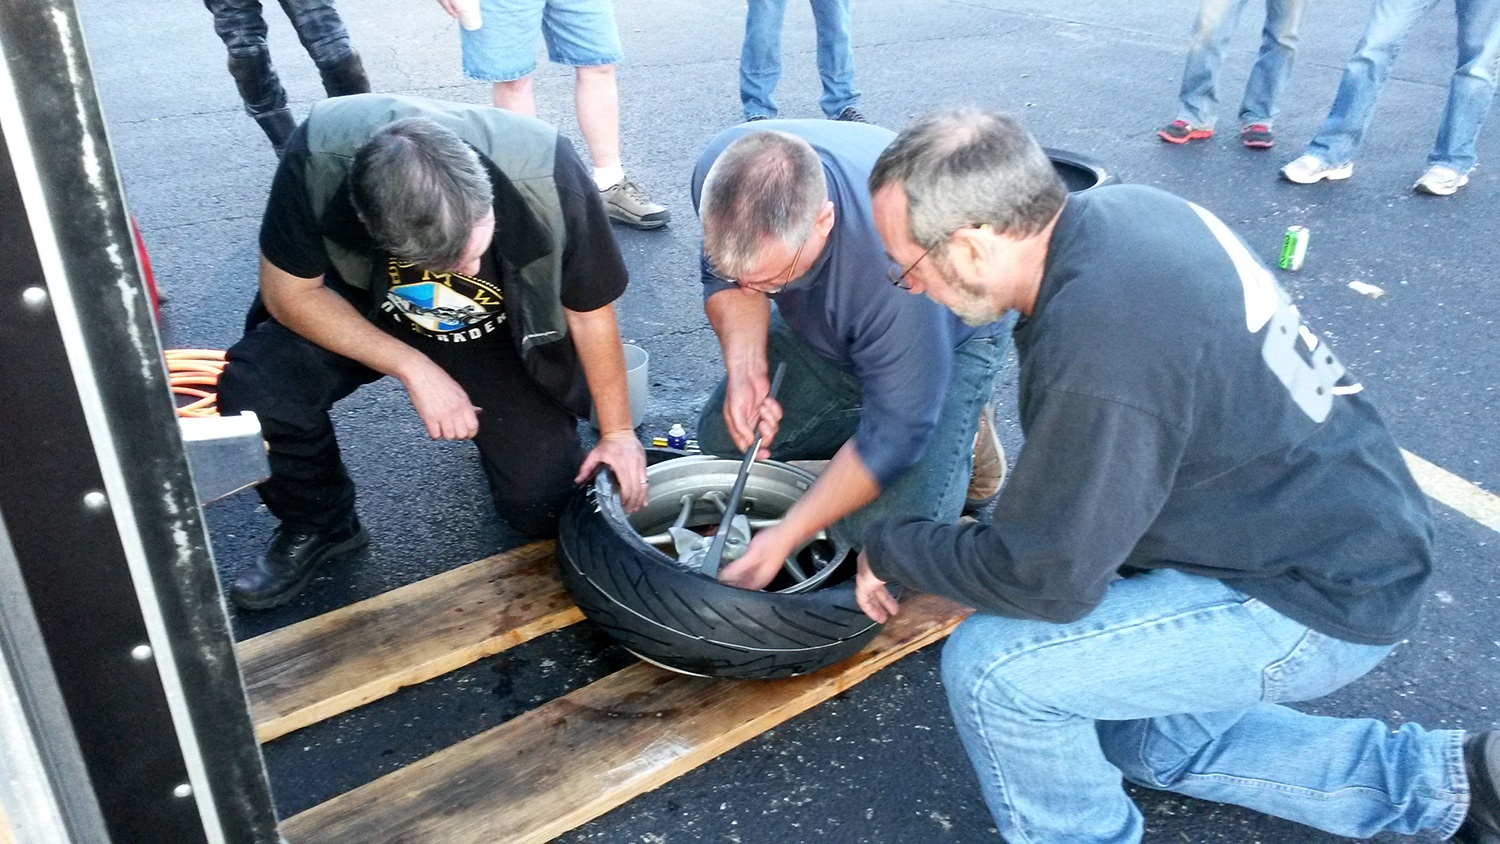
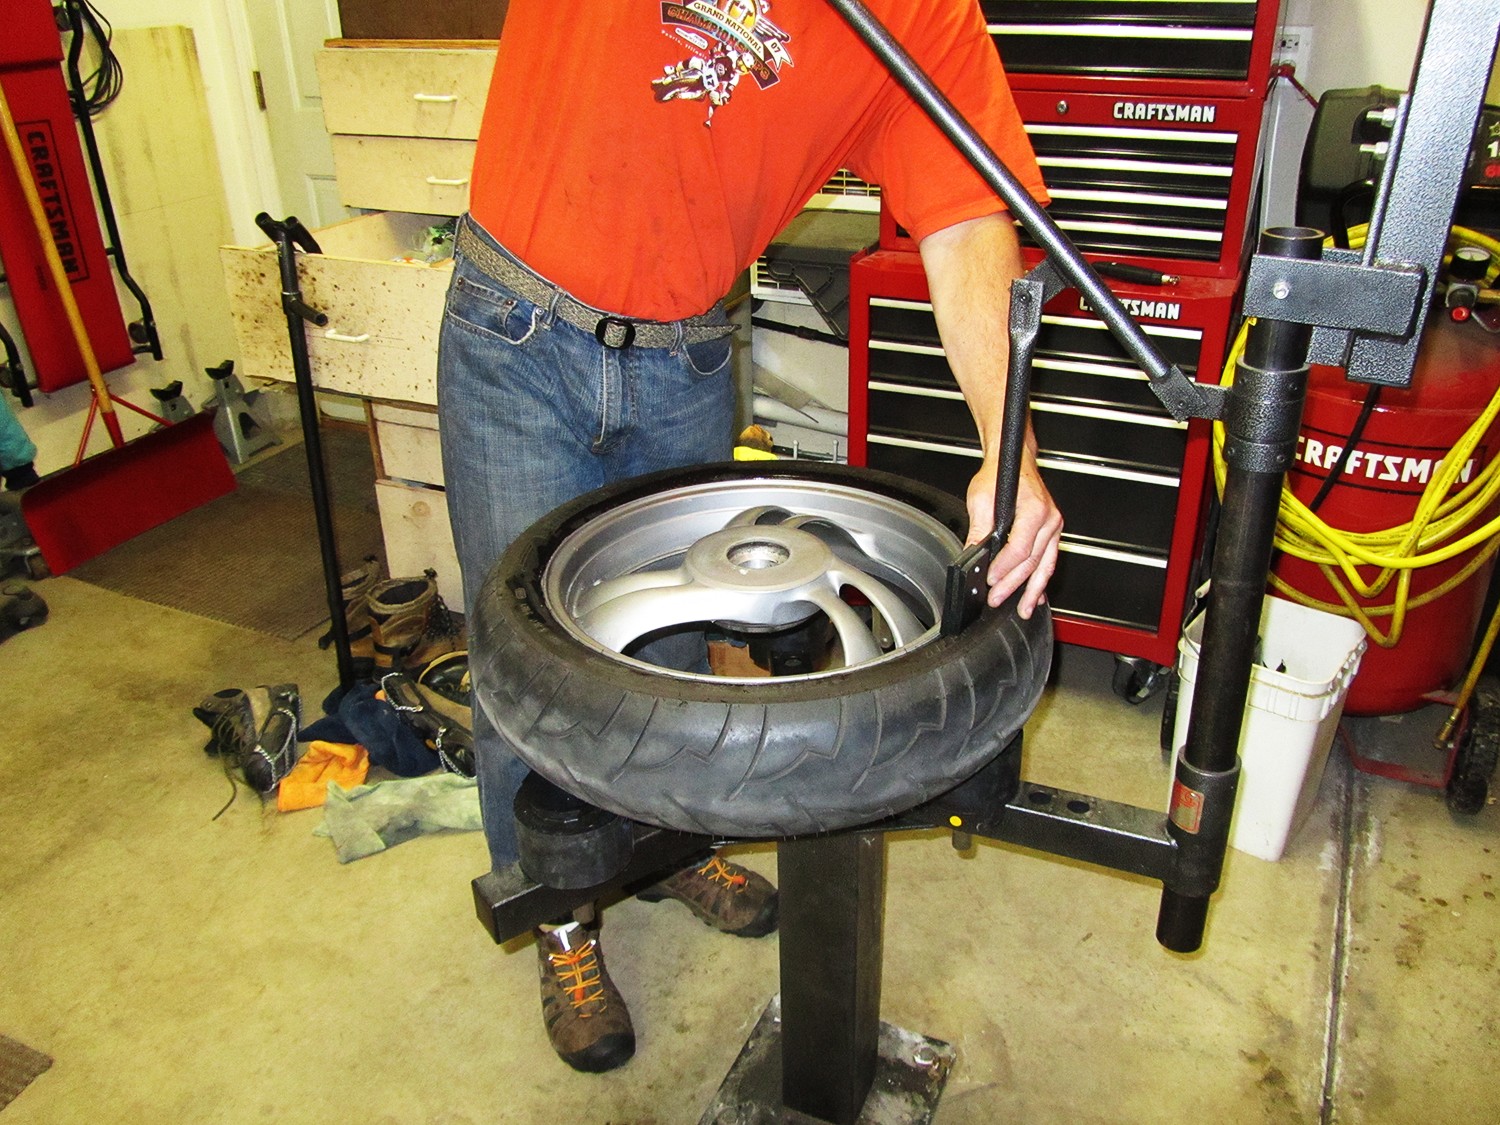
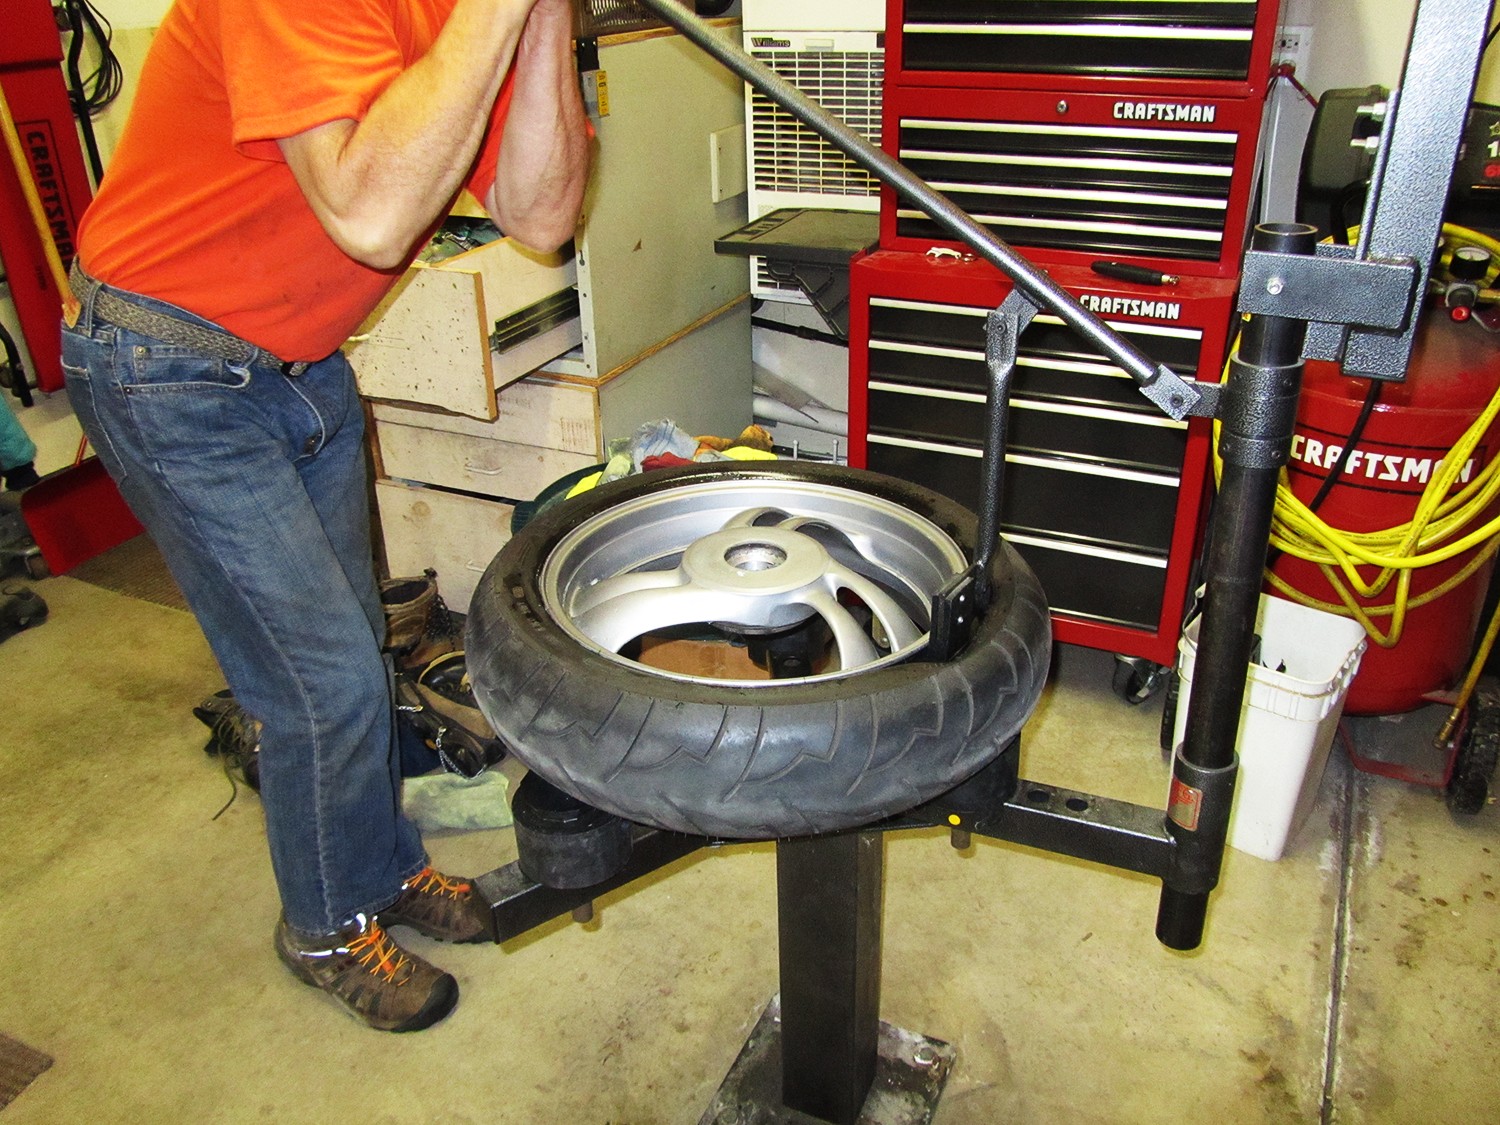
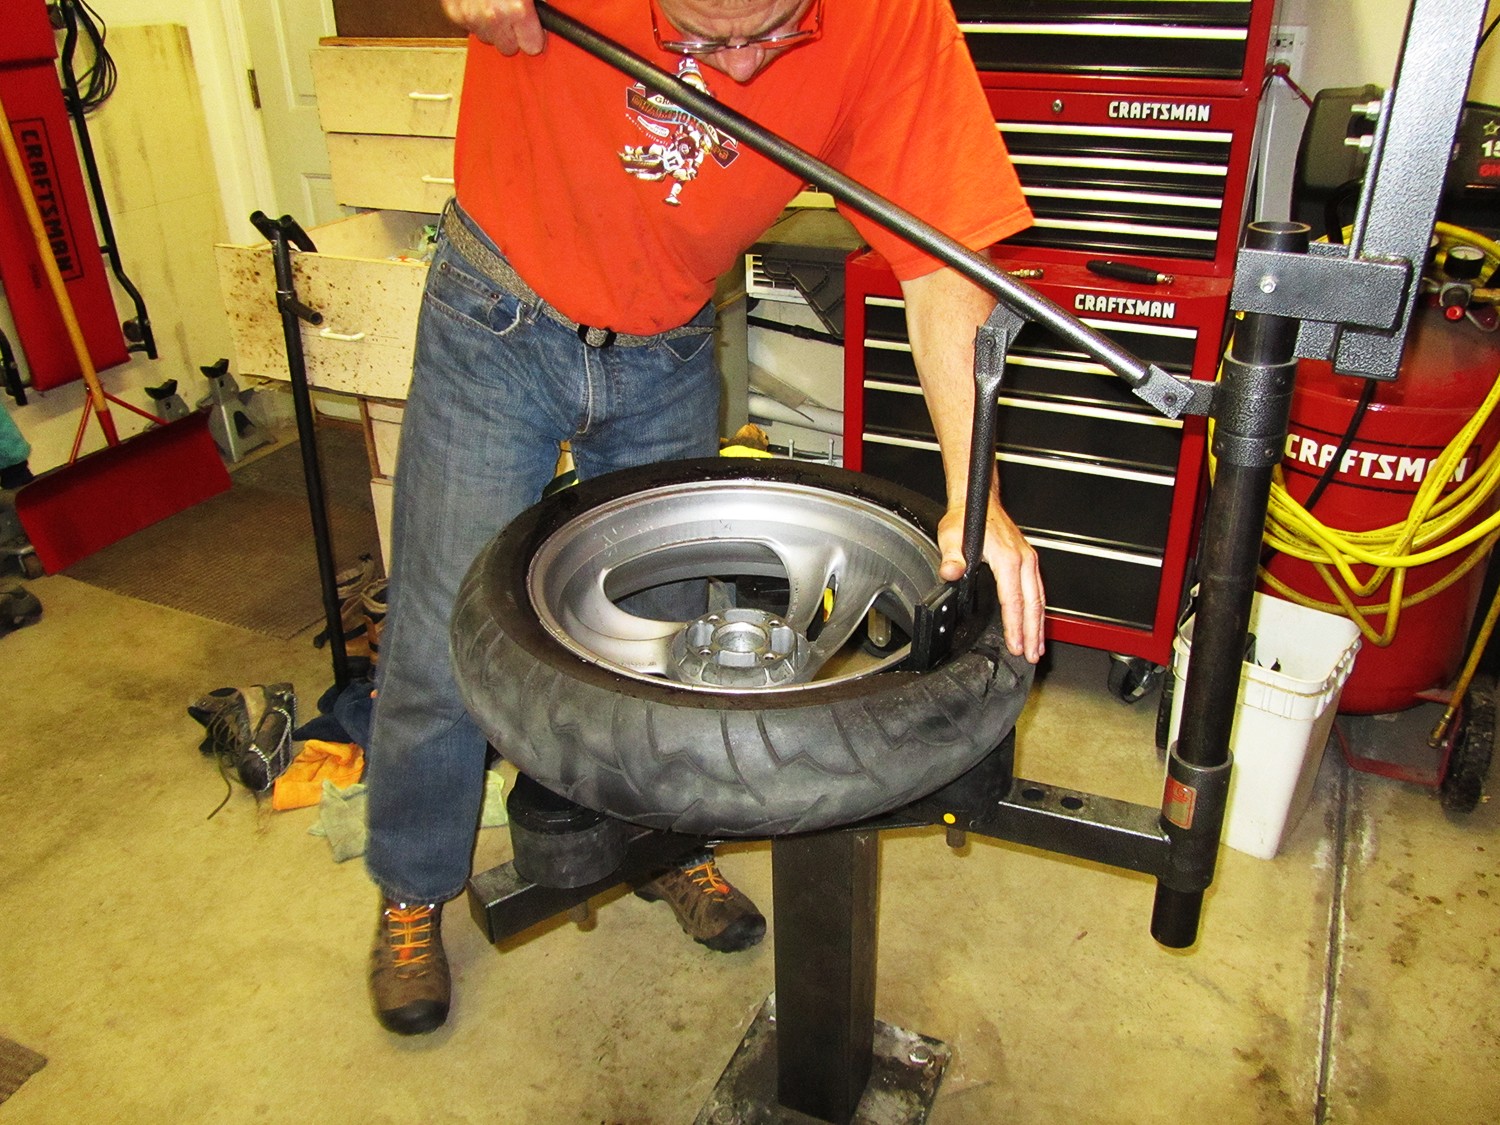
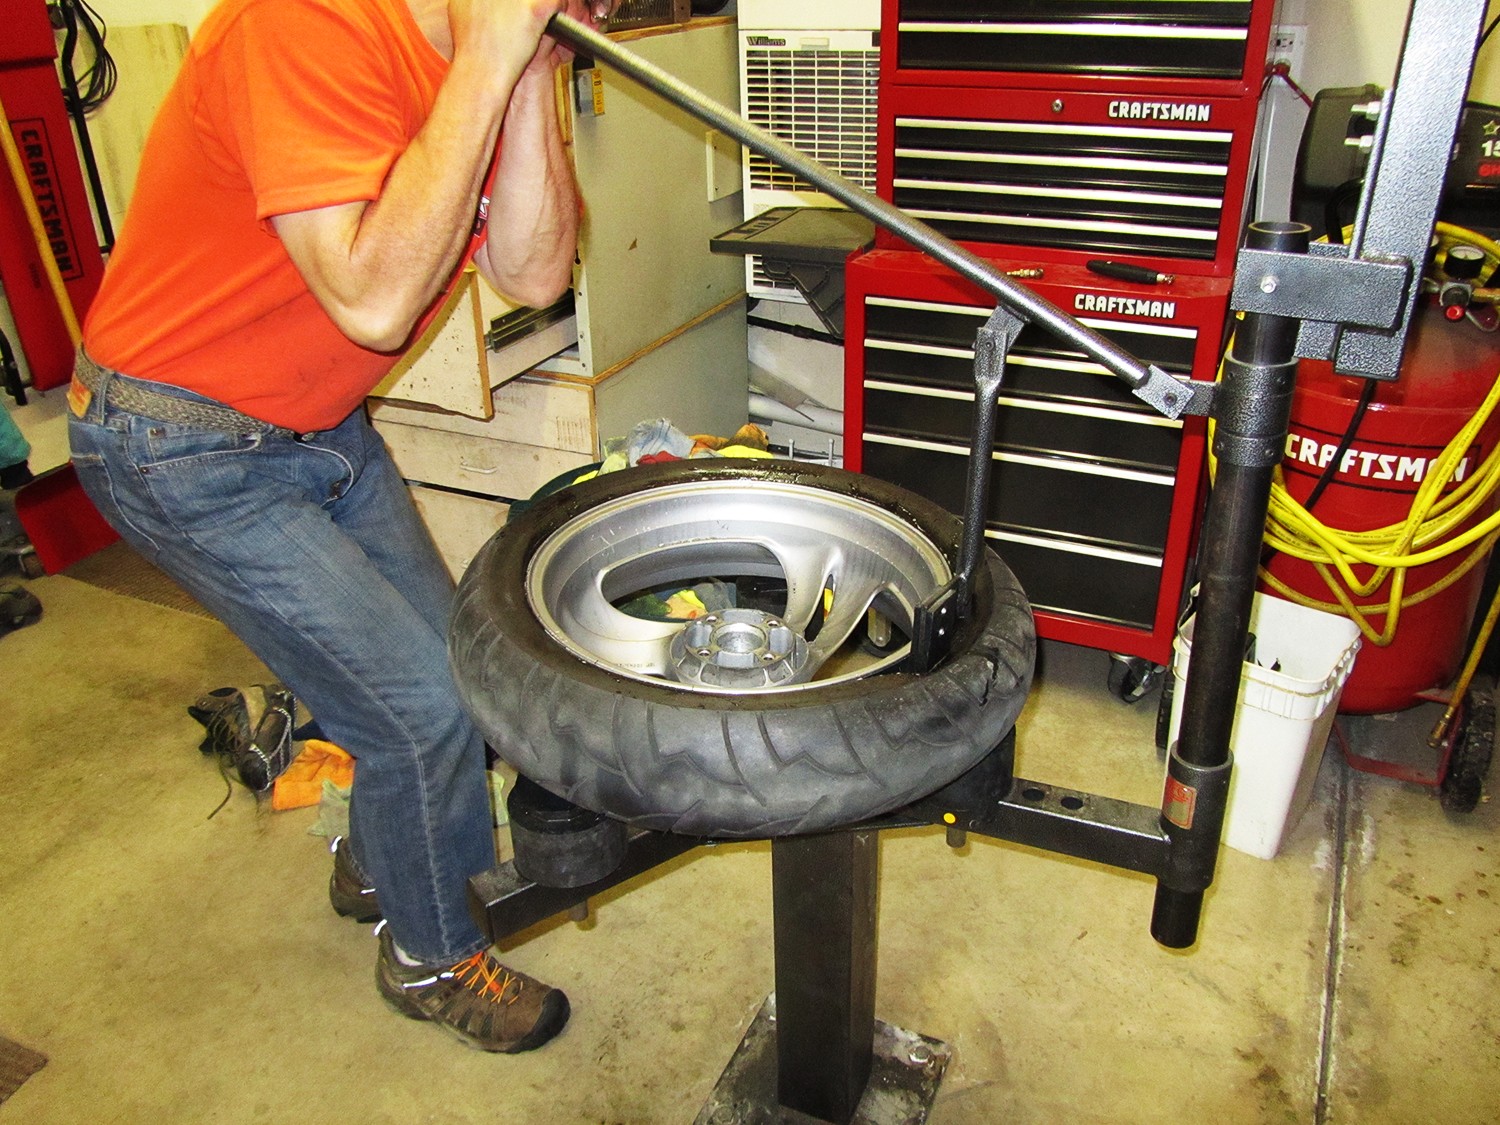
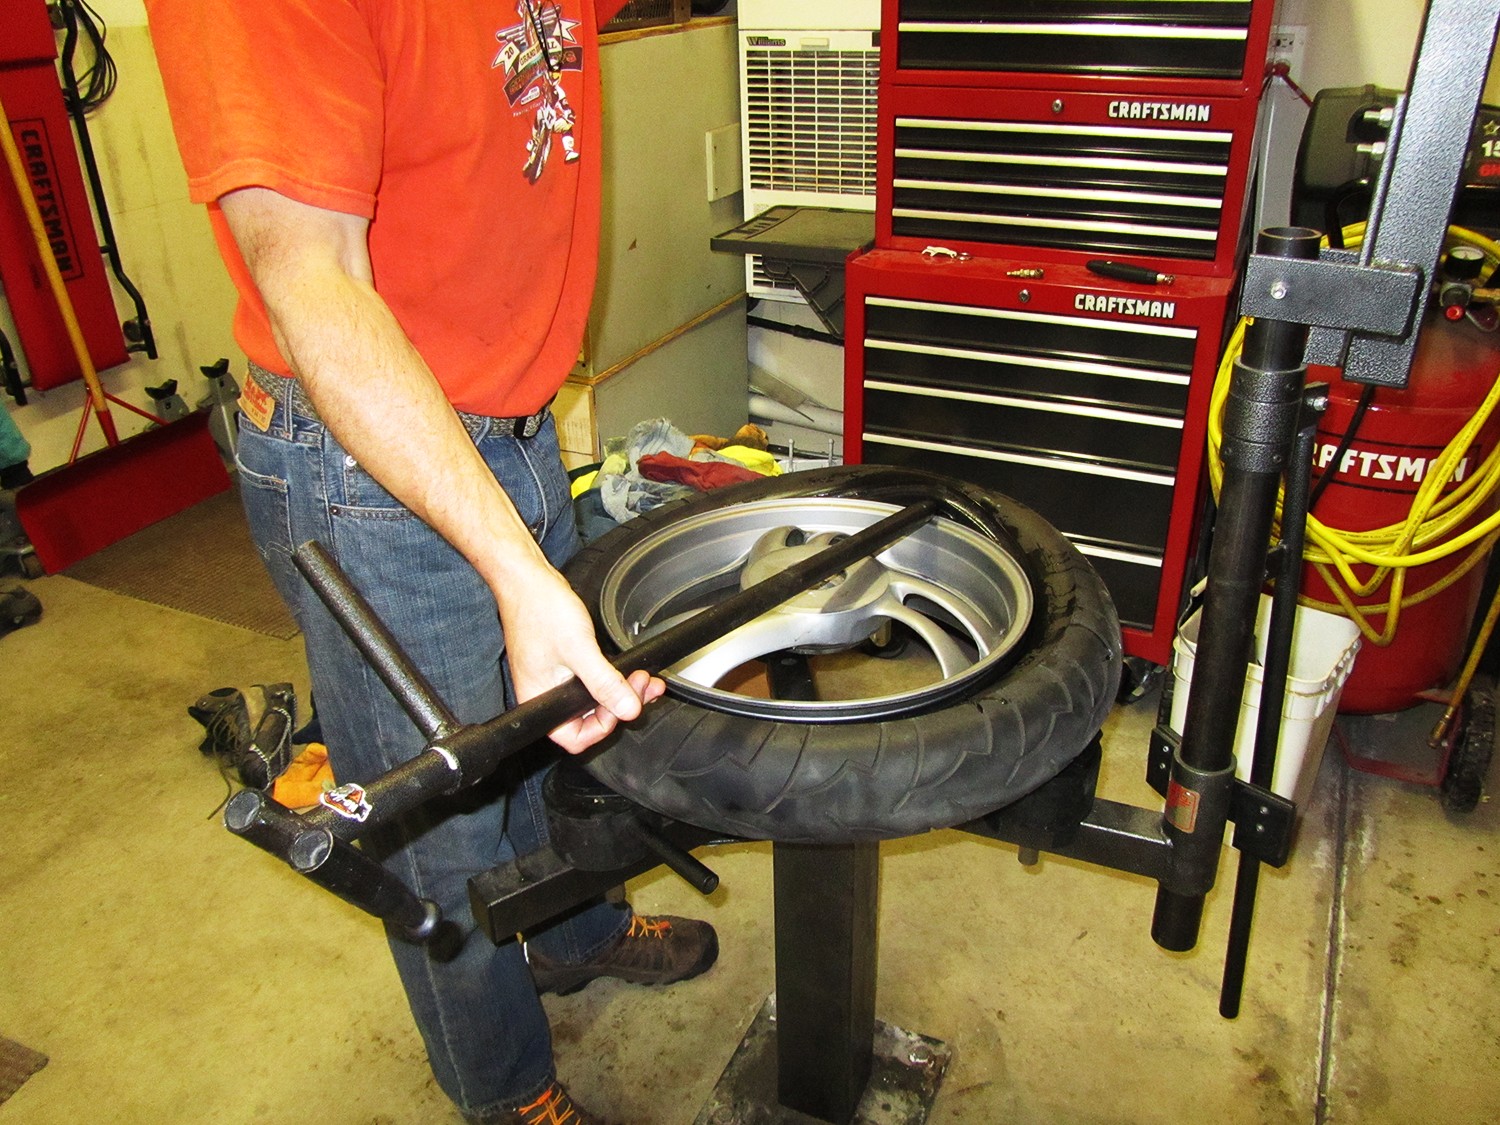
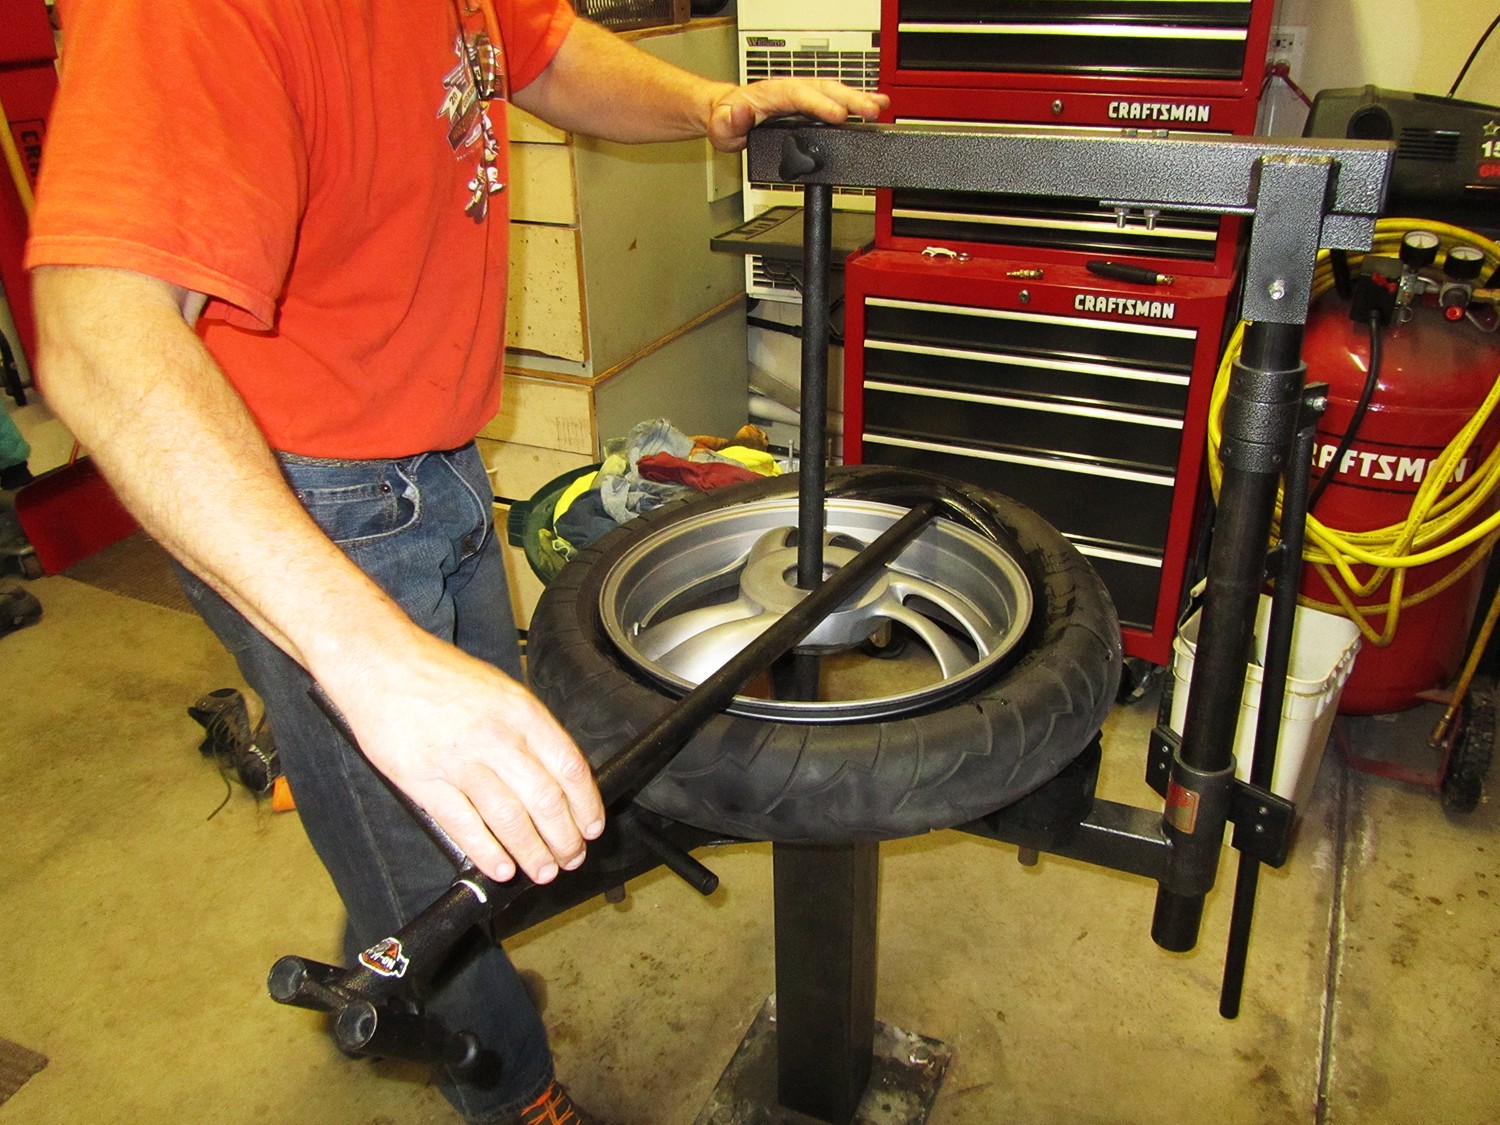
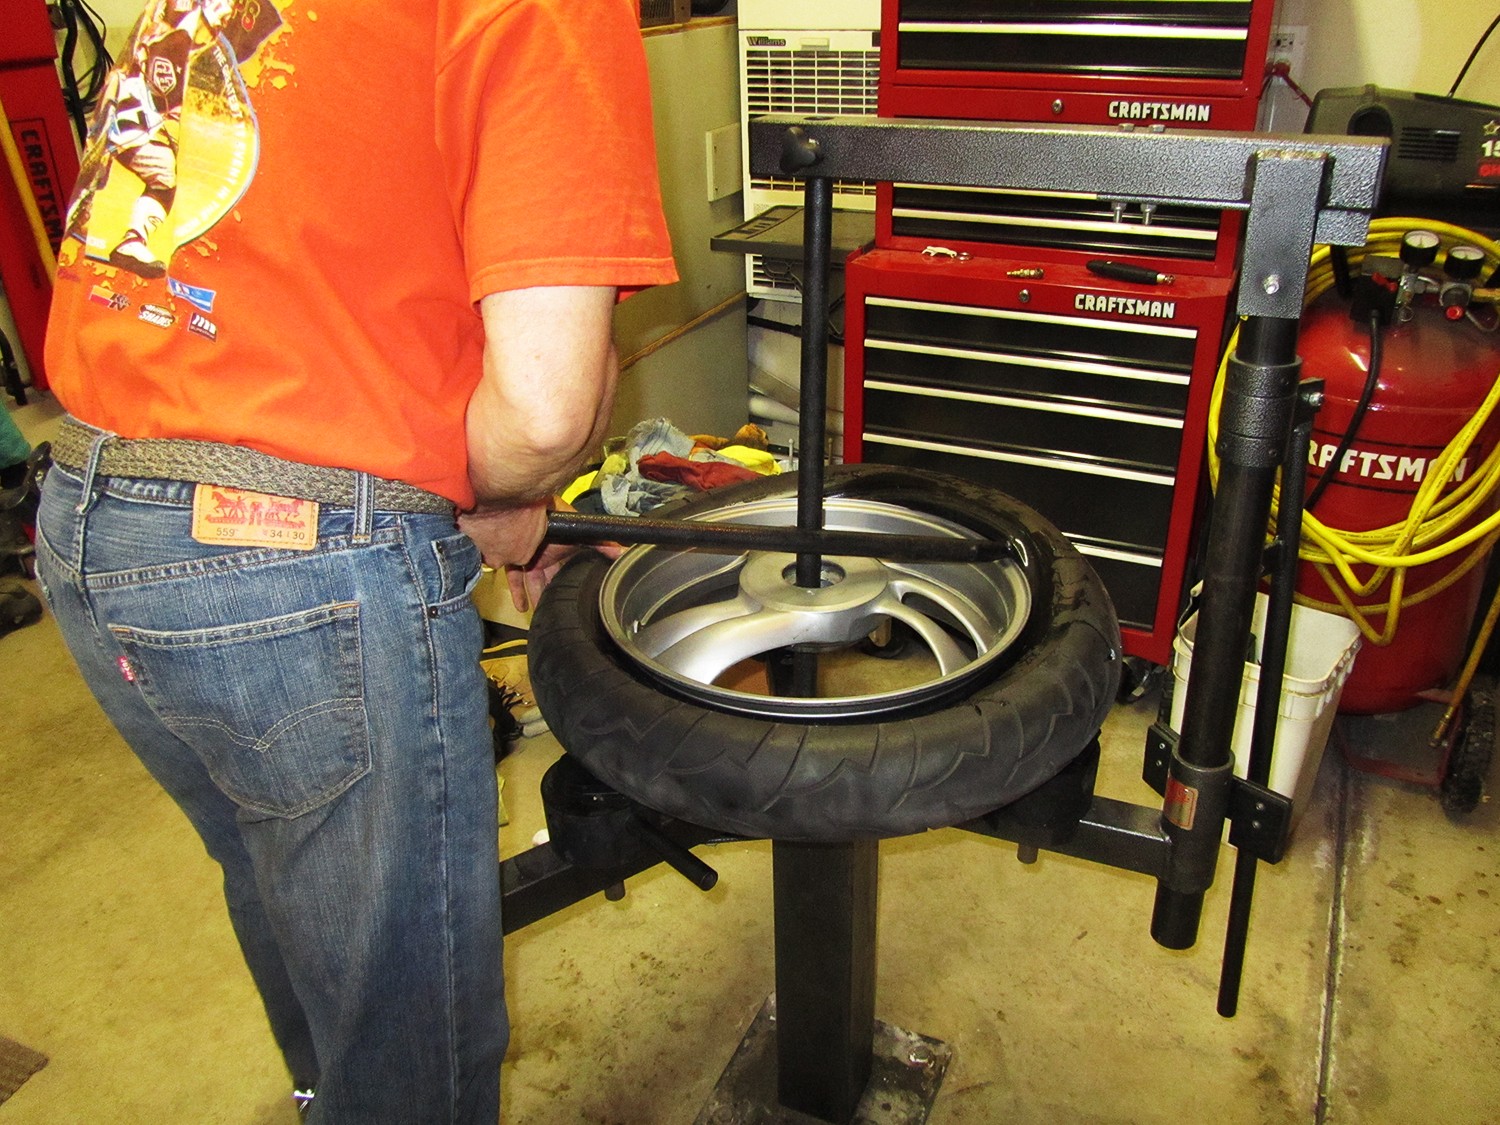
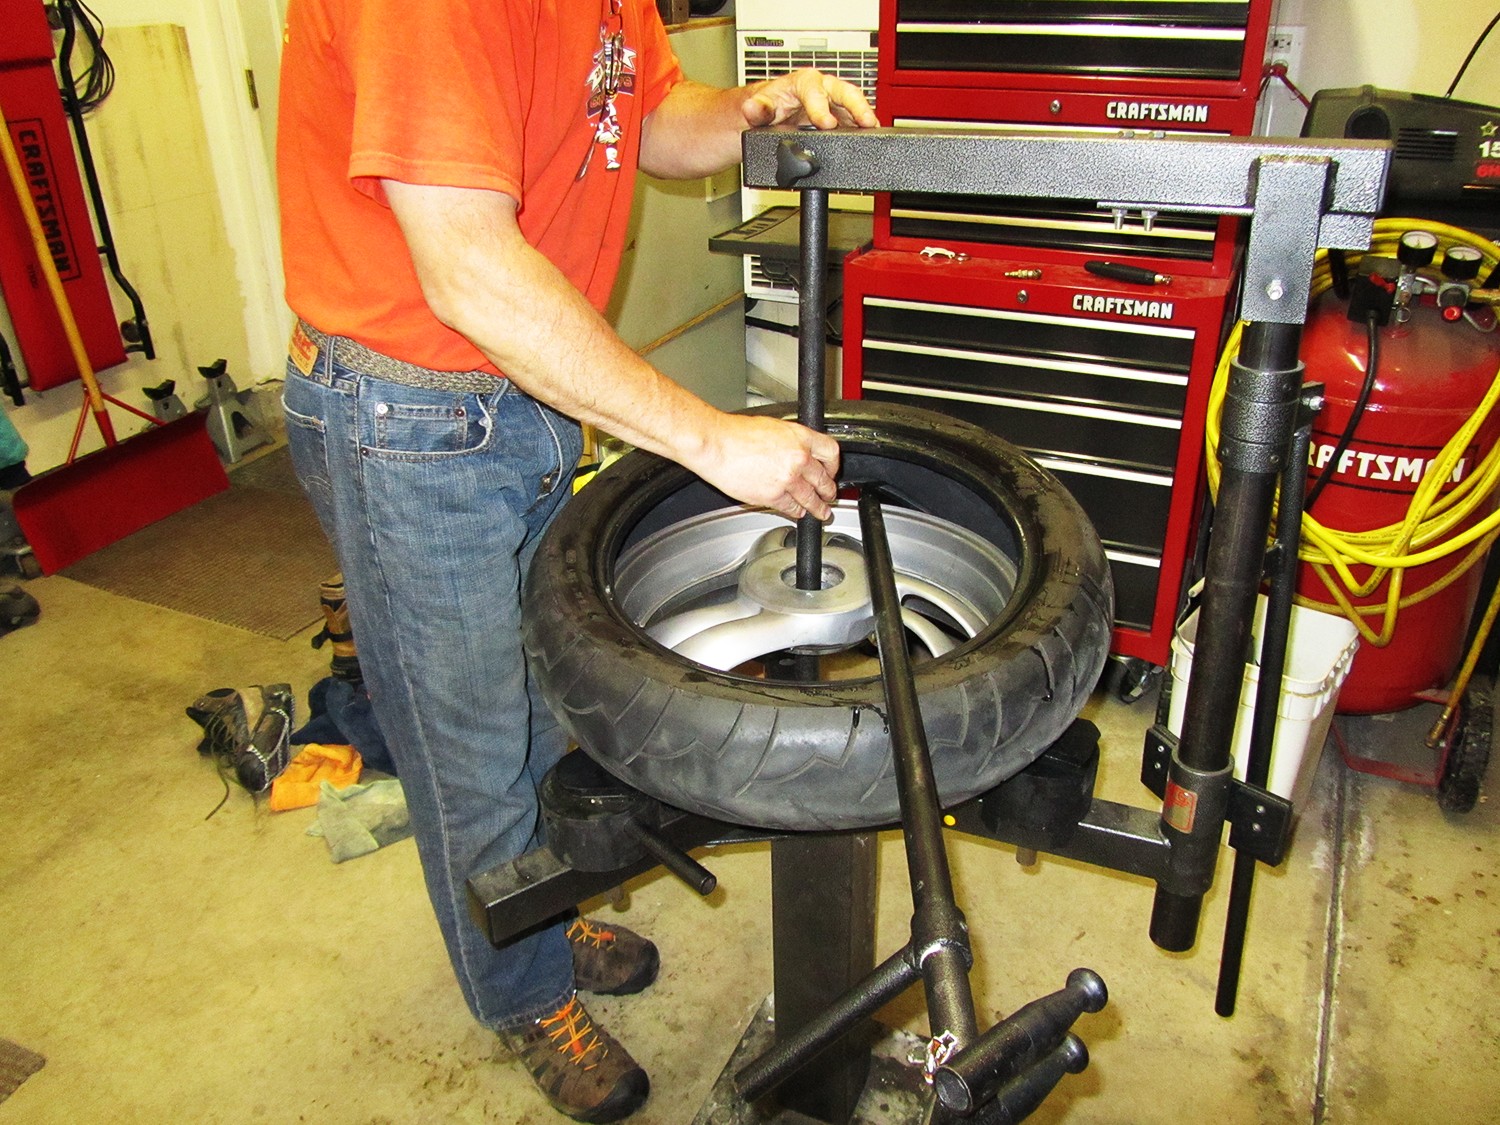
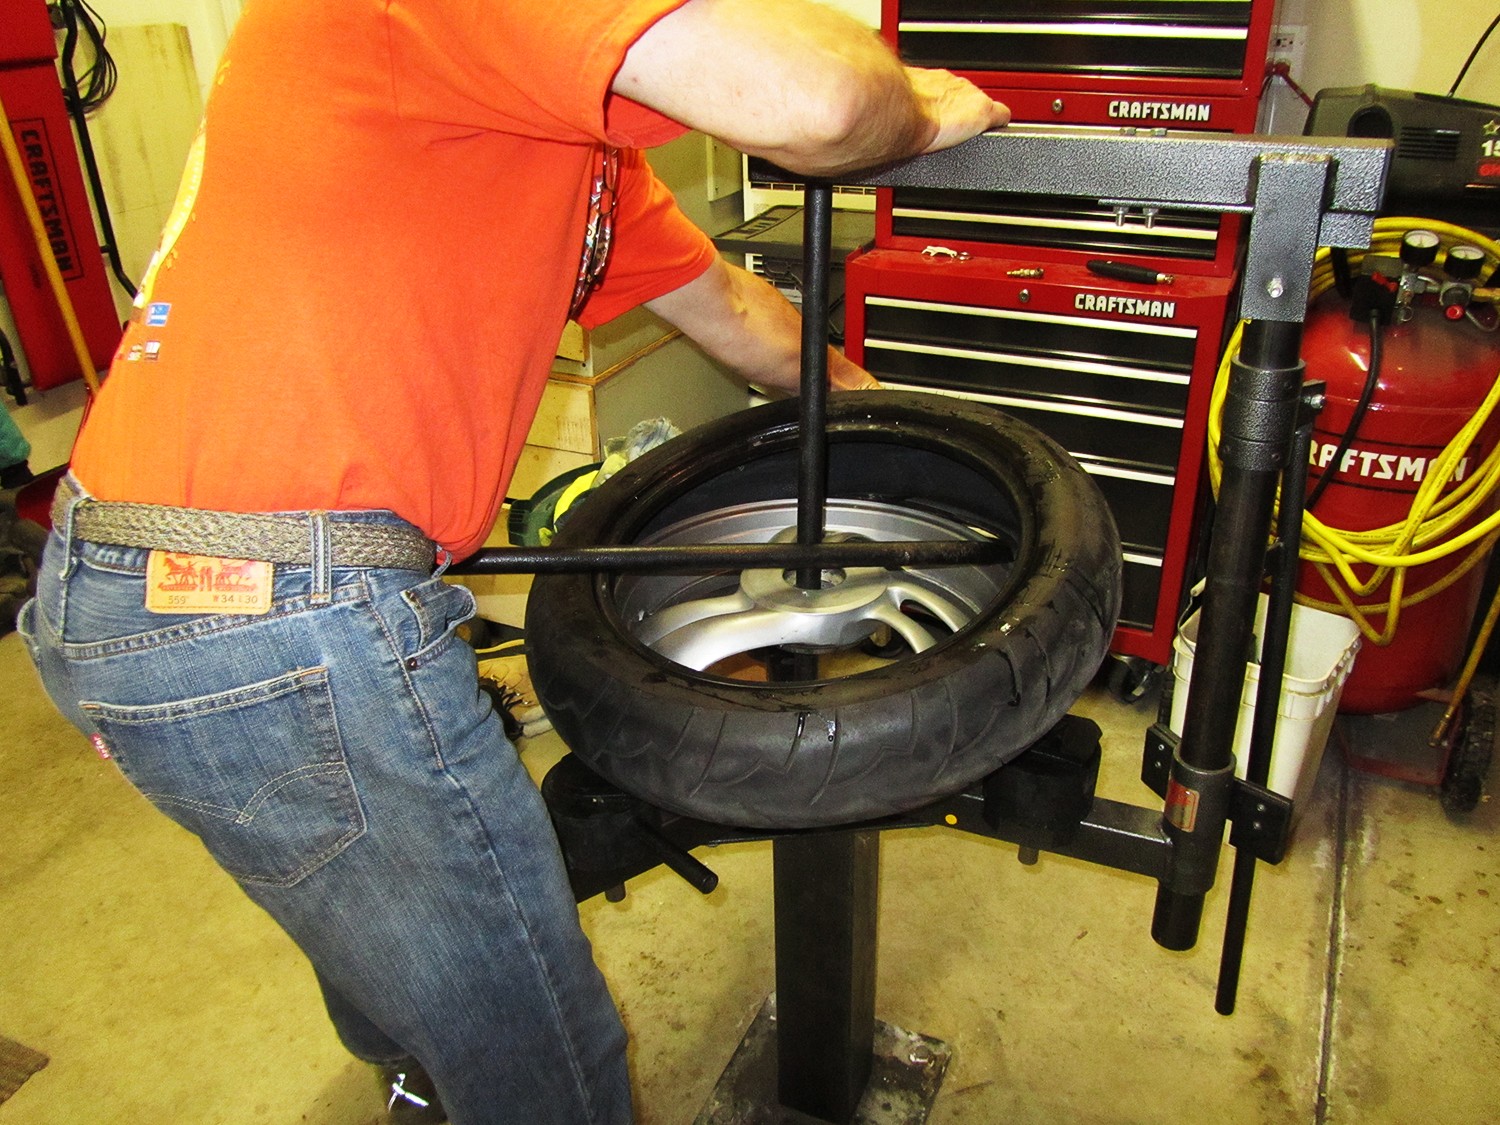
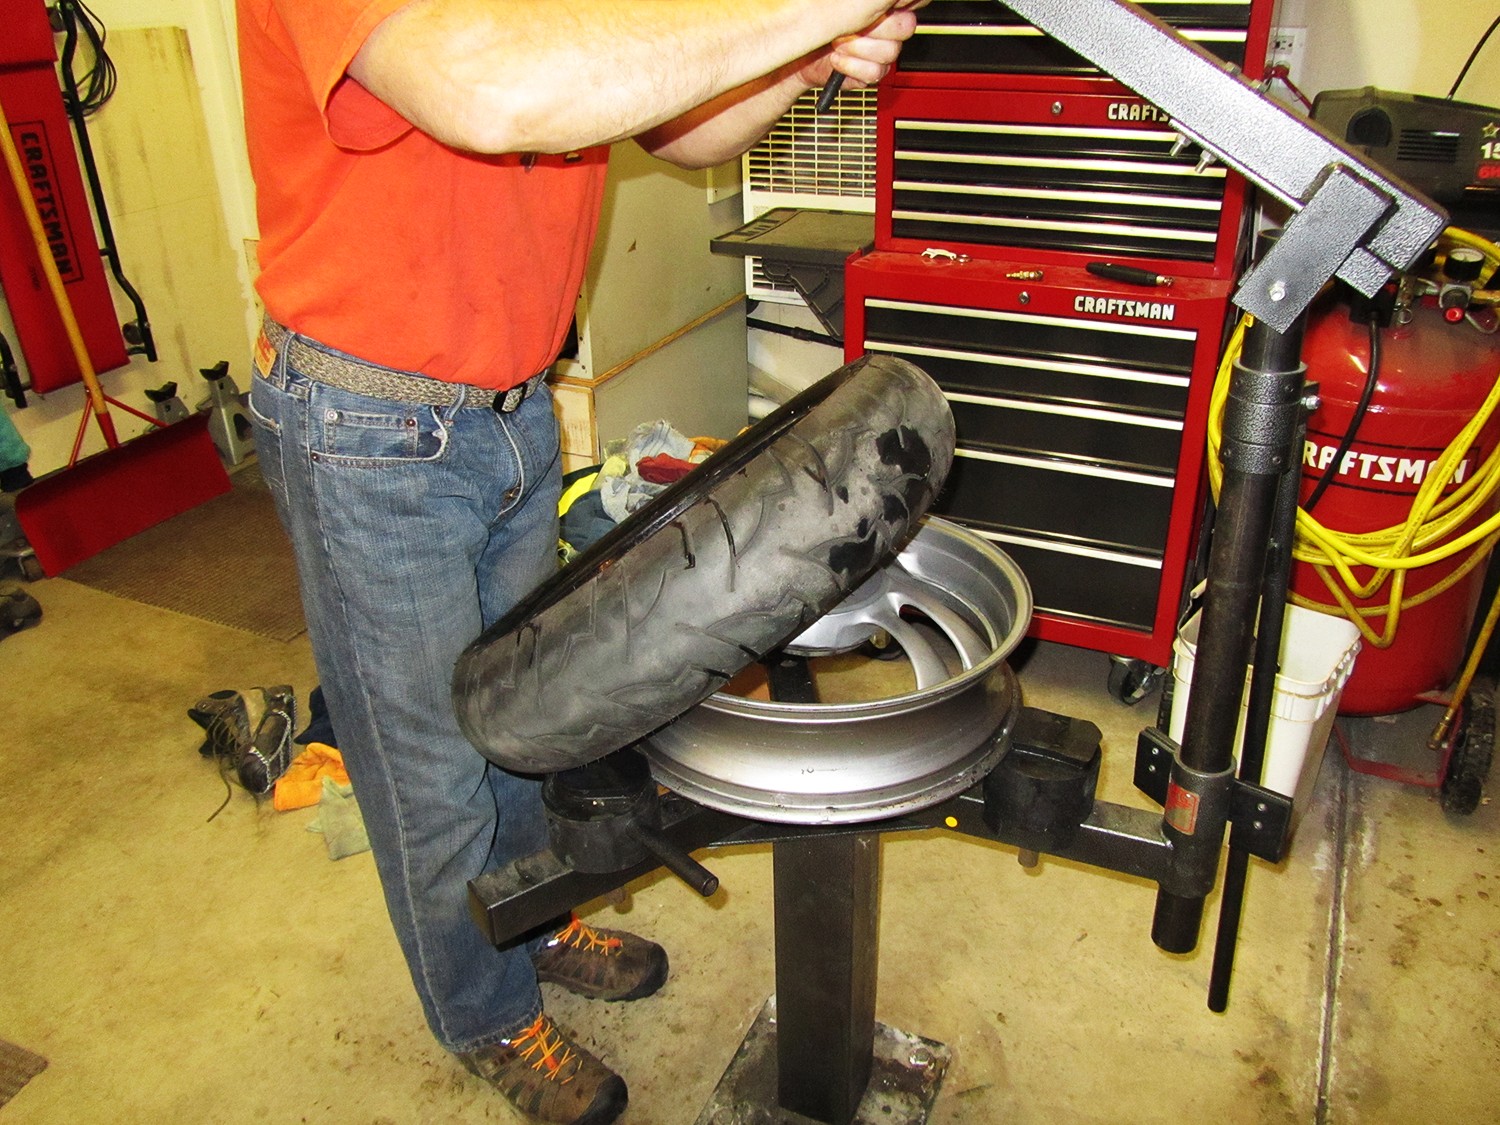
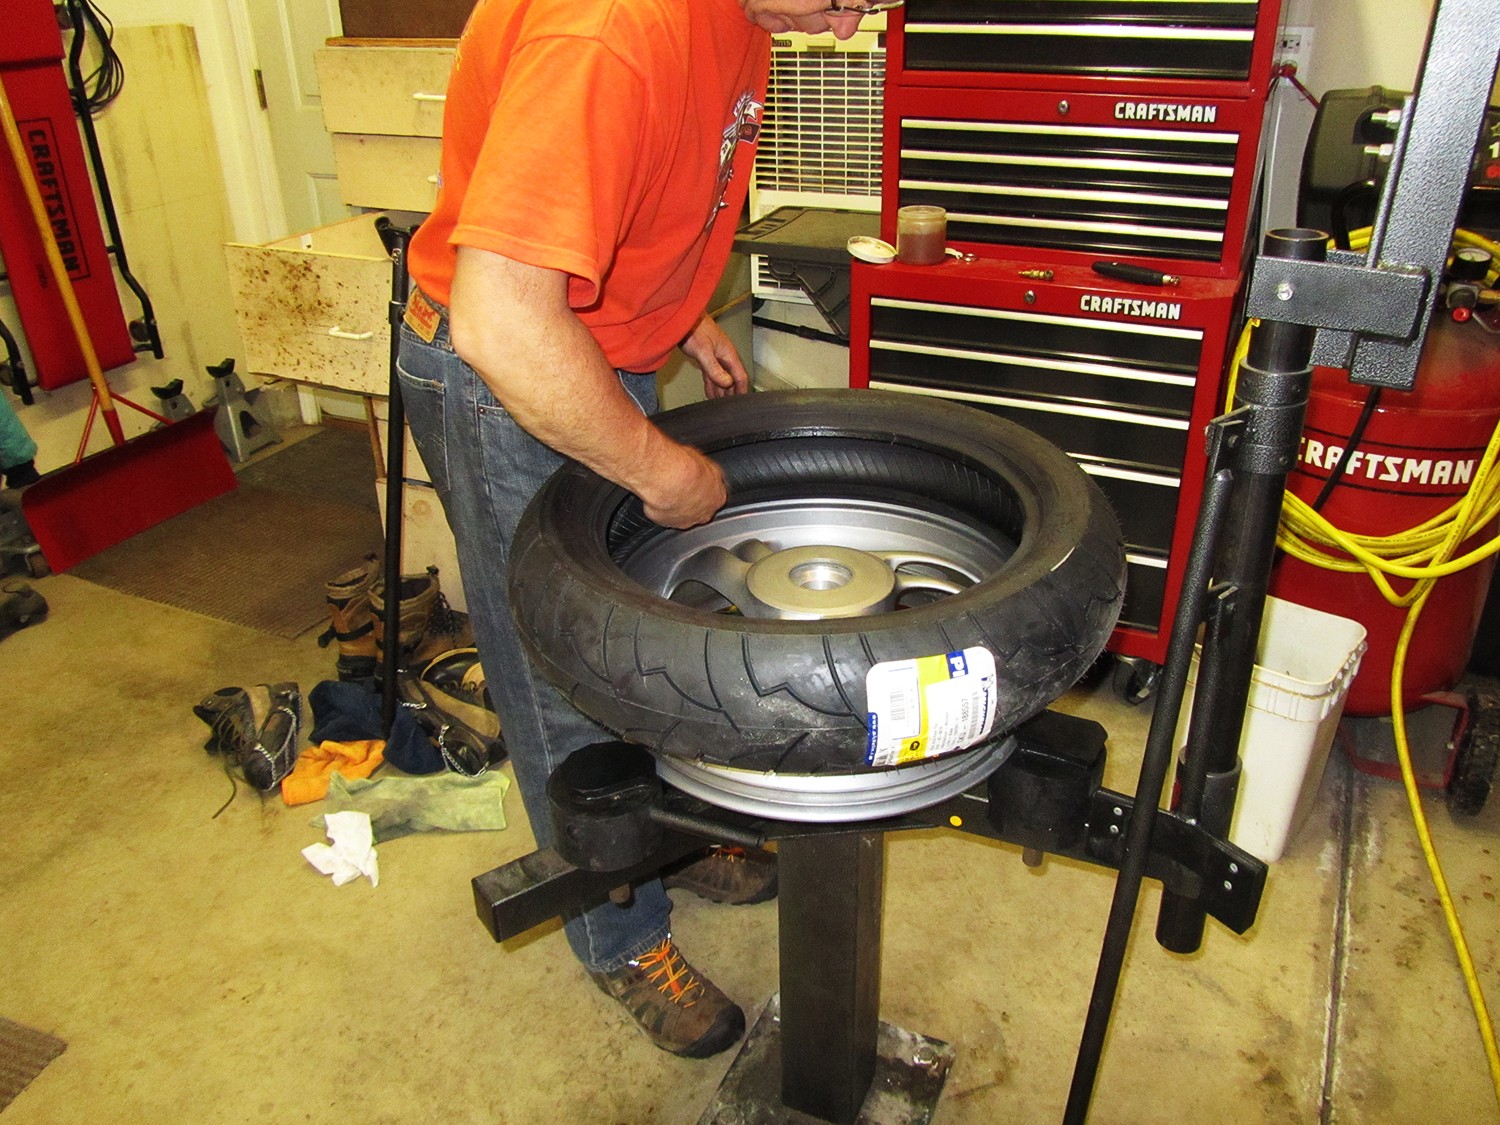
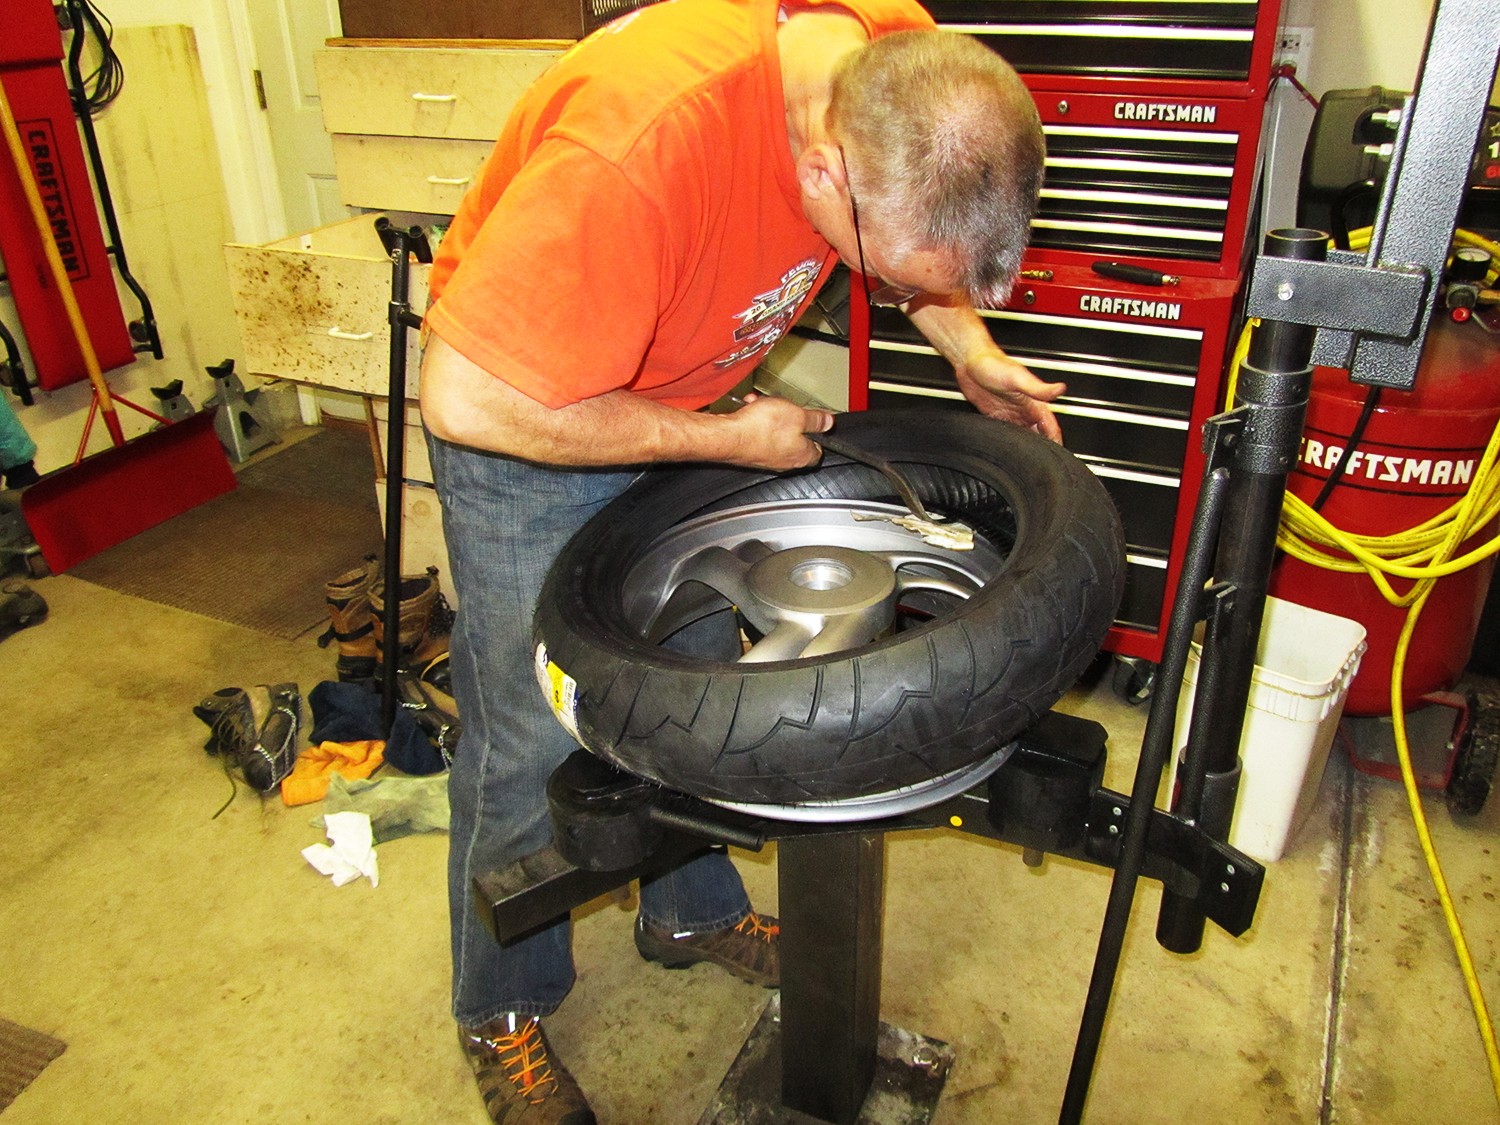
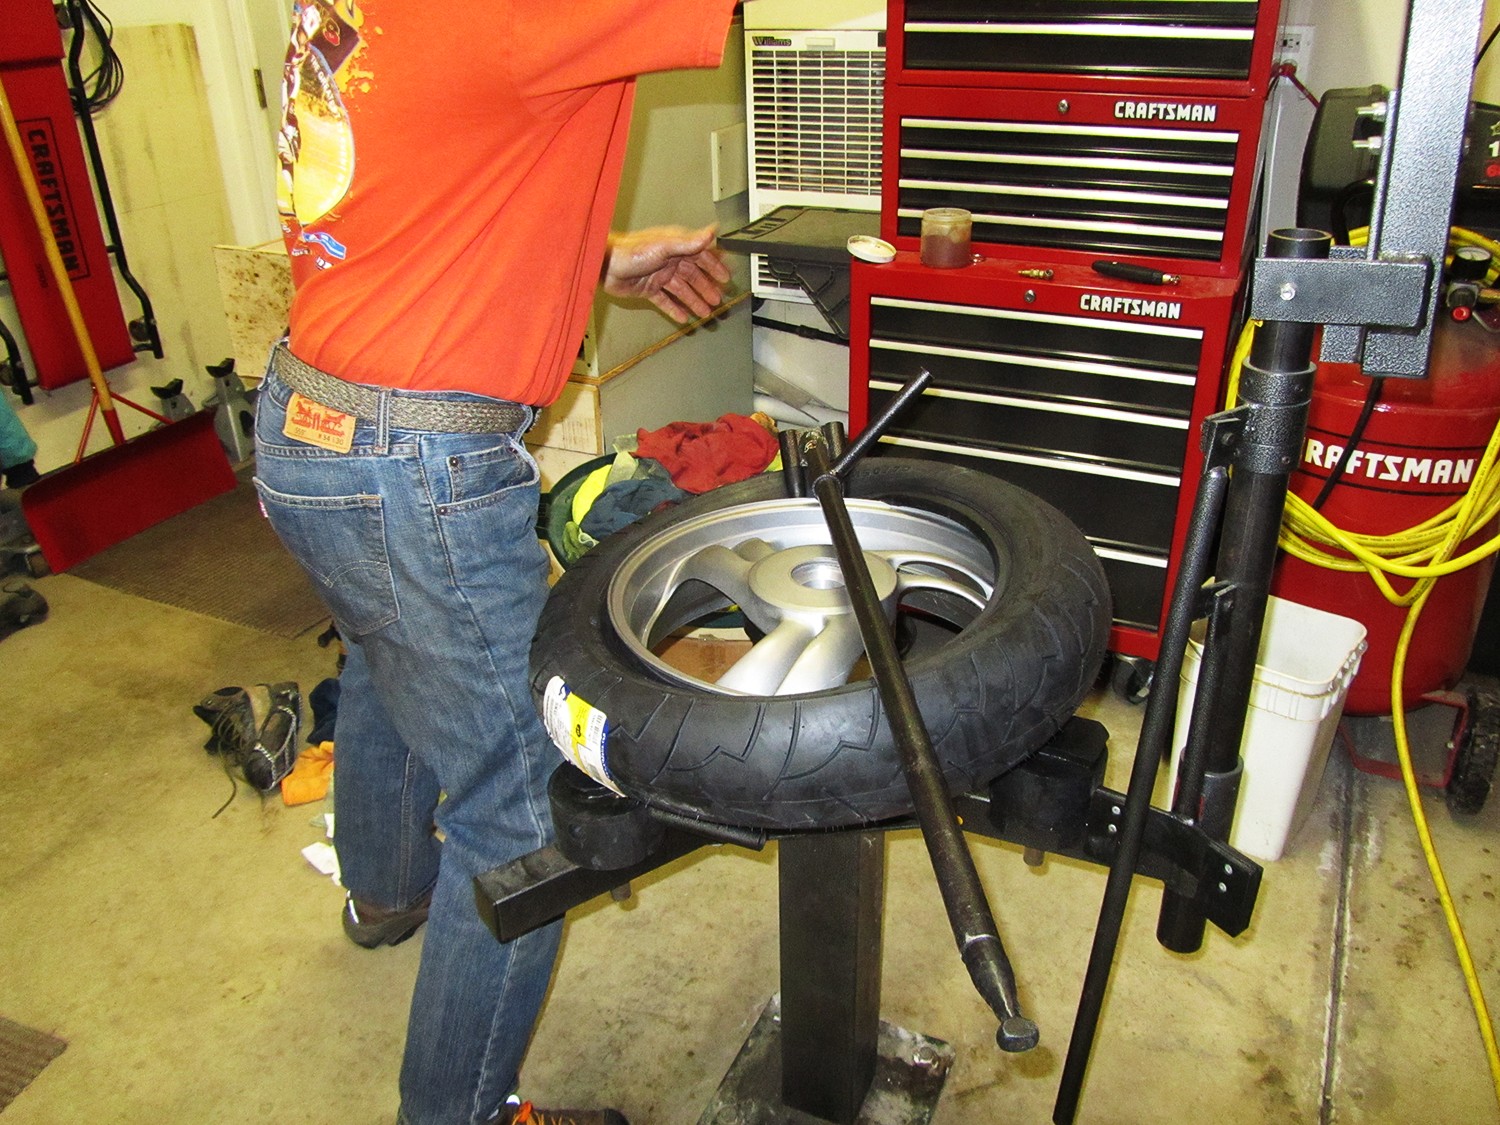
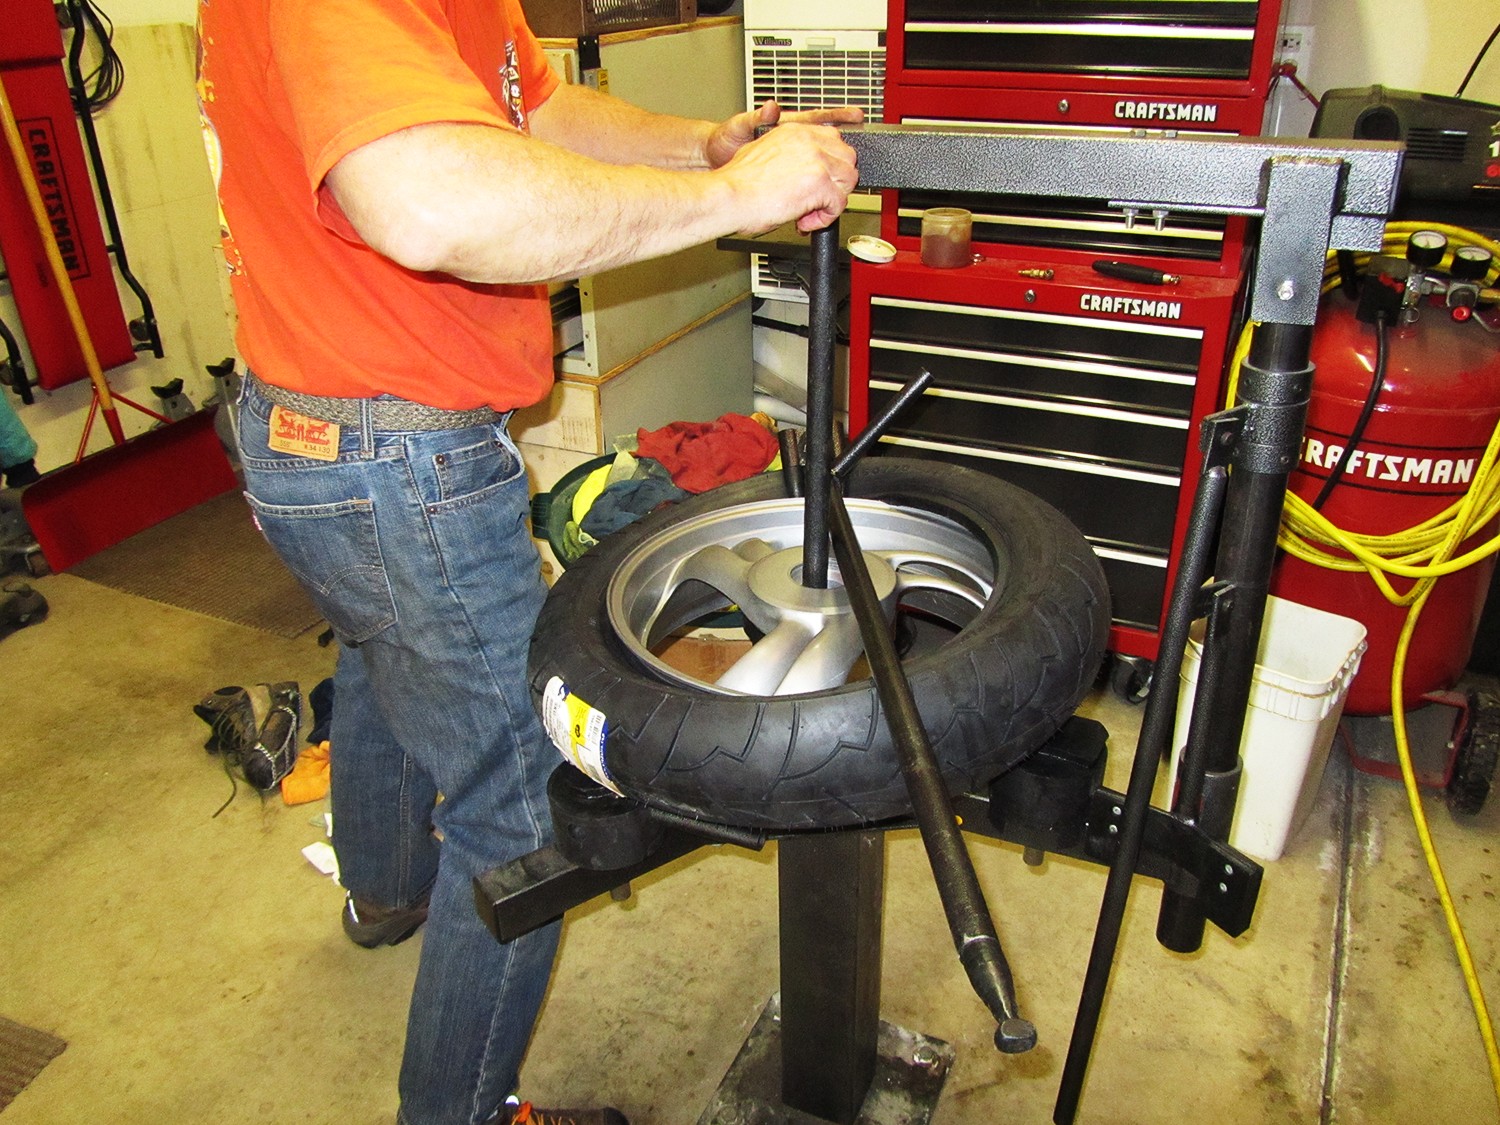
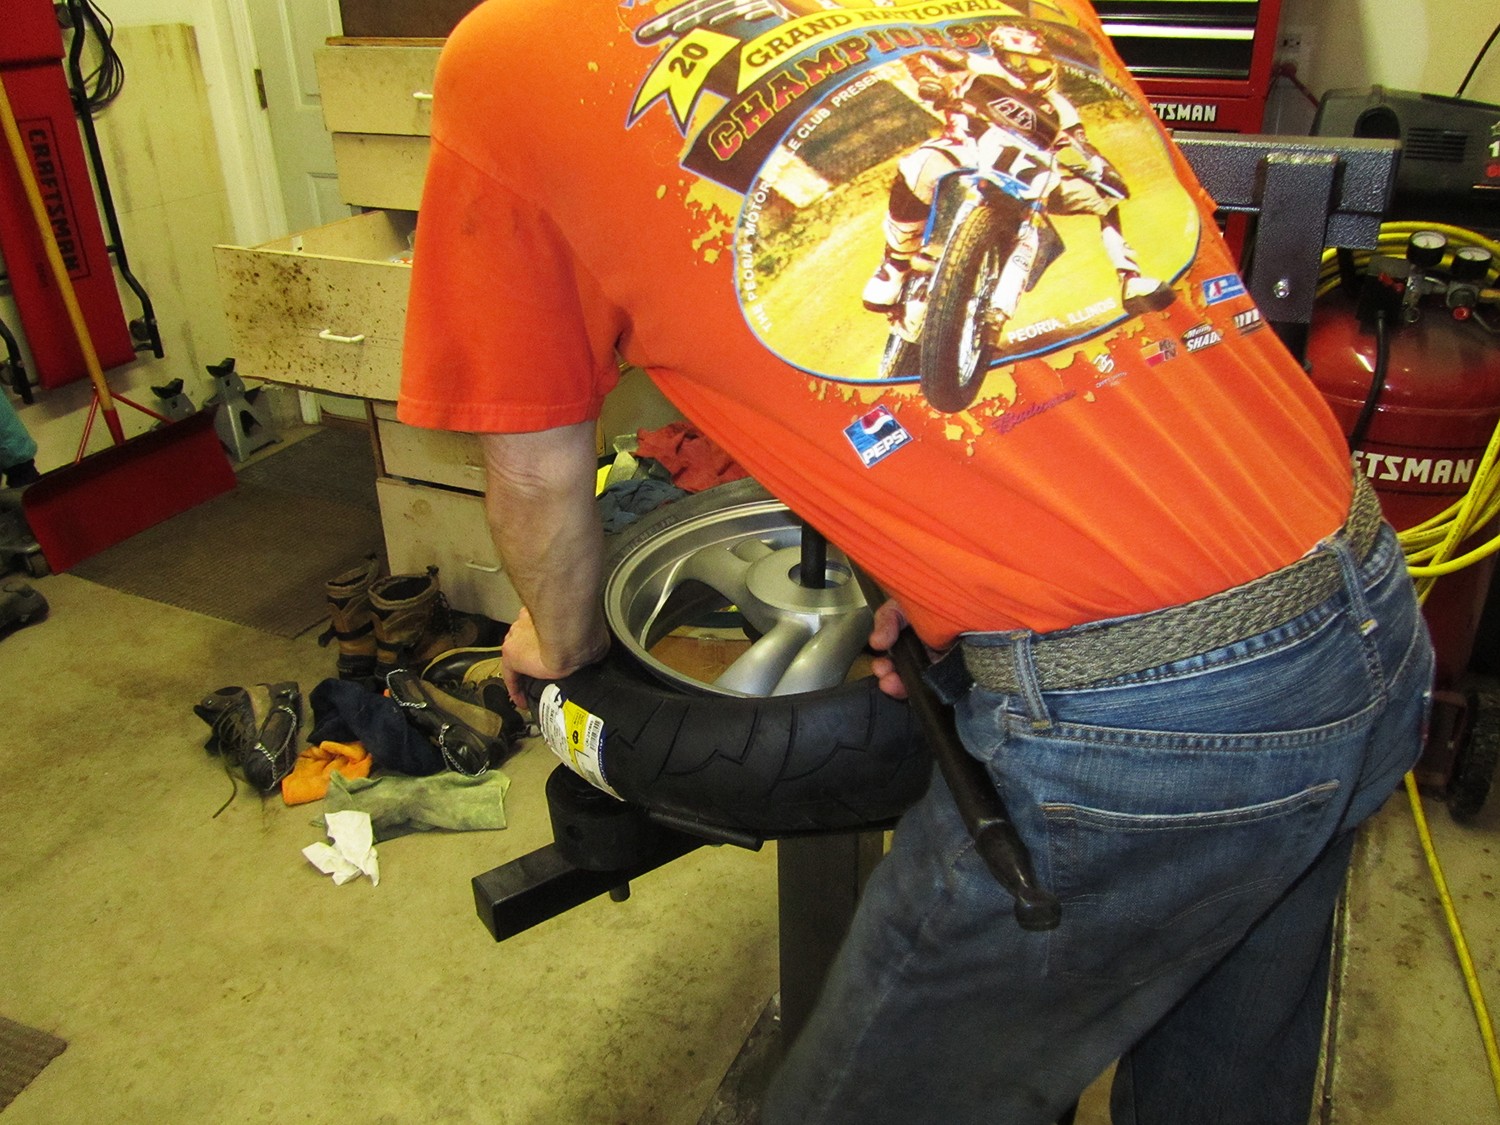
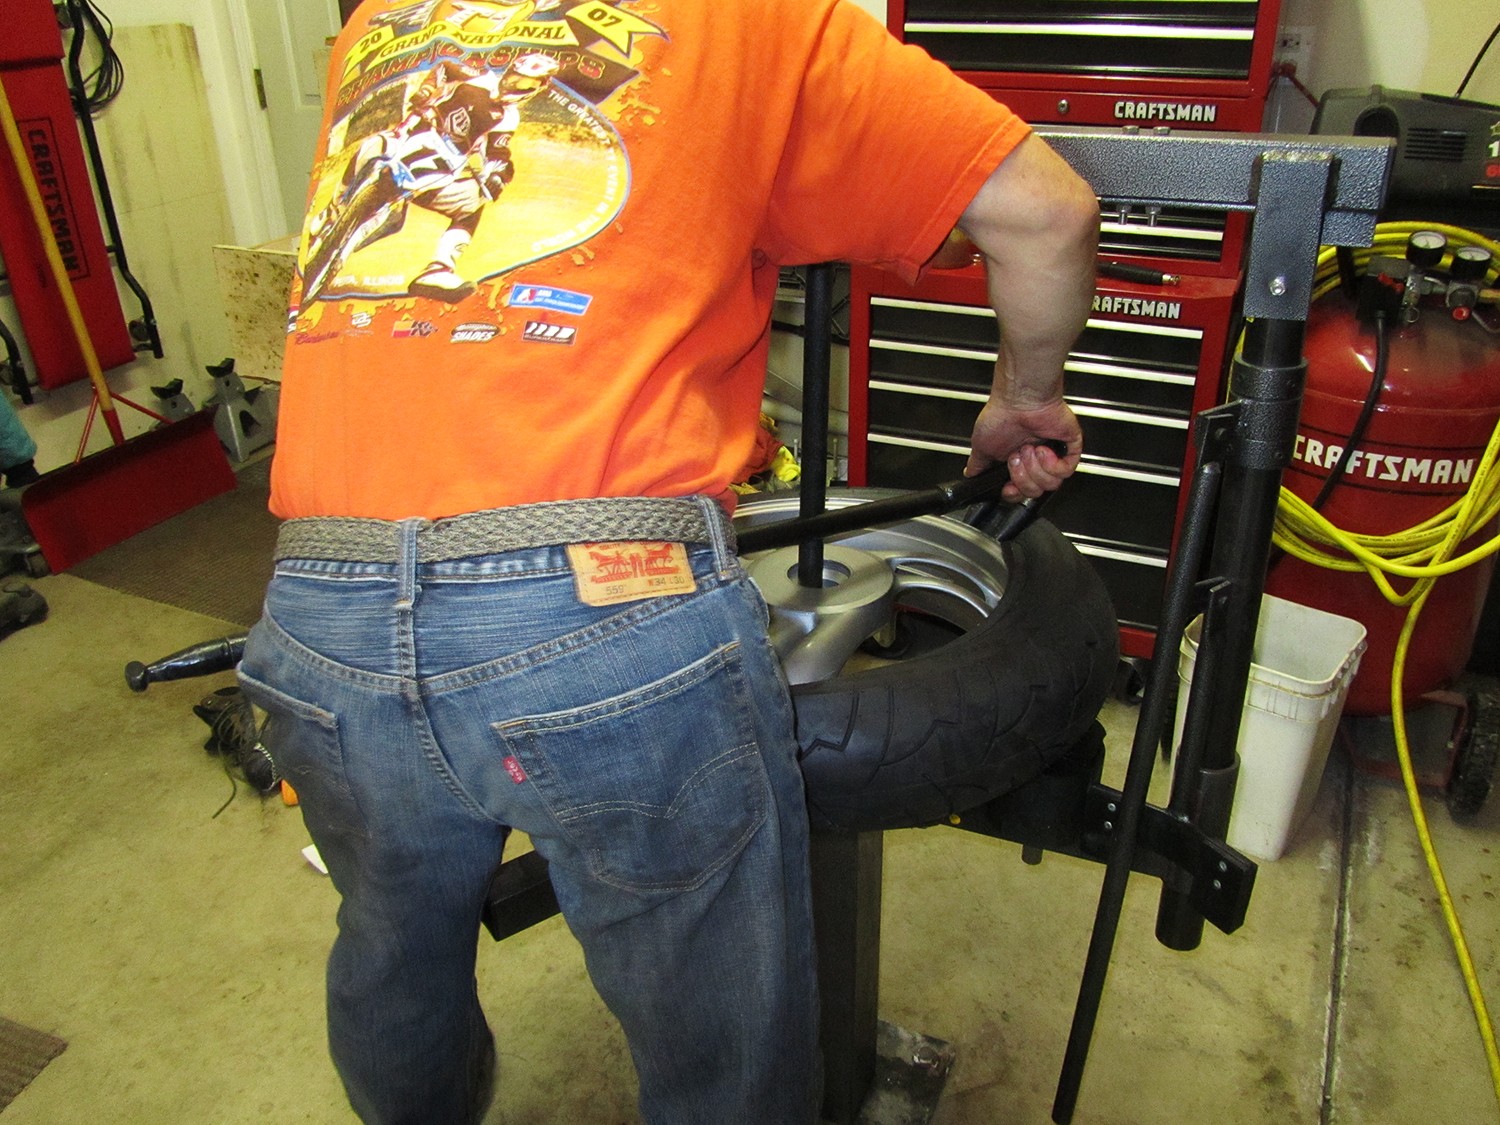
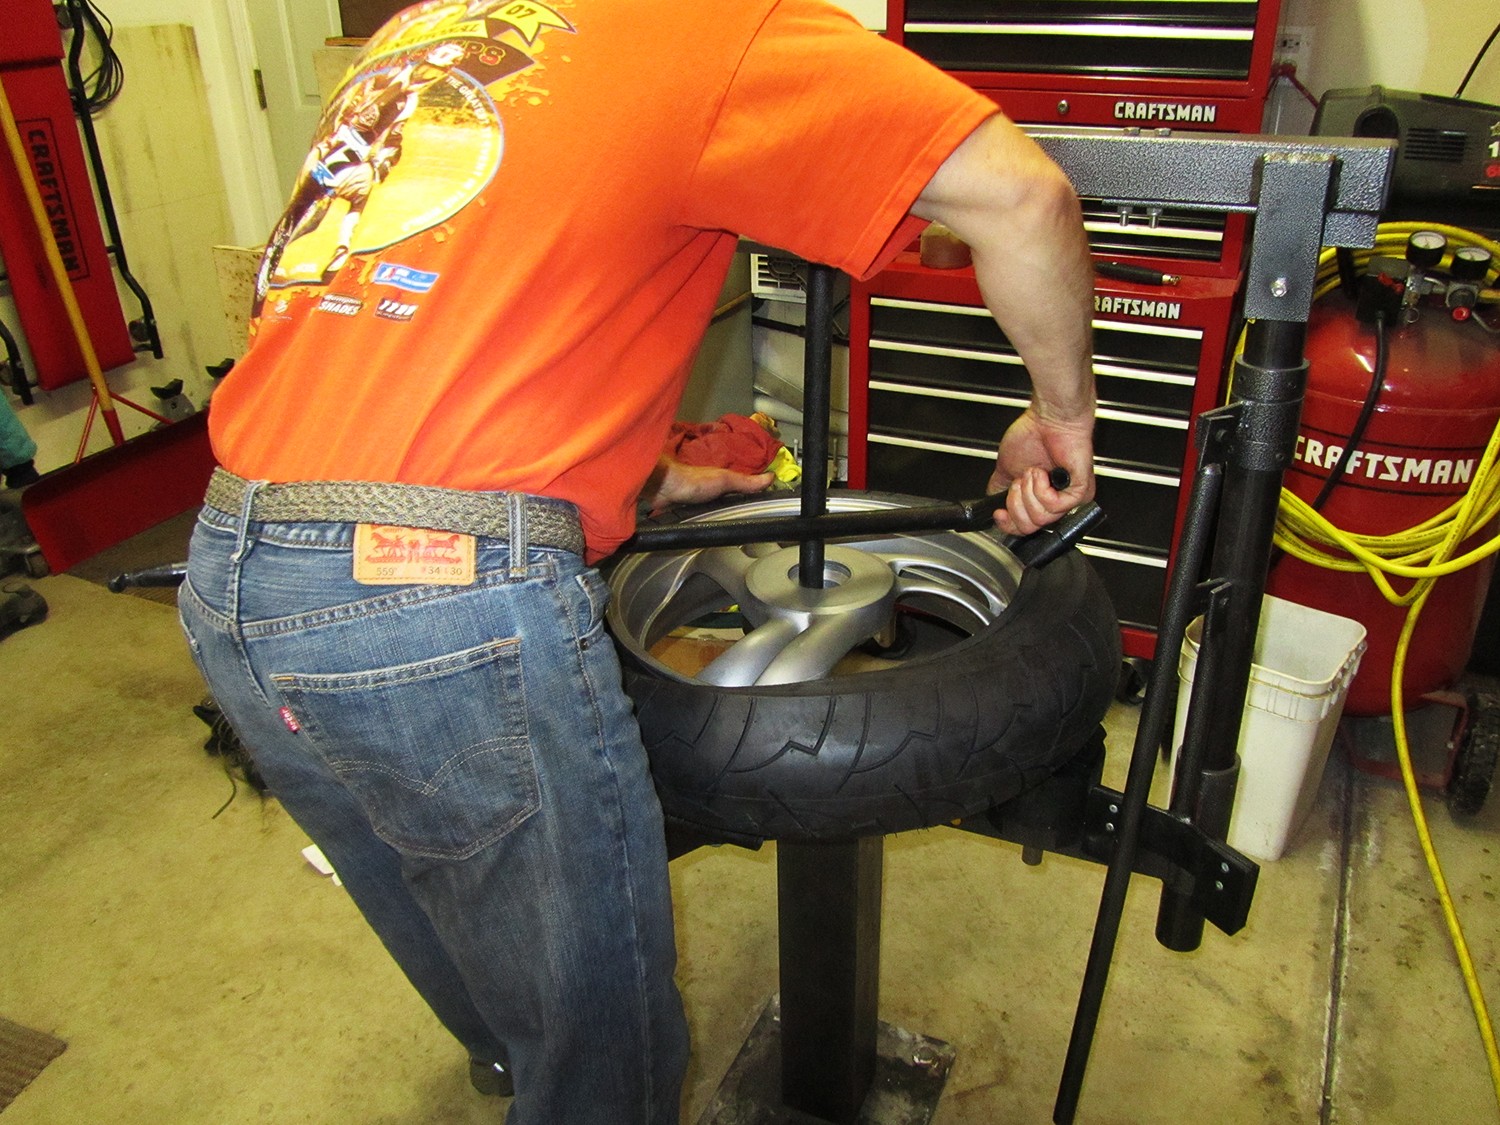
I have the XtraHand Clamps but rarely use them. It helps to push as much tire bead as possible into the drop center to create as much room as possible on the opposite side. With the bead positioned in the drop center, insert the demount (single tip) end of the mount/demount bar between the bead and rim around the 9 o'clock position of the wheel. Ensuring that only the non-marring part will contact the wheel, pull the demount bar up and carefully lay the bar across the wheel behind the wheel center. Drop the No-Mar center post into the wheel bearing center and lock into place.
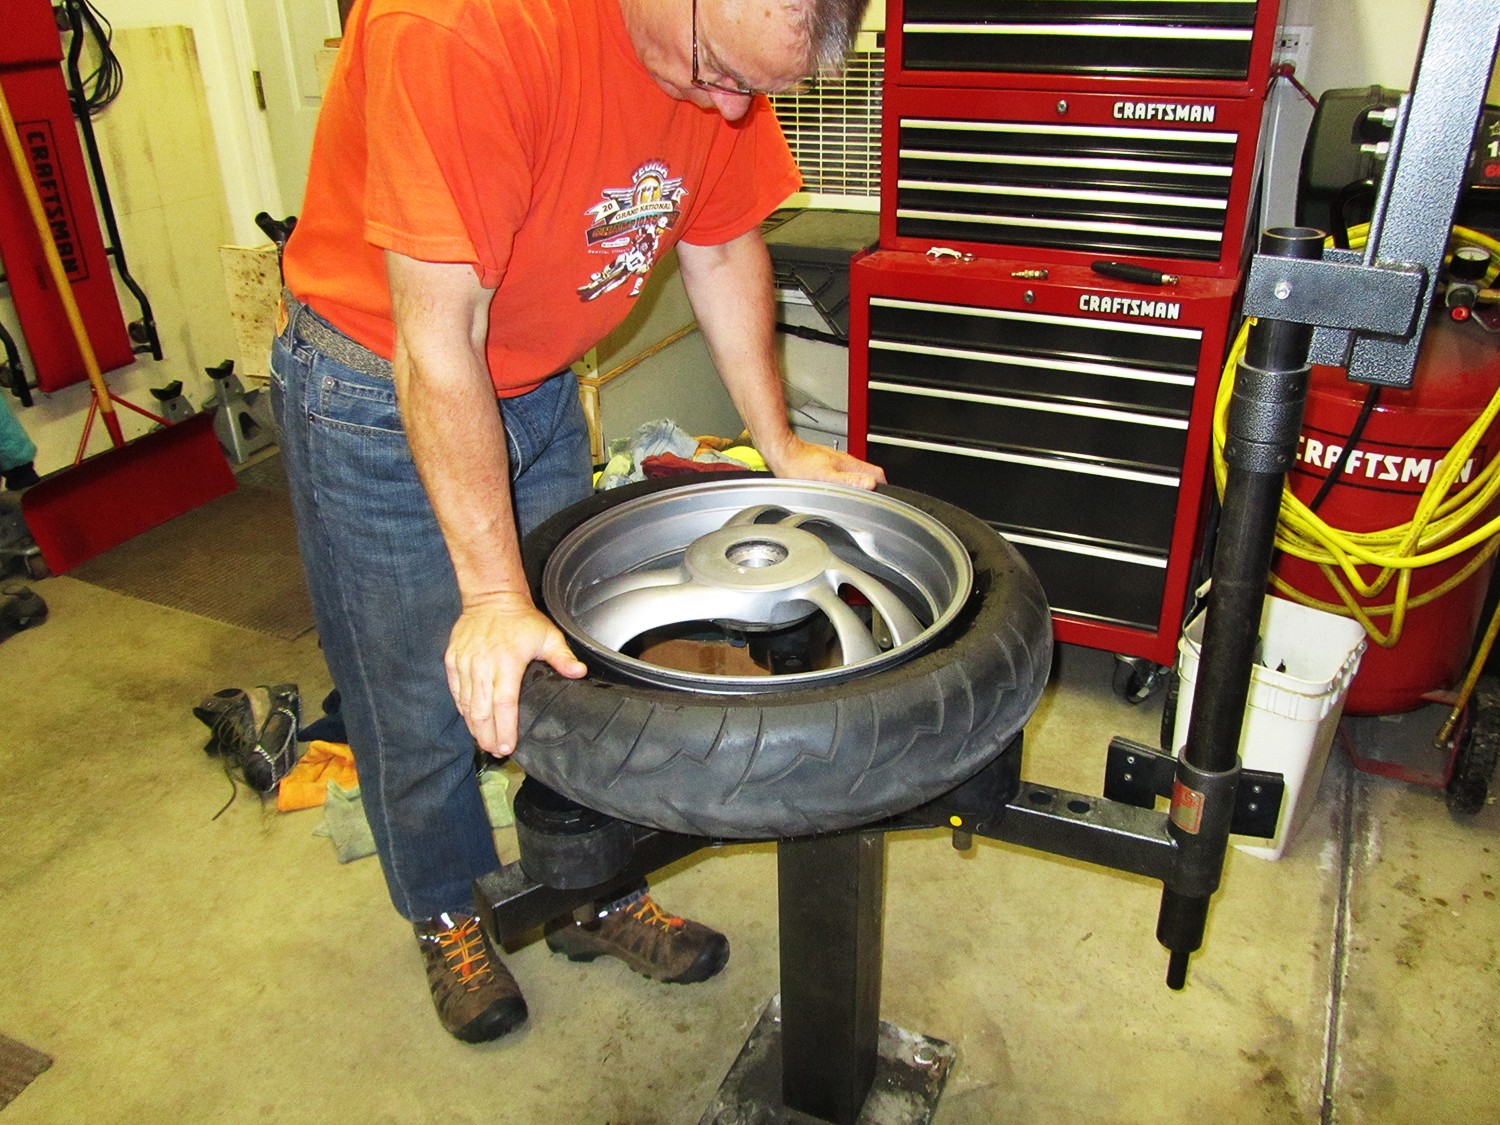
Use your left hand to lift the tire below the mount/demount bar while pulling the bar toward you and around the wheel from the right side, using the center post as a lever. If you have applied sufficient lube and have kept the bead in the drop center, the top bead will come off the wheel with remarkable ease! To demount the bottom bead, follow a similar process, except lift the bottom bead to place it in the drop center. The lower bead is usually much easier to remove than the top bead.
Quick Tips (2)
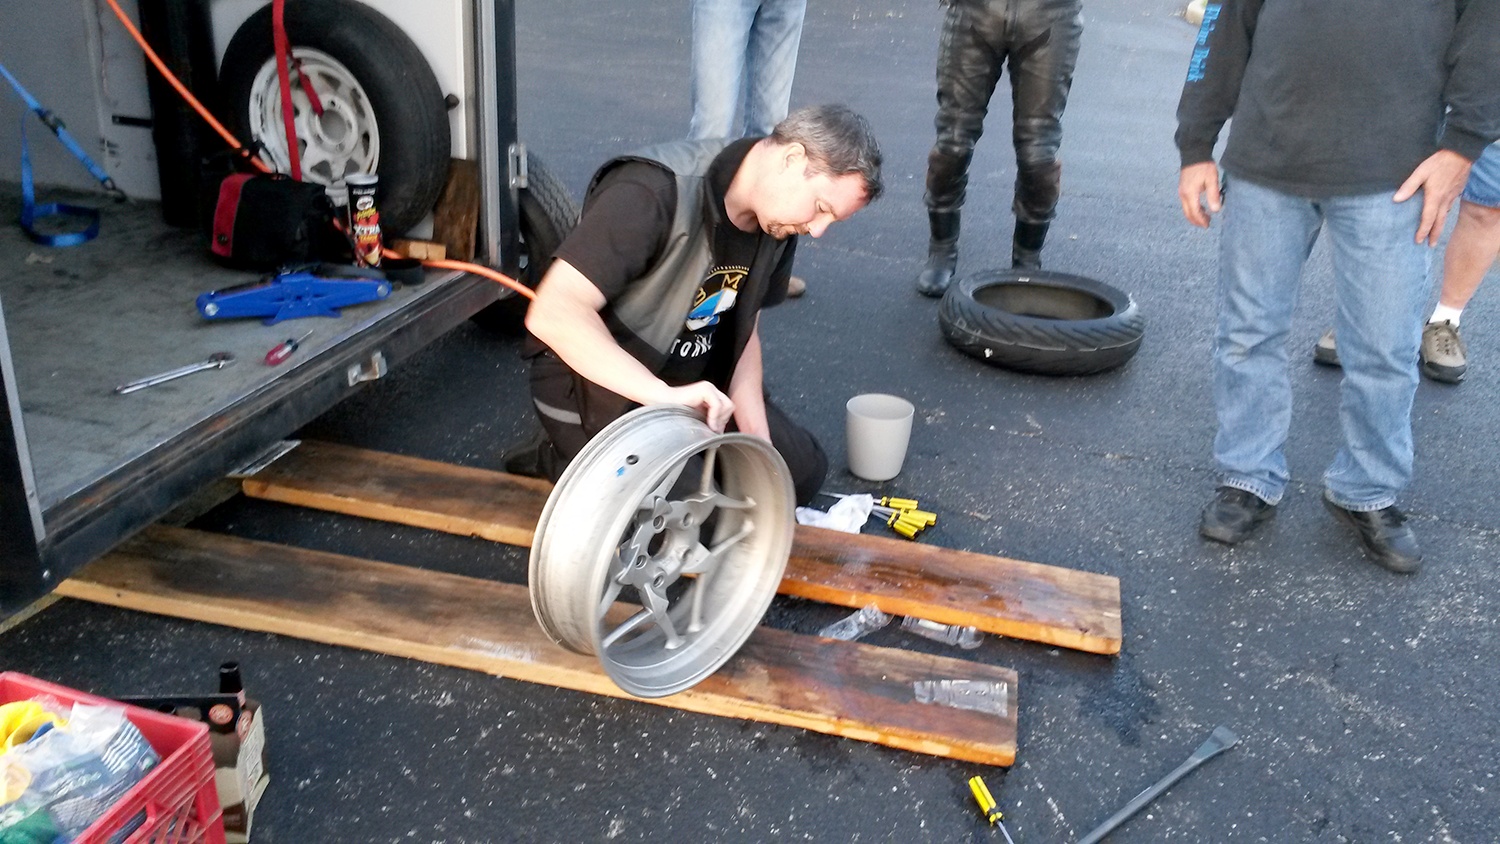
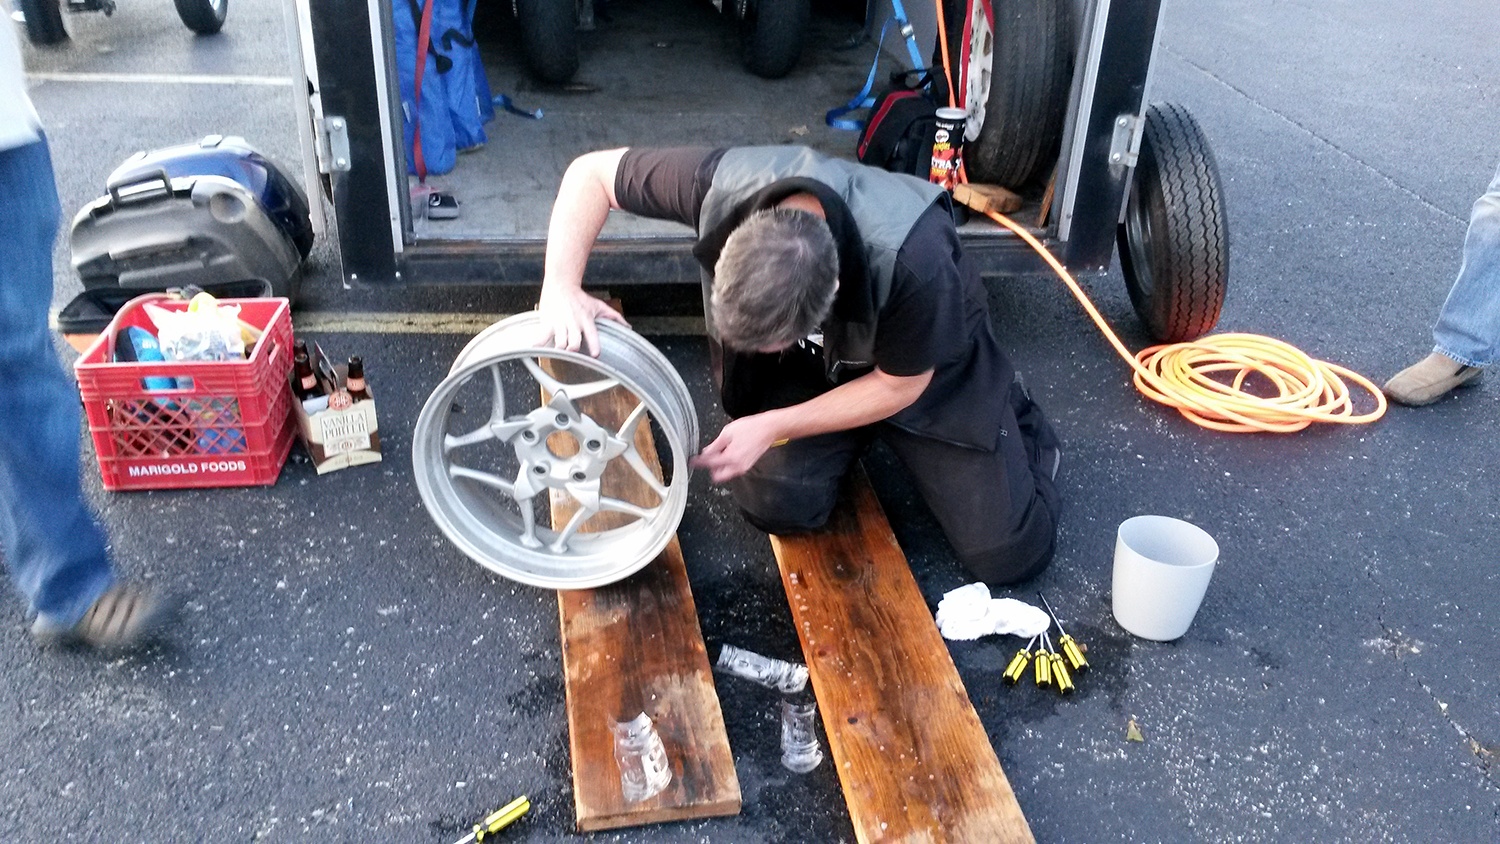
- I highly recommend cleaning the bead areas of the wheel at this point. I've had bead leaks from wheels that didn't look bad at all (conversely, I've seen wheels that looked horrible that didn't leak but why take the chance?). I've found that green Scotch-Brite scouring pads and WD-40 do a great job of removing corrosion, grease, dirt and grime from wheel beads. I've never encountered bead leaks from wheels cleaned this way.
- Replace the valve stem! I can't stress this enough. I've seen rubber valve stems break, luckily without terrible consequences. A couple years ago a very close friend of mine had a rubber valve stem failure on a wickedly twisty road with his wife riding pillion. They were lucky that the failure occurred at the end of the road just before a service station.While there's some argument on the rubber versus metal valve stem debate, I use metal valve stems exclusively. No-Mar offers a variety of metal valve stems in several sizes and angles. Be aware that different manufacturers use different size valve stem diameters. Basically, European brands use 8.3mm valve stems while Japanese brands use 11.3mm valve stems. Be sure to verify as this is a critical safety factor!
- While you have the wheel off the bike, show it some love. Clamp the wheel in the No-Mar tire changer and clean all those hard to reach places that you can't get to with the wheel installed on the bike. Check the wheel bearings and replace if they're notchy, loose or have torn seals.Check the cush drive rubbers (if chain drive) and replace if worn. Check and lube shaft drive splines while you're at it. All these small but important items are things that your dealer likely does not do, an aforementioned benefit of doing you own work.
Stay tuned for part two when we'll mount our new tire on a newly cleaned rim! Join the emailing list so we can notify you. Alternatively, consider our site feed.

What Tire Changers Have You Used?
There are other tire changing systems on the market. Which ones do you prefer? What do you like about them and why? Your input is invited. Leave a comment and/or write an article!



Thoughts gone wild? Write an article!