Unfold our FTC disclosure melodrama here. The following article was last updated on Dec 1, 2024 ...
De-Winterize Your Motorcycle Step-By-Step
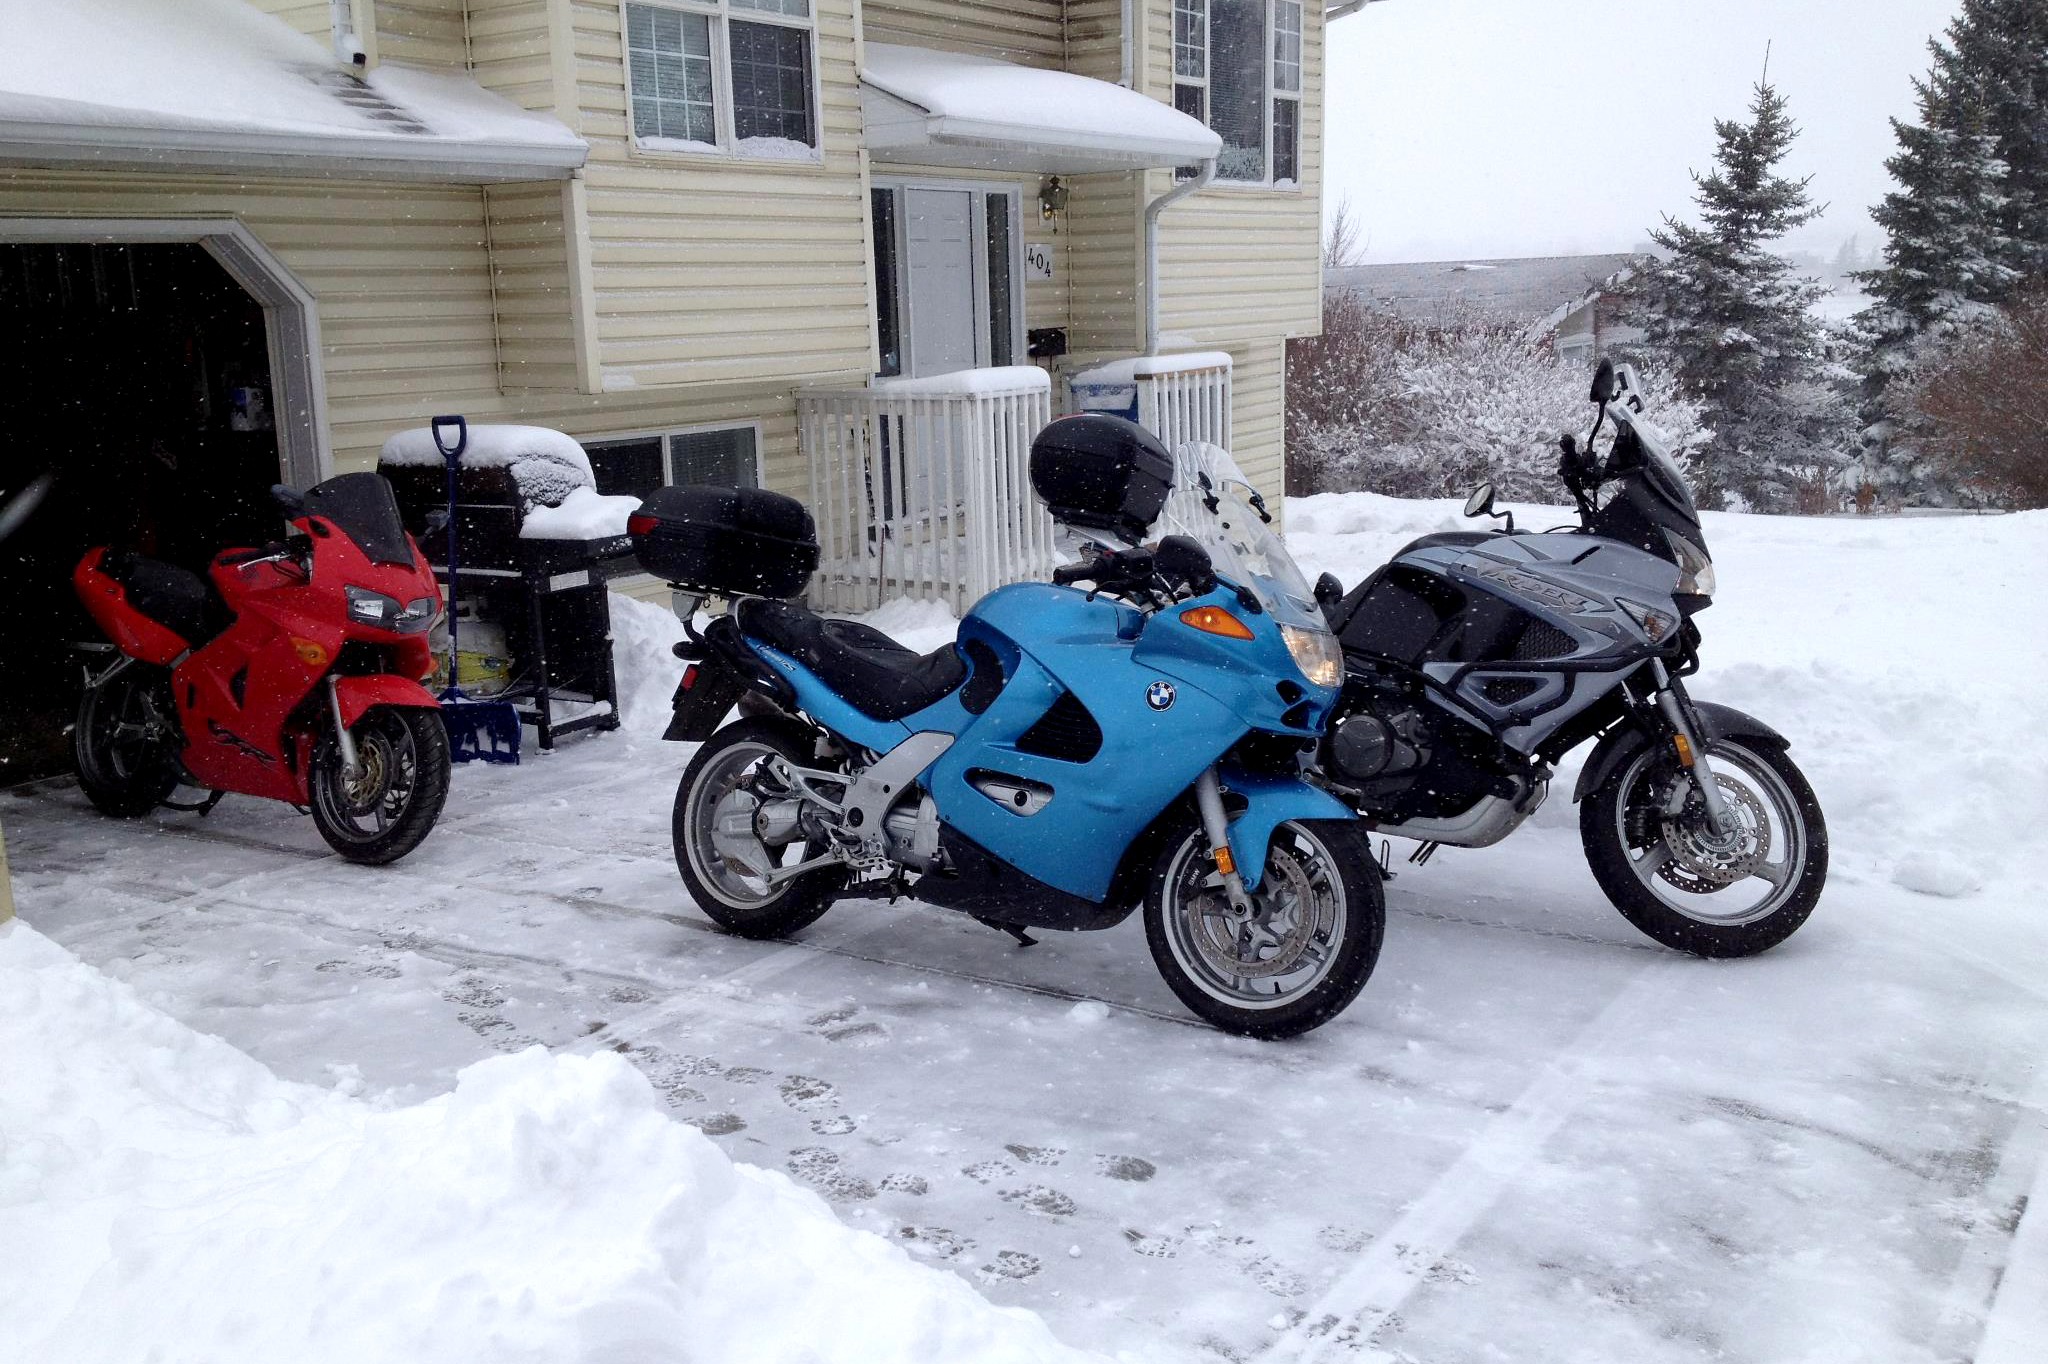
The motorcycle riding season approaches! If you're as excited about it as we are, you're probably chomping at the bit, ready to de-winterize and ride just about anything on two wheels. Pull the covers and ditch your cabin fever as we prepare our motorbikes for immediate use ...
It's important to note that this page assumes you've followed our guide on how to properly winterize your motorcycle. With that in mind, some of what you're about to read is simply a reversal of the process. There's a little more to it than that to however, so mind the details.
Once you de-winterize, be gentle with the engine for no less than thirty miles. This allows for it to find balance while establishing consistent performance. Ready to begin? Great! Let's start by checking to be sure you've got these products or a preferred substitute on hand.
- air compressor
- automotive sponge (fogging oil removal)
- cable lubricant
- cable lubrication tool
- chain/gear brush
- cotton shop rags (x5)
- distilled water (unless battery is sealed)
- Gunk degreaser (fogging oil removal)
- kerosene (unless O, X or Y-ring chain)
- large drying towels (x2)
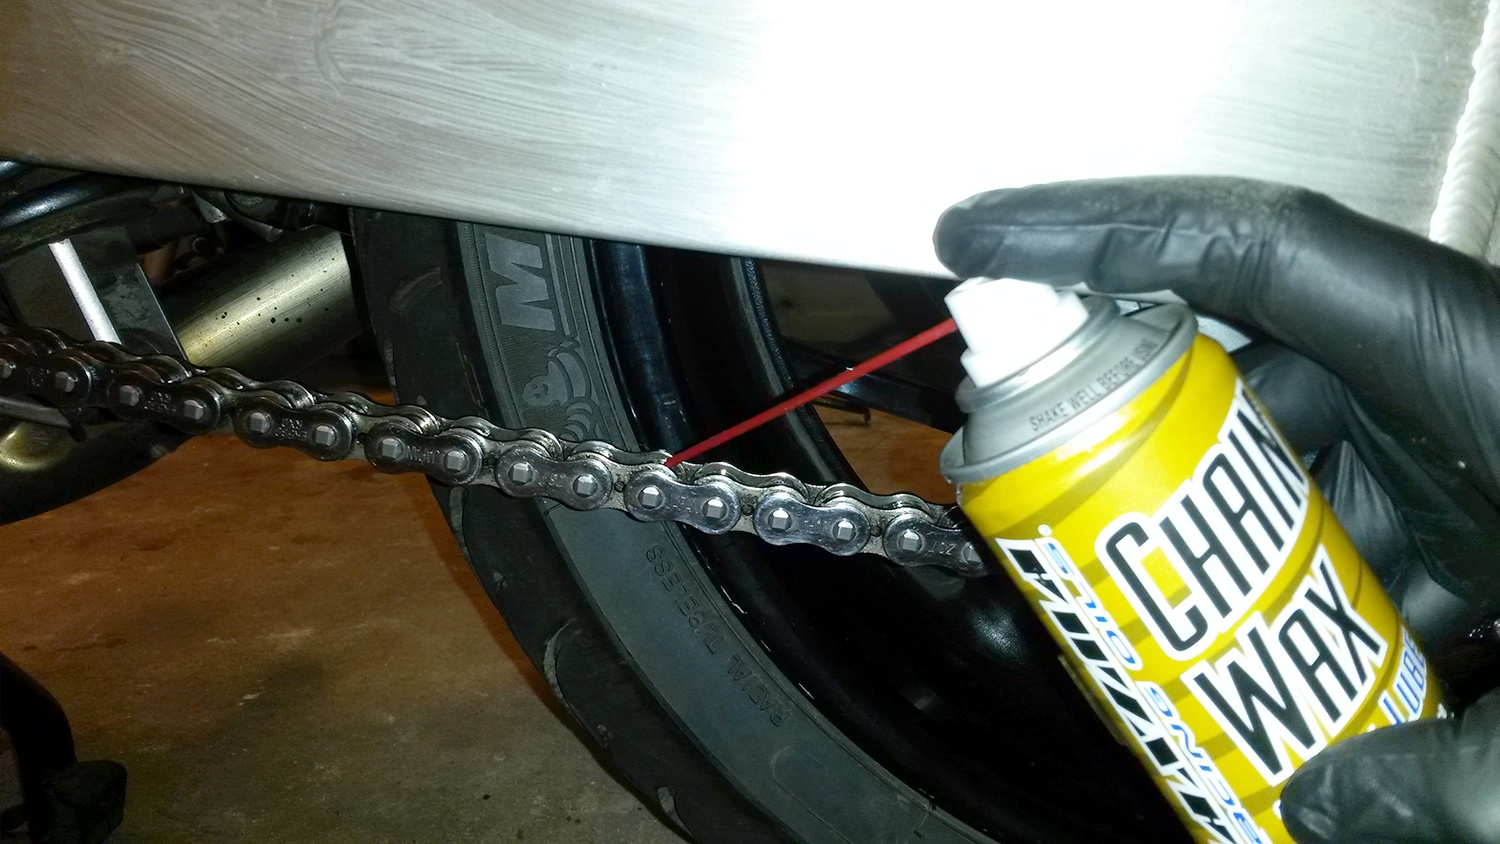
- Maxima chain wax (if chain driven)
- nitrile protective gloves
- organic dish soap (fogging oil removal)
- Rotella T6 5W-40 synthetic motor oil
- tire gauge
Steps To Completely De-Winterize
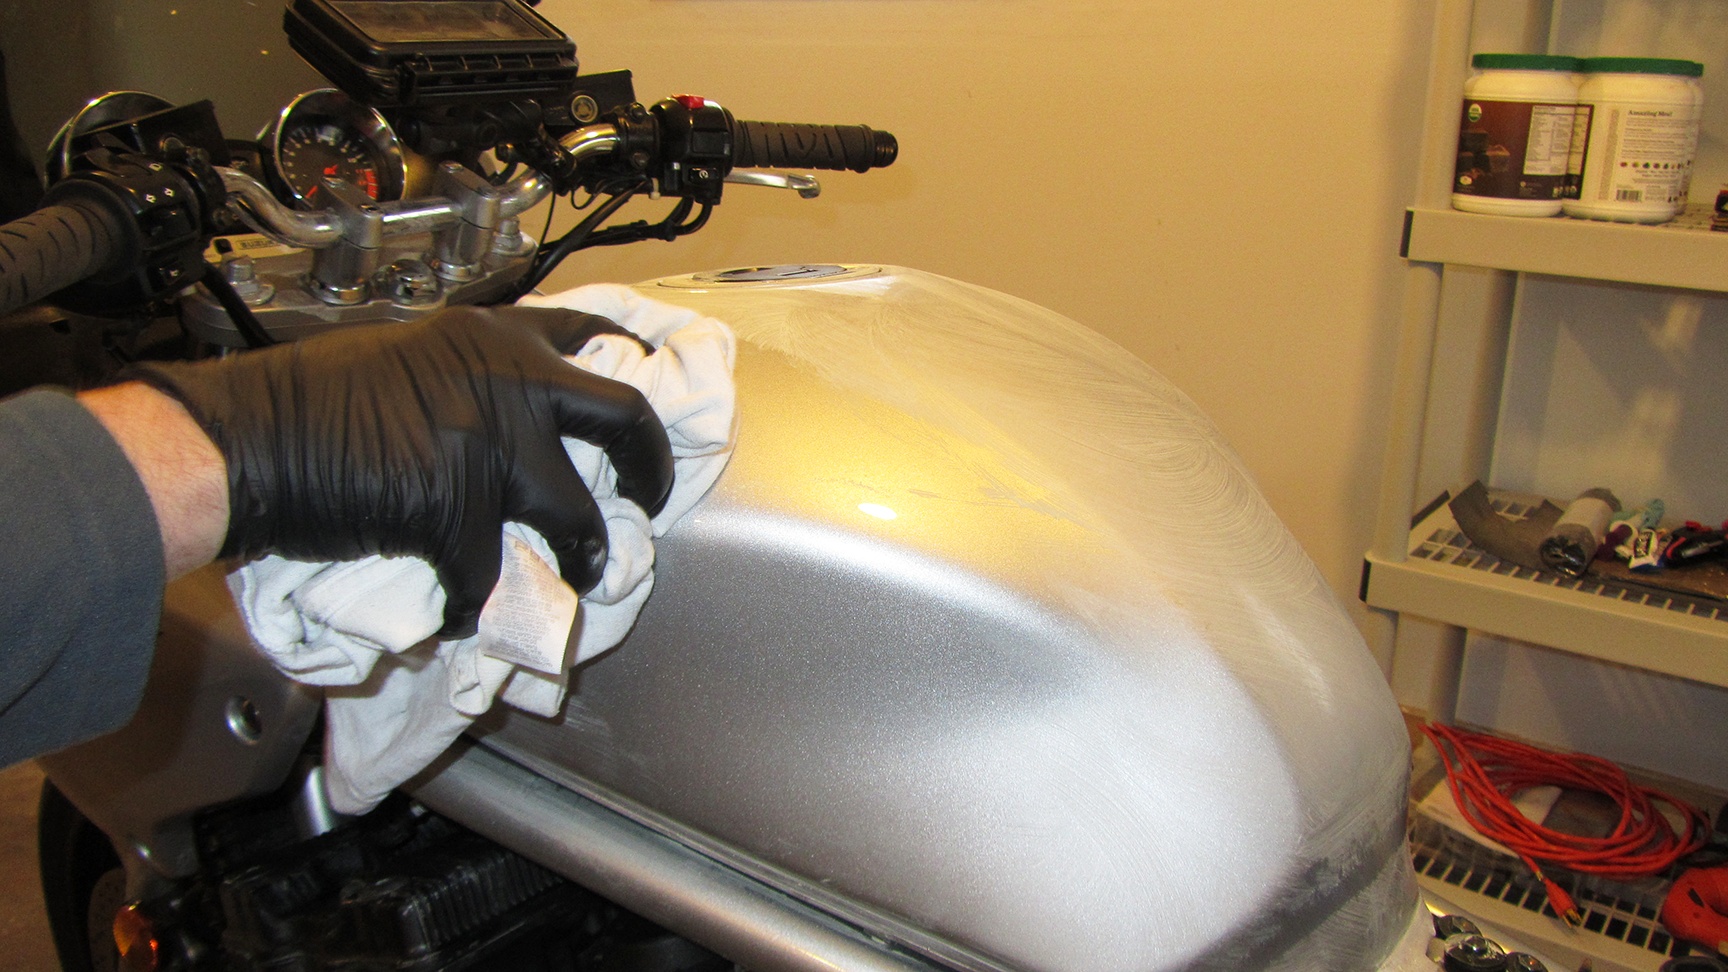
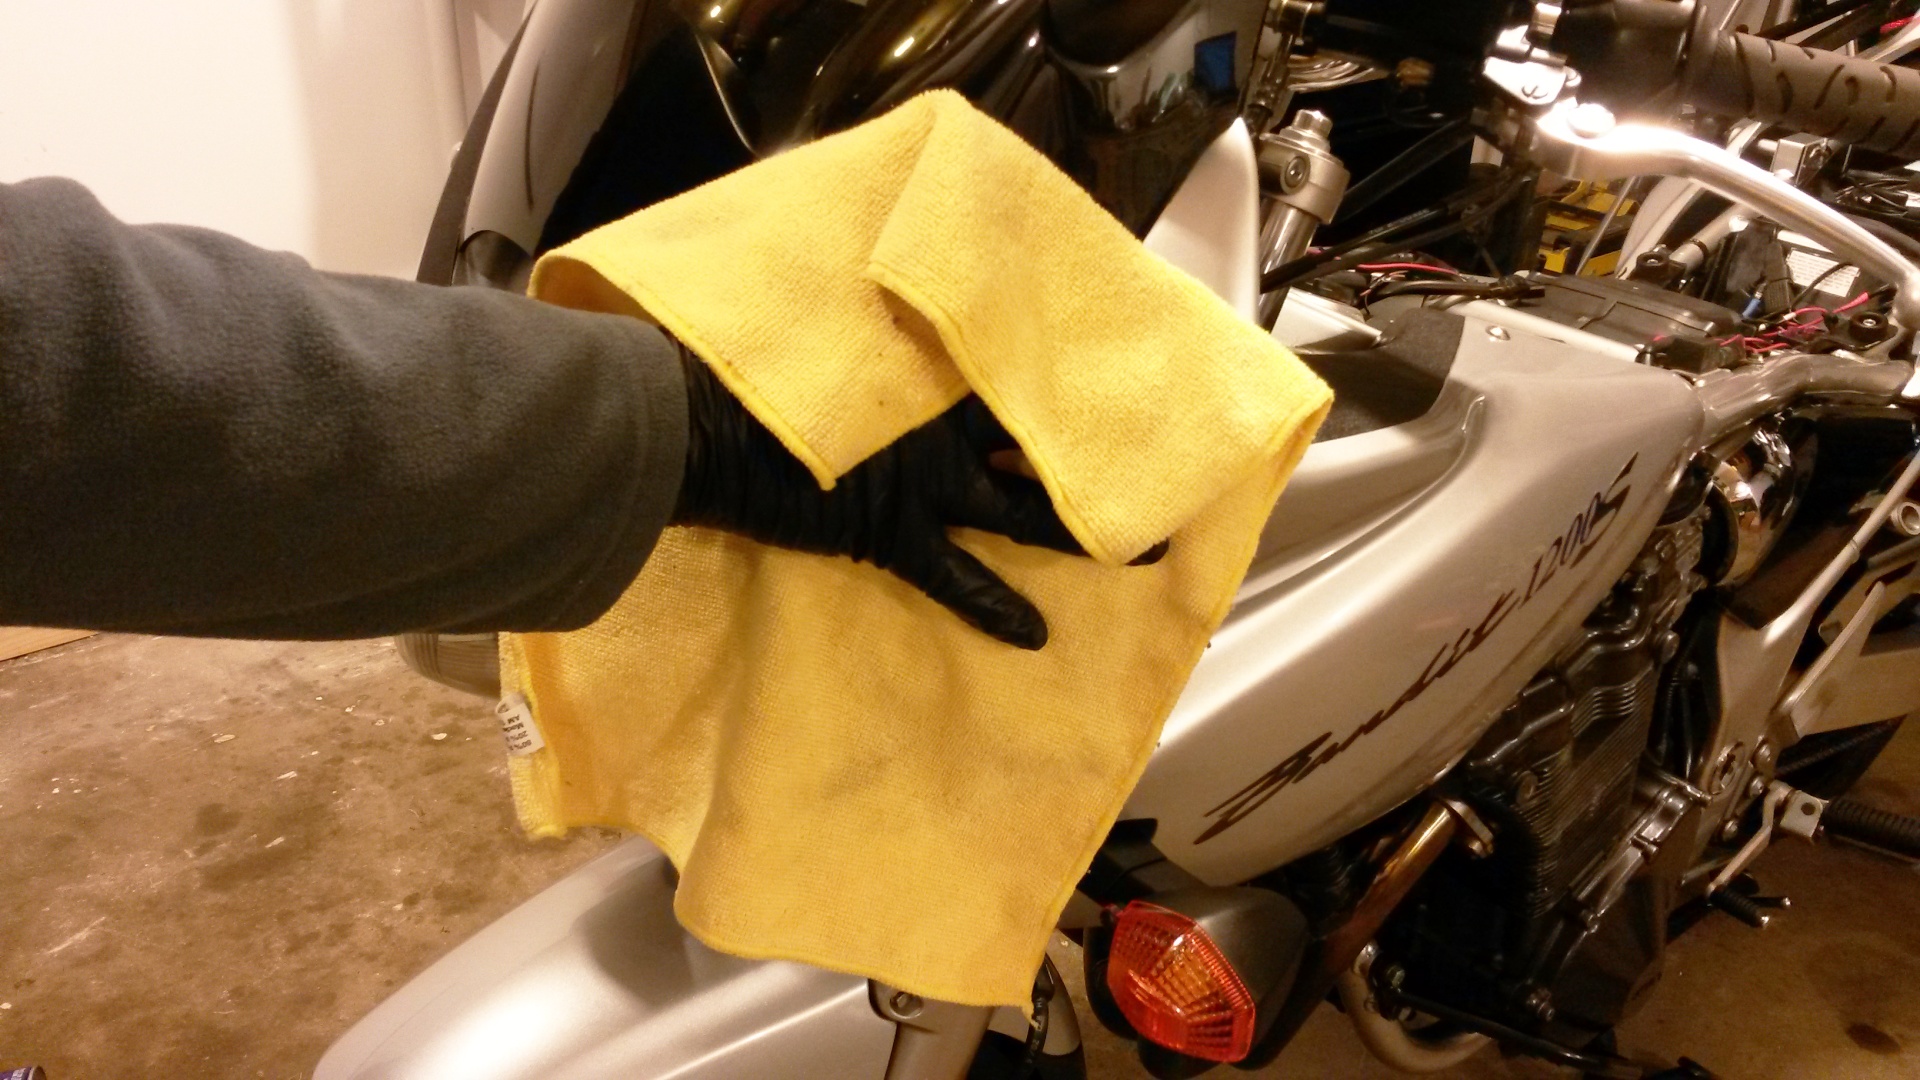
(1a) Using a large towel, gently wipe all Turtle Wax from the gas tank.
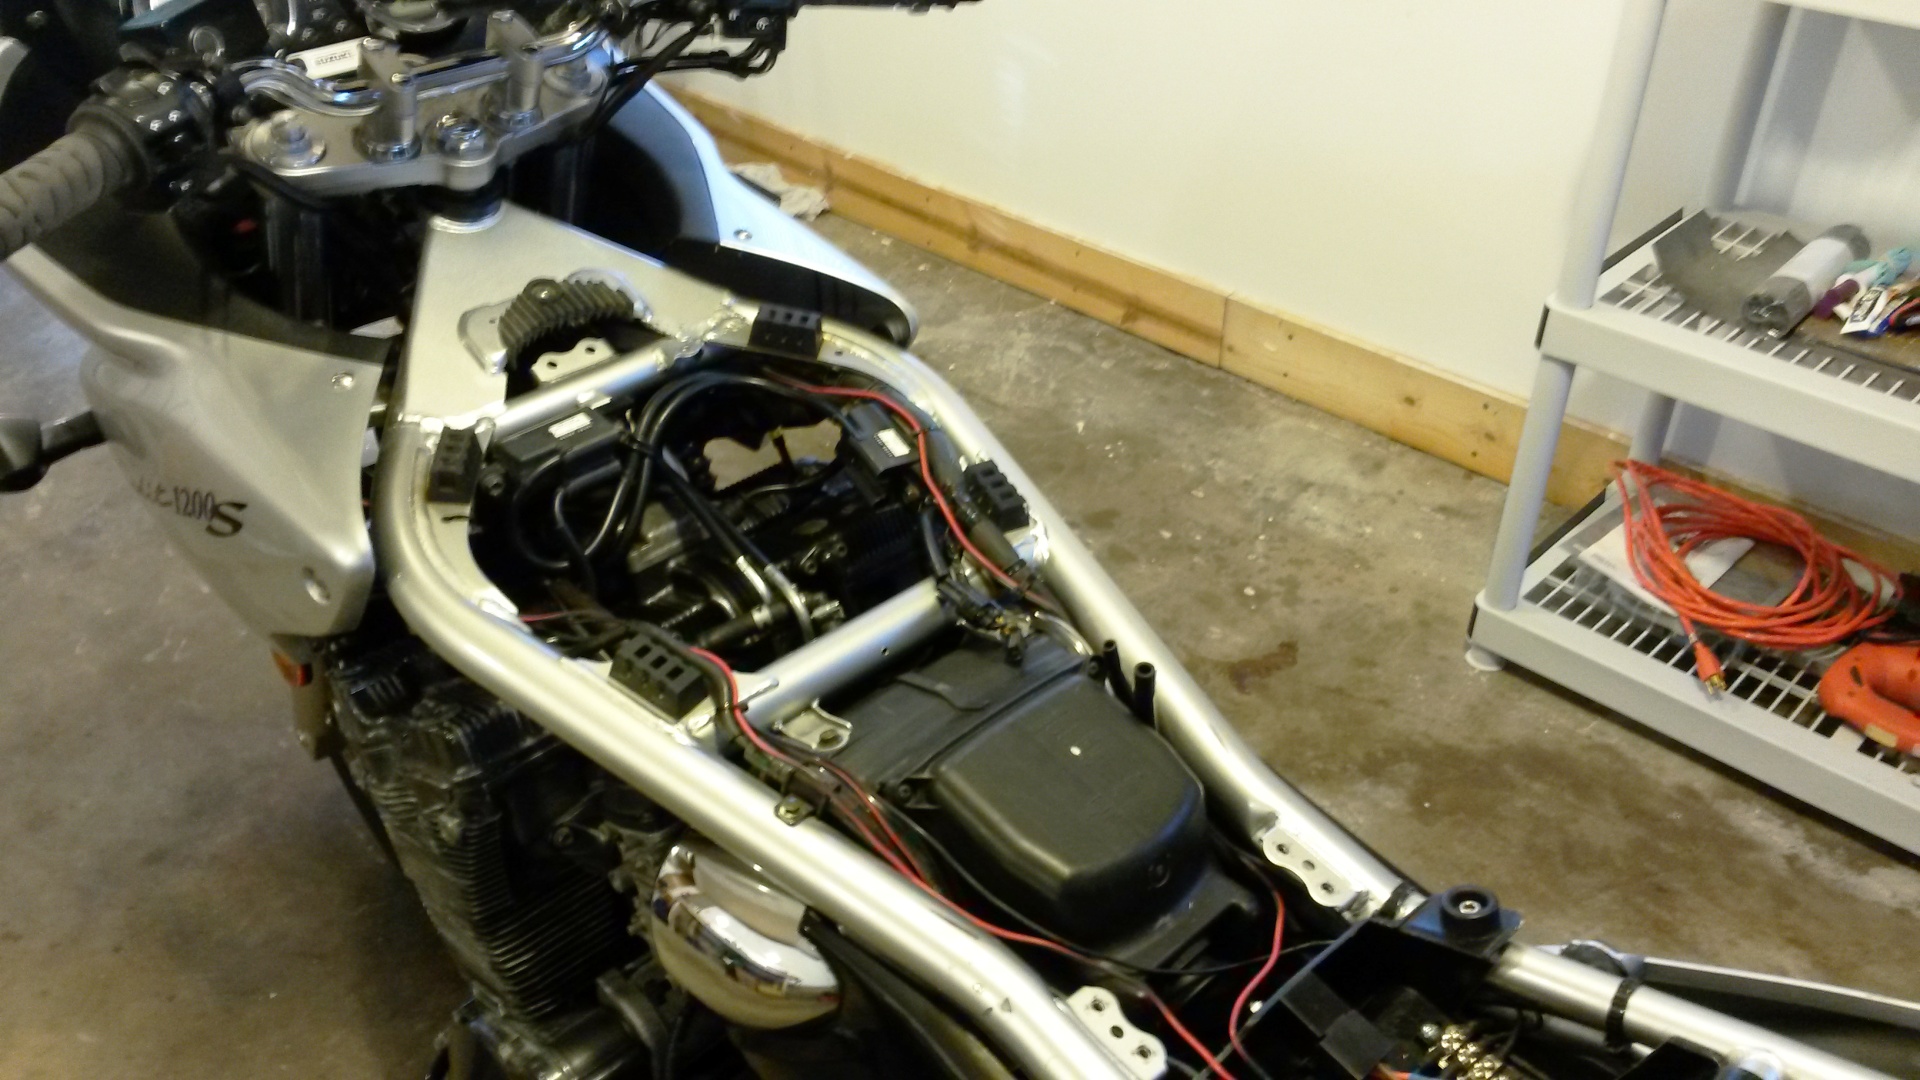
(1b) Remove the gas tank.
(2a) Remove rubber bands and plastic wrap from the air intake and drain hoses.
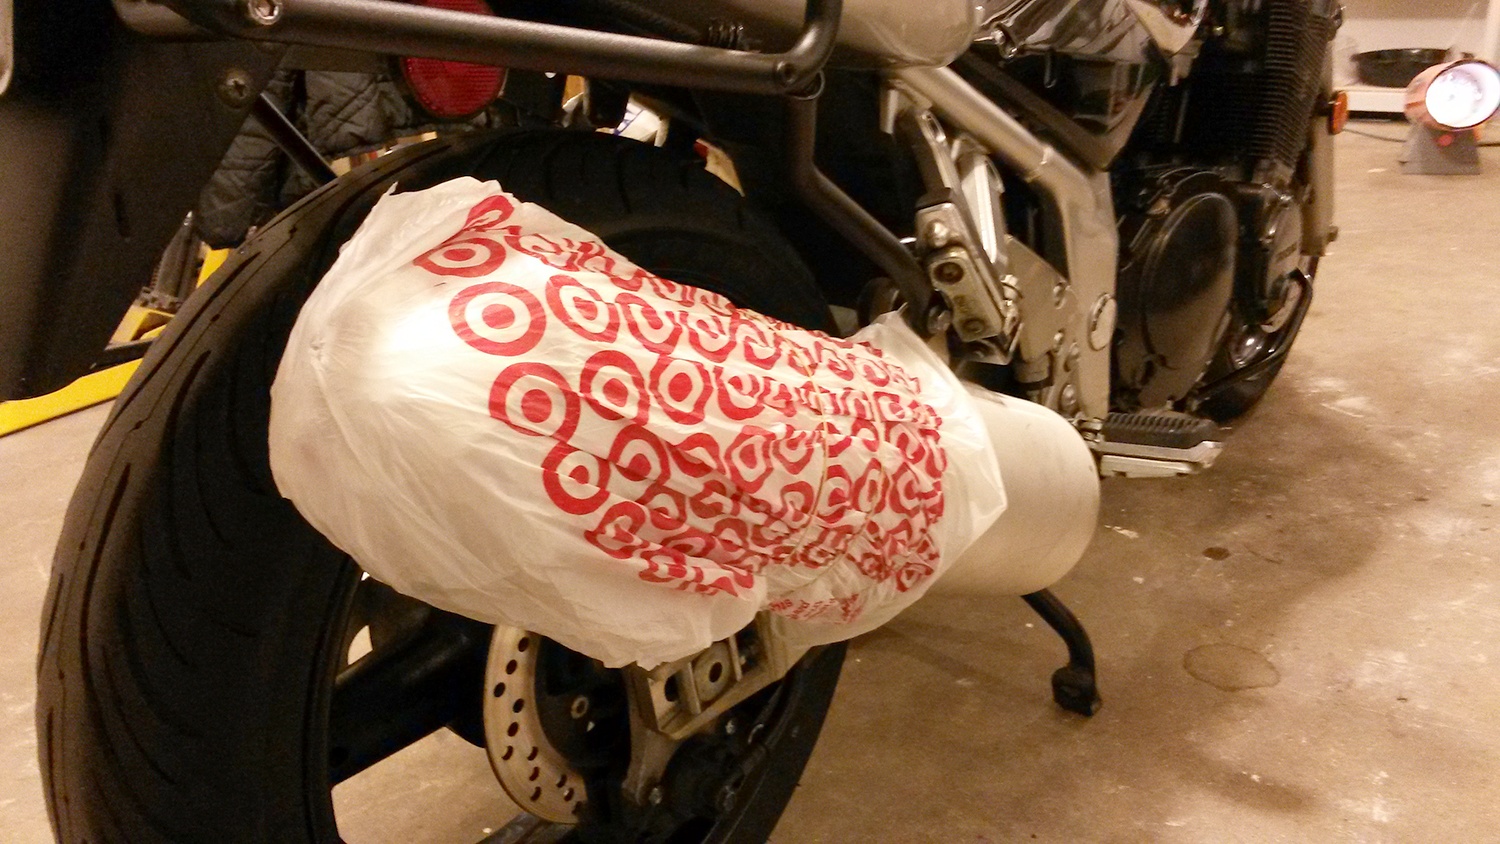
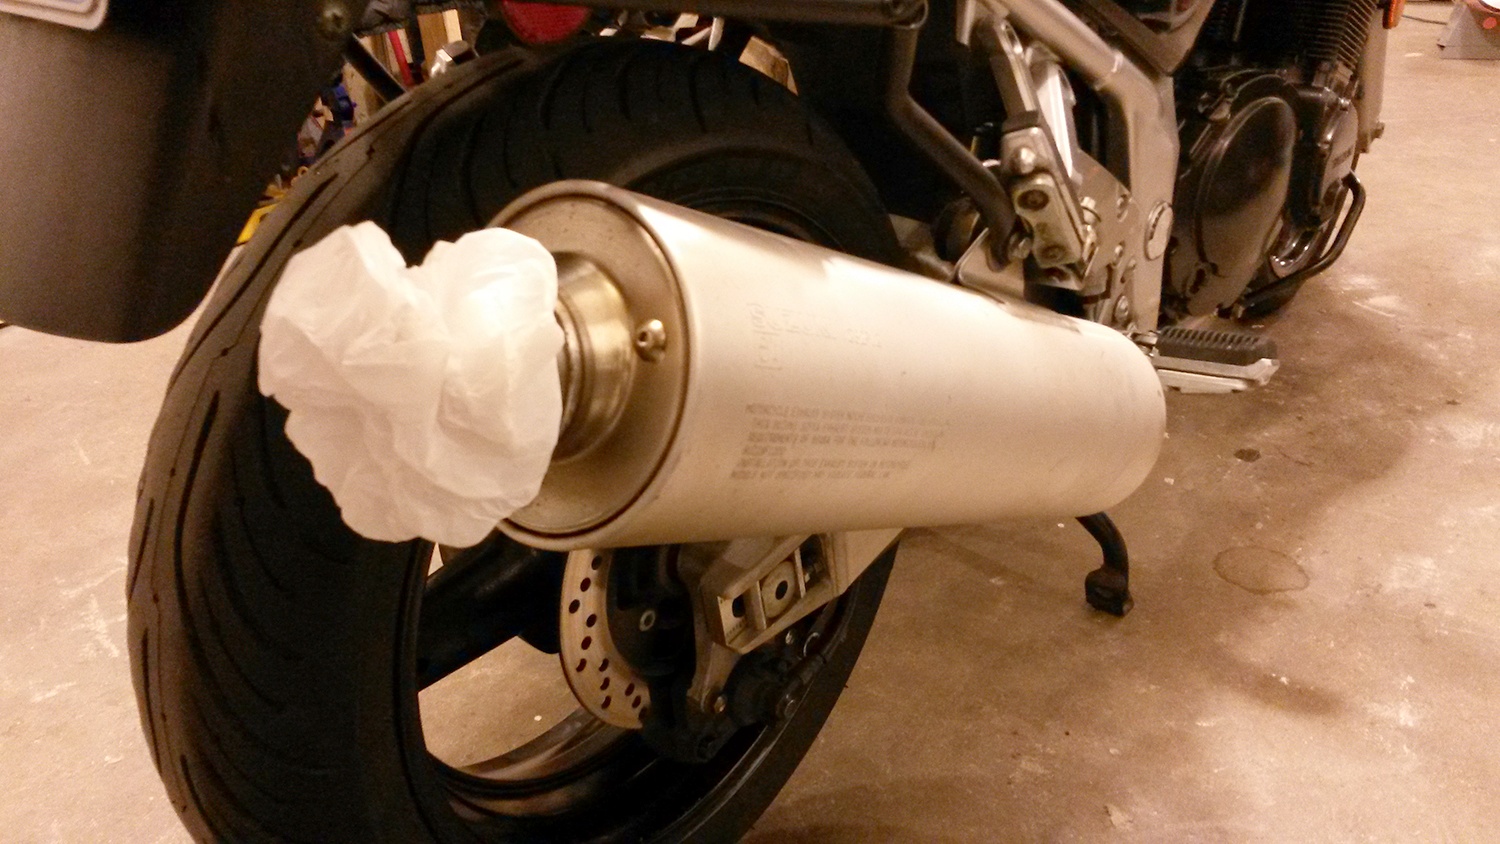
(2b) Remove rubber bands and garbage bags from the exterior of each exhaust pipe.
(2c) Gently pull small garbage bags out of each exhaust pipe.
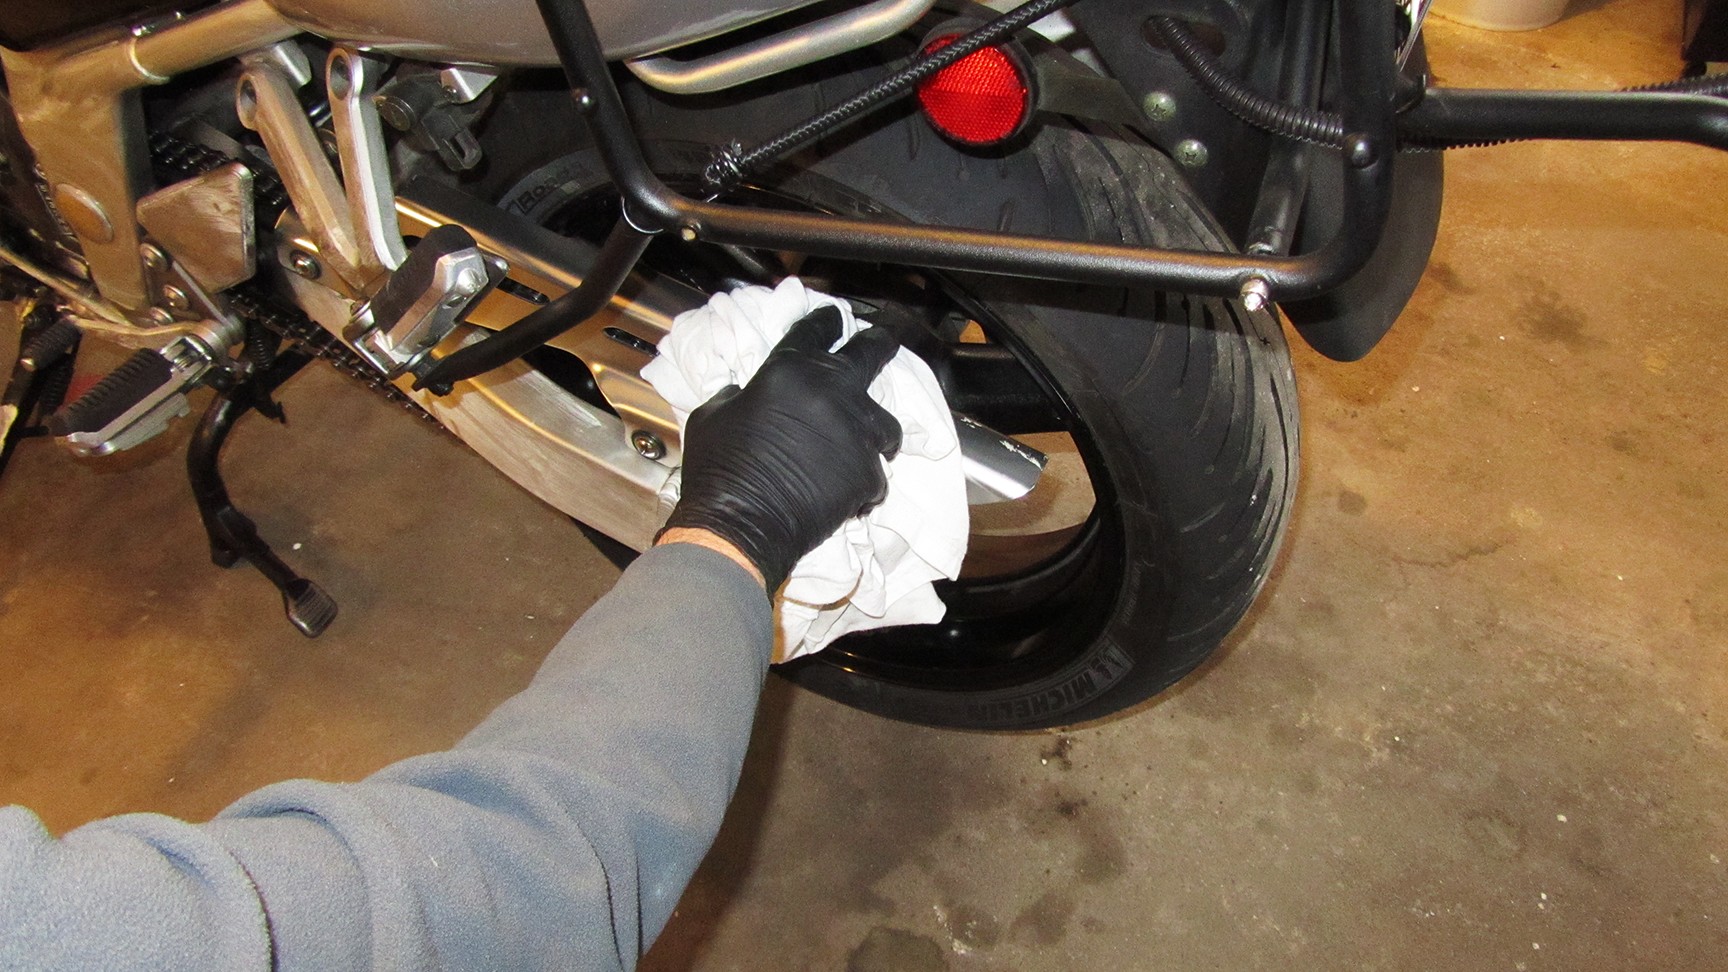
(3) Using the same large towel as with the tank, remove all remaining Turtle Wax from the bike.
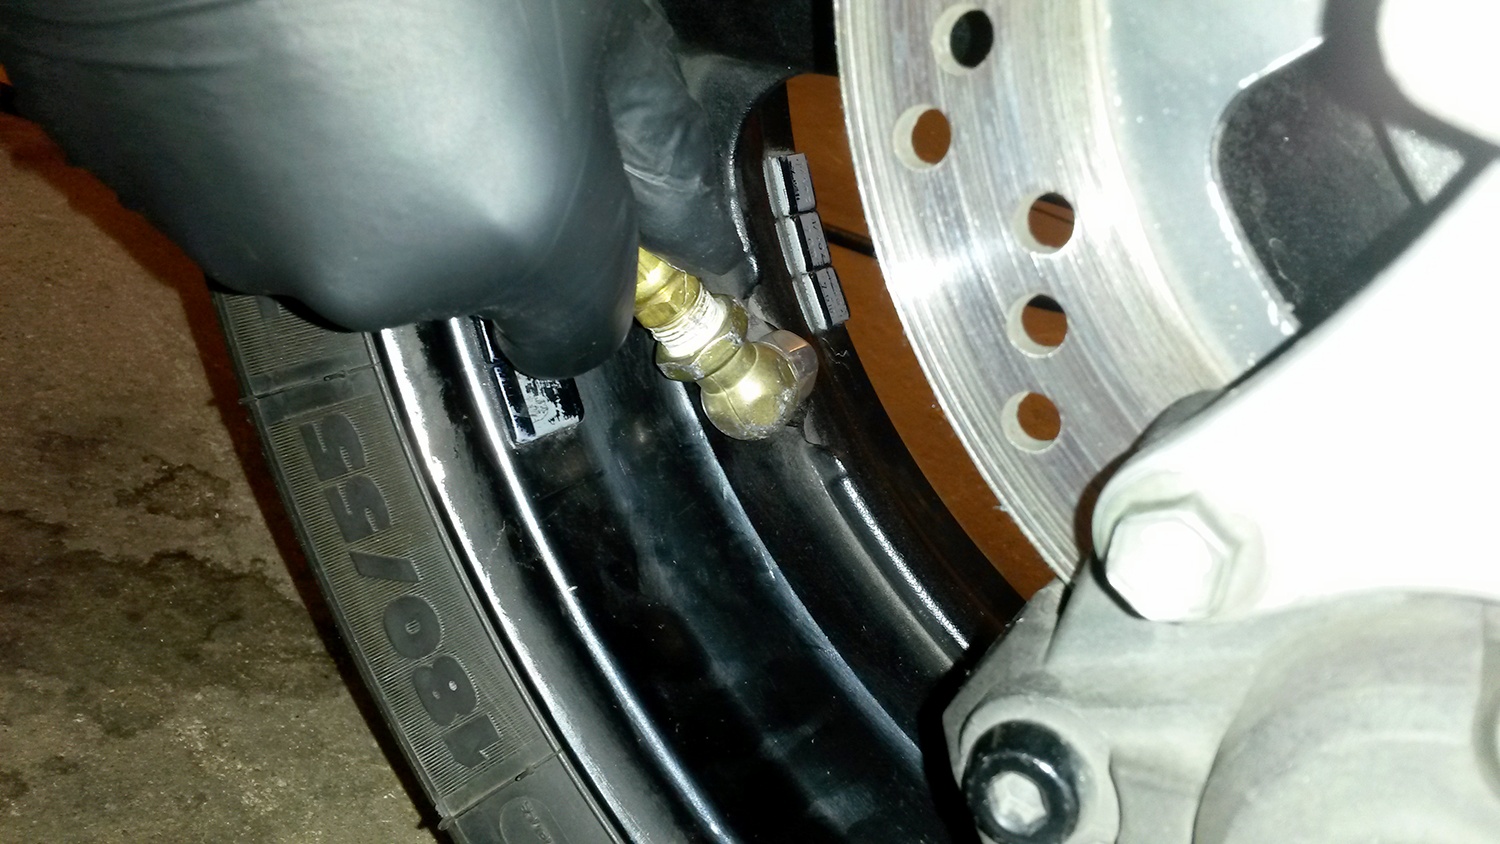
(4) Return your tires to their normal-use/recommended pressure.
Wipe Everything Down
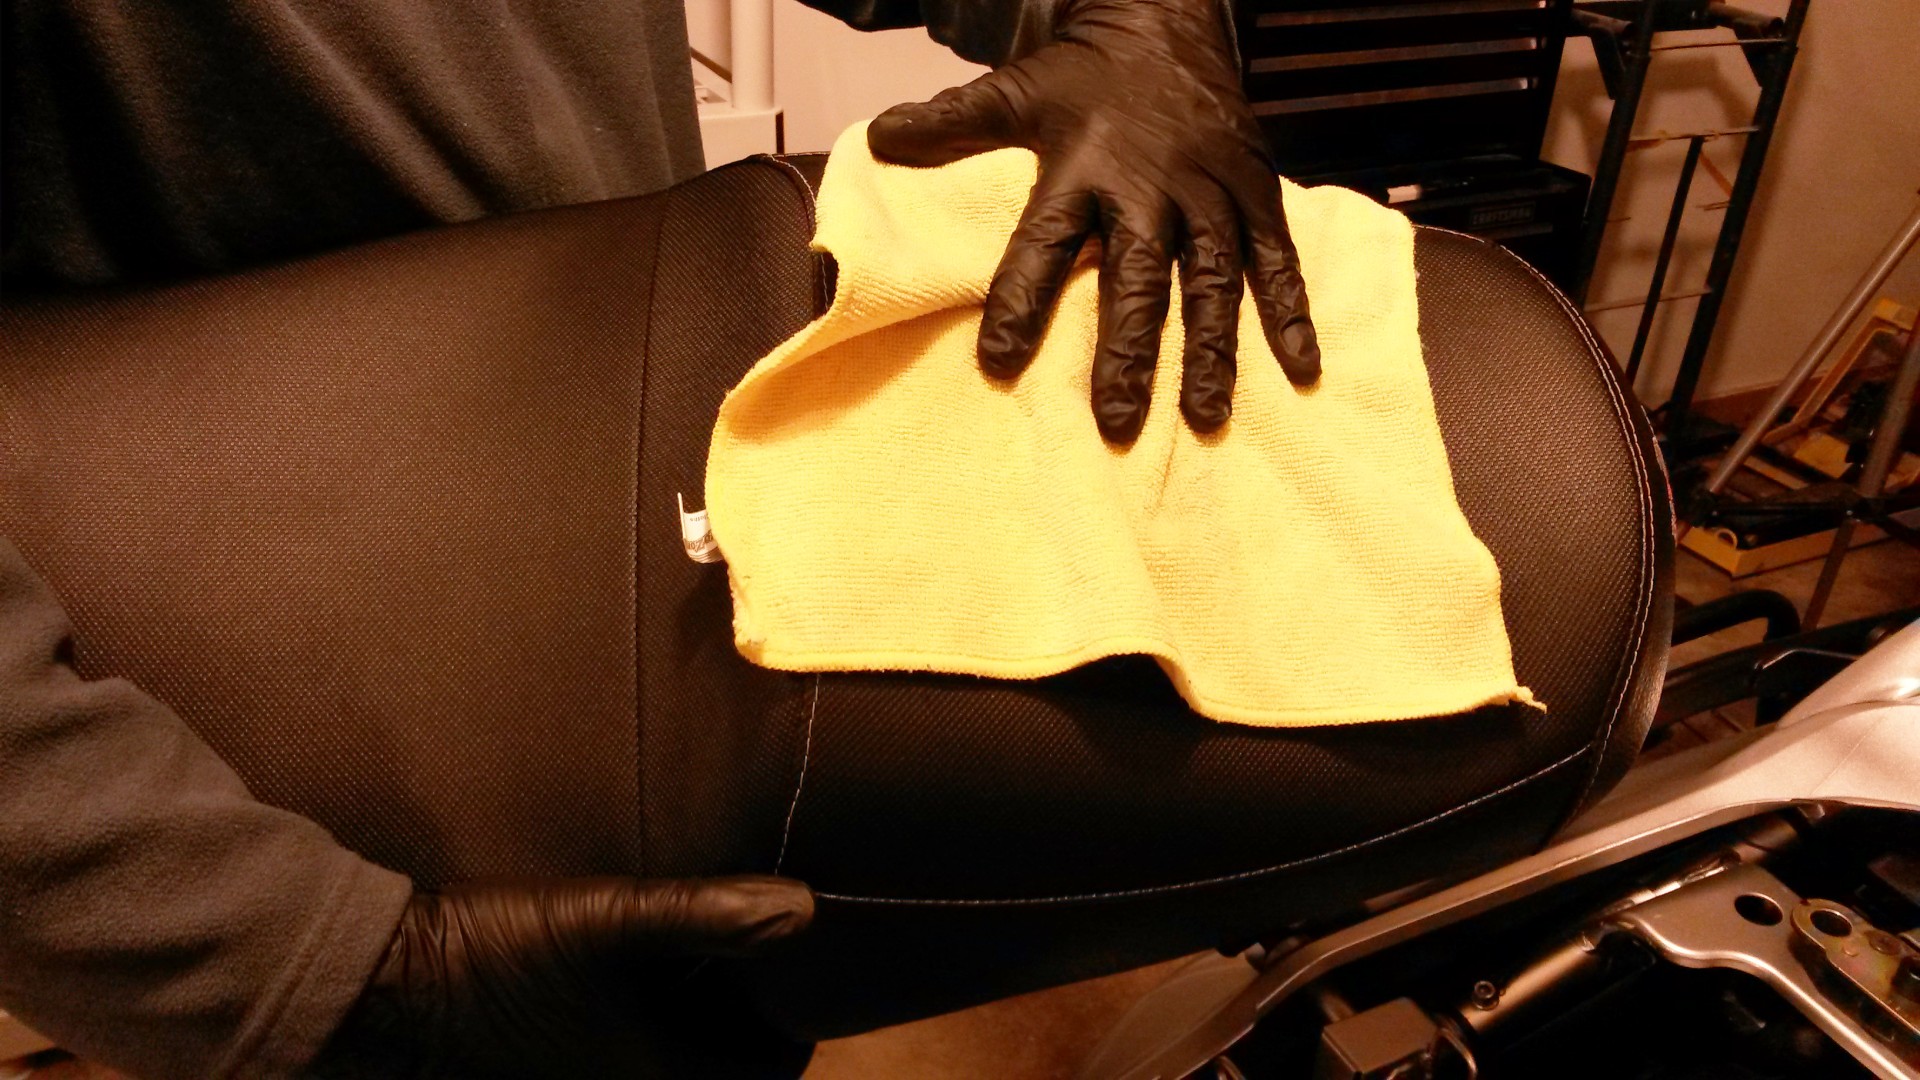
(5) With another large towel, gently wipe down all of the non-mechanical plastic and rubber parts (chassis only) as well as the seat. This will help eliminate any remaining Armor All.
(6a) Straddle the bike, hold the front brake and work the front suspension up and down.
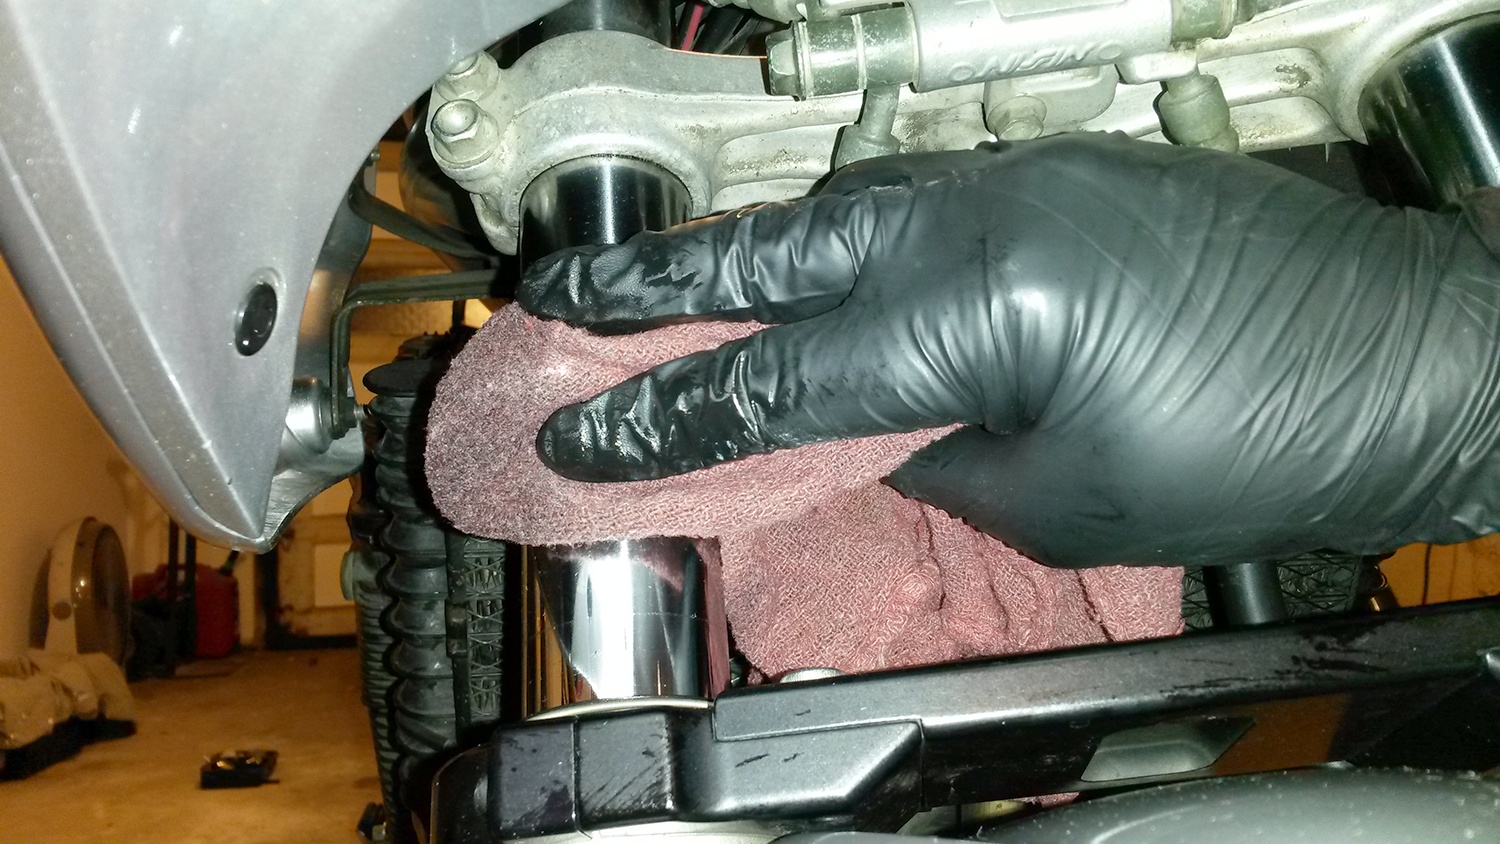
(6b) Wipe any excess oil from the stationary tubes on the front forks.
(7a) Using a sponge, thoroughly coat and clean Gunk-degreased metals with hot, soapy water.
(7b) Gently spray-rinse the soap and water from said areas. Allow the washed parts to air-dry (continue onto the next step).
(8) Check that your cables/controls are operating smoothly and lubricate as needed.
(9a) Unplug and disconnect your battery tender.
(9b) Wipe the grease off of each battery terminal/connector.
(9c) If necessary, top it off with distilled water.
(9d) Reinstall the battery.
Ready The Motor To Start
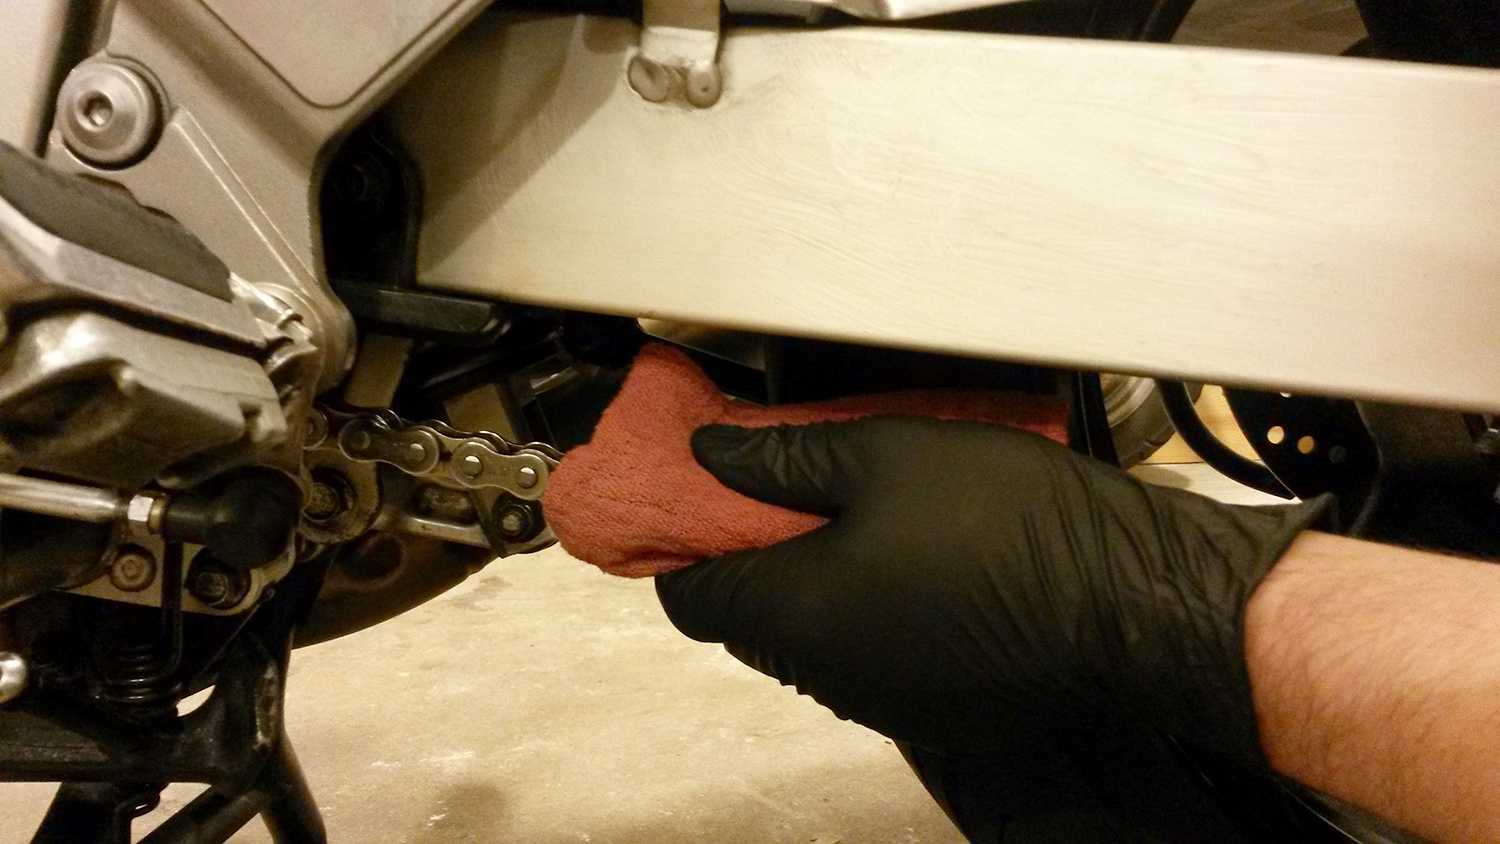
(10) We're almost there ... but not quite. For oil circulation, turn the engine over once or twice by shifting into high gear and spinning the rear wheel. Be sure to observe the chain and clean/lubricate (in neutral) as needed.
(11a) Reposition the gas tank and connect all of its respective hose lines.
(11b) Fasten the tank into position so that it's completely reinstalled.
(11c) Prime the carburetor by allowing some gas to enter the float bowls.
(12a) Start the engine and adjust the choke as needed so that it idles normally.
(12b) Allow the engine to run until it's idling steadily and fully warm.
(13) Perform any scheduled maintenance as necessary.
(14) You've finished each step to de-winterize, so ride it for cryin' out loud!

Different Strokes For Different Spokes
Both our winterization and de-winterization pages aim to service a wide variety of motorcycle models but developments new and old will always put such tasks to the test. What additional efforts do you make to prepare your motorcycle for the riding season and why? Your input is invited. Leave a comment and/or write an article!
